In this month’s Schaeffler LuK clutch clinic, REPXPERT Bob Carter is replacing the clutch and dual mass flywheel (DMF) in a 2008 Volvo S40 1.8.
This Volvo has covered just over 142,000 miles and the driver has reported the clutch is “slipping and the pedal seems to have become heavier than normal”. The owner also reported a rattling noise from the engine and a short road test confirmed both issues, so a clutch replacement was advised, together with an inspection and test of the DMF. The service history of the vehicle suggested that the clutch and DMF were original.
With a little insight into this repair, an independent workshop will be able to confidently replace the clutch system on this style of vehicle. The published time is 4.80 hours. The following workshop equipment is required for this repair:
- Vehicle lift (two post is preferred)
- Engine support
- Transmission jack
- Oil drainer
- Gearbox oil dispenser
- DMF Testing tool
- Clutch alignment tool (LuK SAC Tool recommended)
- Clutch vacuum bleed tool
With the vehicle positioned on the ramp with the front wheels removed, remove the underbody tray and wheel arch liners, then drain off the gearbox oil.
Disconnect the bottom suspension arm ball joints and remove both front drive shafts, then the bottom gearbox mounting. Loosen the catalytic convertor and remove the bolts from its bracket, which will allow the subframe to be lowered and the gearbox to clear the body.
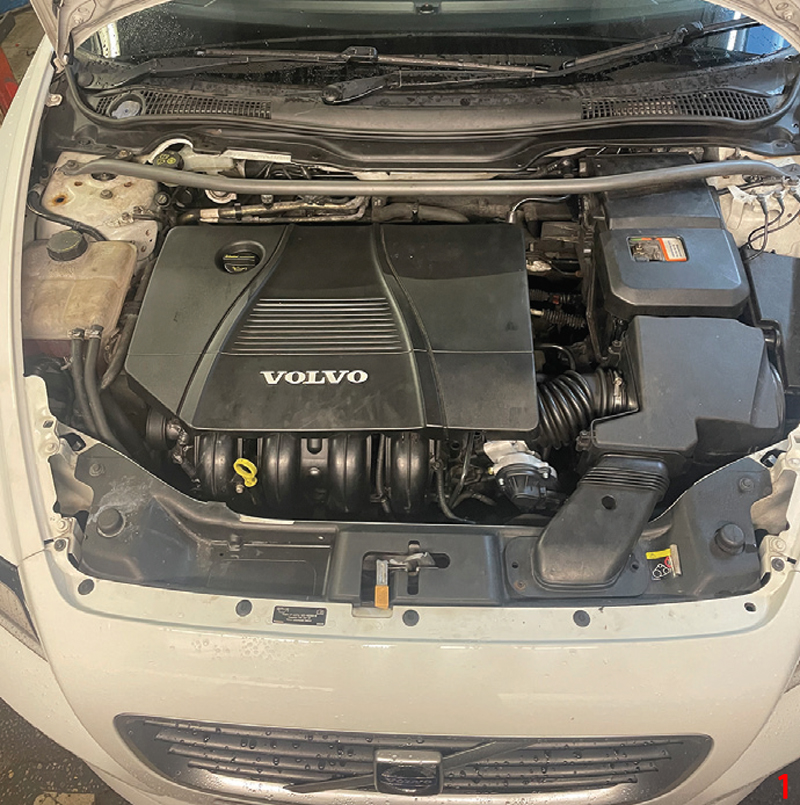
Lower the ramp to access the engine bay (Fig. 1), disconnect the battery and remove the battery and its tray, as well as the air box, then the engine covers and install an engine bridge to support the power unit.
Then remove the gearbox mounting, disconnect the gear selector cables and remove the gear box support.
Release the clip and disconnect the hydraulic pipe to the slave cylinder, but fit a blanking plug to minimise fluid loss.
Remove the top three bell housing bolts and top starter bolt, then disconnect the earth lead from the front of the gearbox. Remove the four subframe bolts and disconnect the front exhaust mounting rubbers followed by the N/S lower drop link. This will allow the N/S subframe to be lowered, but this needs to be supported – do not allow to hang. Then disconnect the gear linkage bracket and move it clear of the transmission.
Remove two bell housing bolts near the catalytic convertor, although these bolts are a little awkward to get at. Remove the remaining starter bolt and support the starter clear of the power unit. Then remove the remaining bell housing bolts.
Support the transmission with a transmission jack and lower the power unit from the engine bridge until there is clearance to allow the transmission to slide out on the jack. Then remove the clutch.
During all clutch replacements the DMF should be measured against specification to establish the extent of its wear, and the measurements can be found using the REPXPERT app. Please note, all DMFs have different measurements depending on part number and comparison with the specification will reassure the customer that the flywheel needs to be replaced. In addition, any scoring, heat damage or excessive grease loss will also require a DMF replacement.
Remove the six flywheel bolts and then the DMF. At this point check for any leaks from the engine (oil or coolant) that could contaminate the new flywheel and clutch assembly and rectify if required.
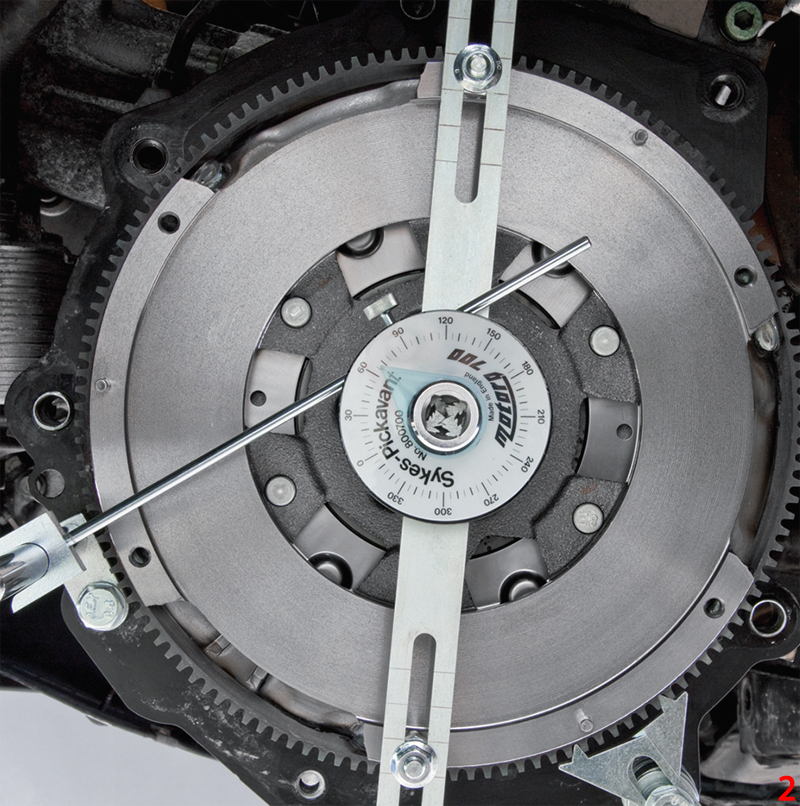
Remove any clutch dust from the engine using brake and clutch dust cleaner before mounting the new flywheel, as this could contaminate the new components. Check the new flywheel is correct by comparing its dimensions and the ring gear teeth, then mount the new DMF ensuring any alignment dowels are correctly positioned and secure into place using new flywheel bolts, tightening them in an even and sequential process and torque to the manufacturer’s specification. In this application the torque is 30Nm + 90 degrees, but flywheel information can easily be obtained from Schaeffler’s DMF Checkpoint app. This DMF was measured (Fig. 2) and found to be outside of the specified tolerances, so needed replacing.
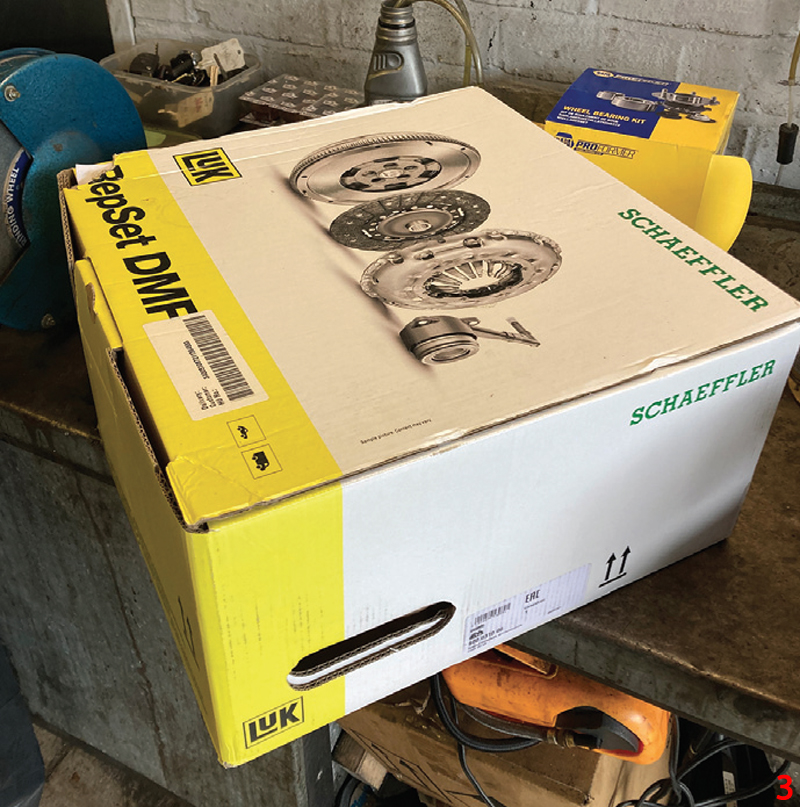
The kit chosen for this repair was a LuK RepSetDMF (Fig. 3), which usefully includes all the required parts including bolts, service information leaflets, as well as REPXPERT bonus points.
The bellhousing should also be cleaned to remove any debris from the old clutch.
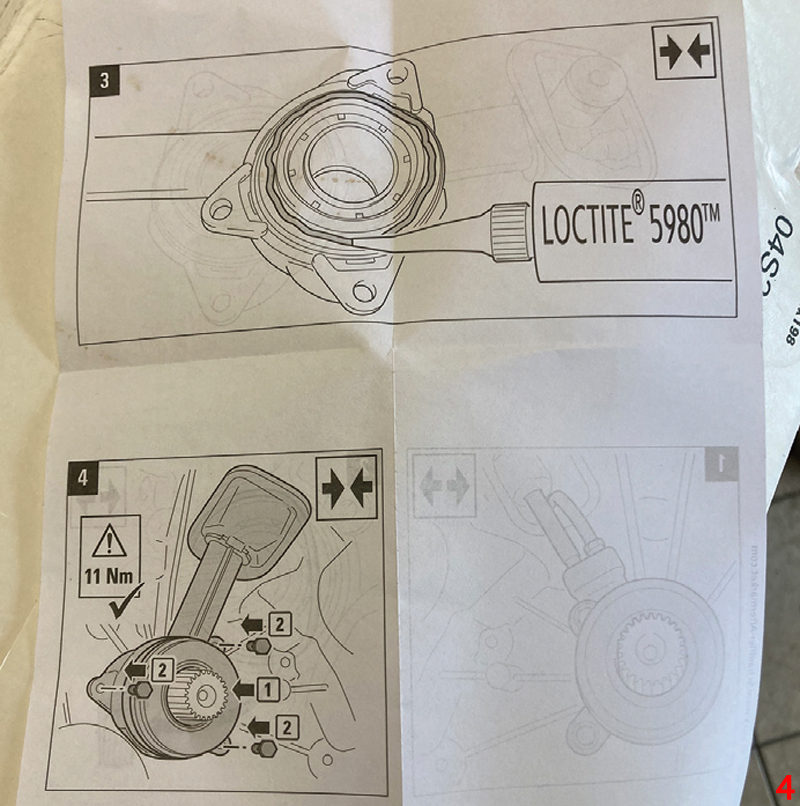
Remove the concentric slave cylinder (CSC) and discard the ‘O’ ring seal and replace in accordance with the service information leaflet using Loctite 5980 (Fig. 4), seating the CSC squarely to the bell housing and torque the new bolts evenly.
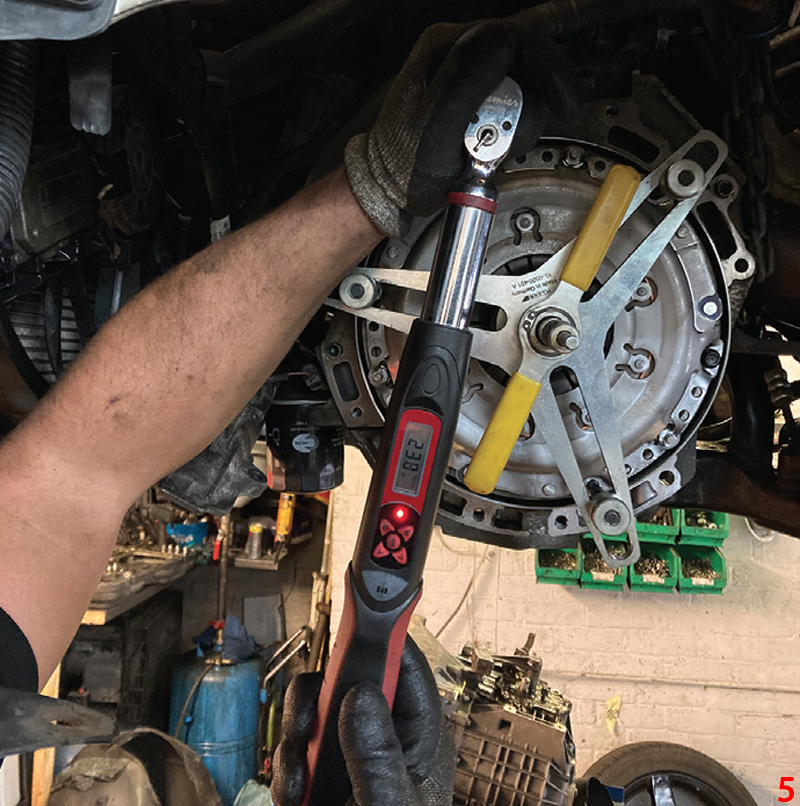
Install the new clutch to the DMF, but check that the plate is the correct way round with ‘Getriebeseite’, or ‘Gearbox side’, facing the gearbox. It is highly recommended to use the SAC tool to ensure perfect alignment of the clutch and to make it easier to engage the input shaft with the clutch plate without damage (Fig. 5).
At this point it is a good idea to flush through the master cylinder with fresh DOT 4 fluid, as this will avoid the risk of contamination and get rid of any moisture that may have built up over the years.
Reinstall the gearbox with two bolts and connect the hydraulic pipe to the CSC, but make sure the ‘O’ ring seal is intact on the connector and push firmly into position and engage the clip. Bleed the clutch, either by gravity bleeding (as in this case) or by vacuum, because traditional pump bleeding or pressure bleeding is not recommended.
Follow the reverse procedure to complete the job, refilling the gearbox with the correct specification oil and the manual transmission fluid 75W/80 (Volvo 97308).
When assembly is complete, as the battery has been disconnected, reset all electrical consumers and carry out a full road test to ensure a complete and successful repair.
All torque figures can be found in the REXPERT app, which is free to download to a smart phone or tablet.


