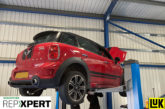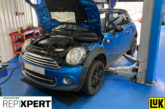
In this month’s Schaeffler LuK Clutch Clinic, REPXPERT Alistair Mason is replacing the clutch in an Audi A5 2.0 TFSI Quattro.
Vehicle Information
Manufacturer: Audi
Model: A5
Year: 2011
Engine: 2.0 litre, Petrol TFSI
This vehicle has covered just over 44,000 miles and such a low mileage would indicate that the vehicle does short trips with a lot of stop-start driving. A short road test was carried out to confirm that the clutch was ‘slipping’ under load, indicating that the clutch had reached the end of its service life, and that a replacement was required.
With the vehicle booked in, the customer was also advised that the dual mass flywheel (DMF) might need replacing, so it would be inspected when the clutch was removed. All the parts required were ordered prior to the appointment and the service information was checked through Schaeffler’s REPXPERT information portal.
From 2007, Audi changed the design on part of its clutch and transmission system, by mounting the front differential on the side of the bellhousing rather than behind it. This allowed them to move the engine and gearbox back 152mm, but keep the road wheels in the same position, which achieved two objectives. It gave the vehicle a greater crumple zone at the front and changed the driving dynamics of the vehicle, making it less nose heavy. As a result, a drive shaft had to run through the bellhousing to connect the N/S/F driveshaft to the front differential and the DMF is designed and manufactured to incorporate this feature, therefore it is removed with the gearbox.
With a scheduled repair time of 5.5 hours and full repair instructions available on REPXPERT, this makes a great repair for any independent workshop.
Gearbox removal
Although 99% of the work of this repair is carried out from the underside of the vehicle, first place the vehicle on the lift, remove the space saver wheel from the boot and disconnect the battery earth lead, but do not close the boot as it is electrically actuated.
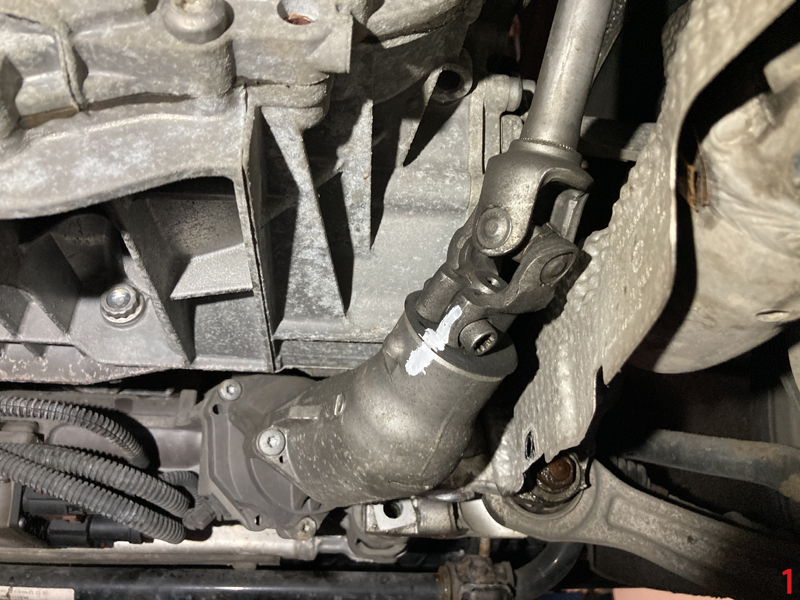
Raise the vehicle lift to gain access to the underside, remove the engine and gearbox undertrays and then their metal mounting brace, followed by the exhaust system. Then, disconnect the steering column from the steering rack (note – marking its position may help with alignment on installation Fig.1).
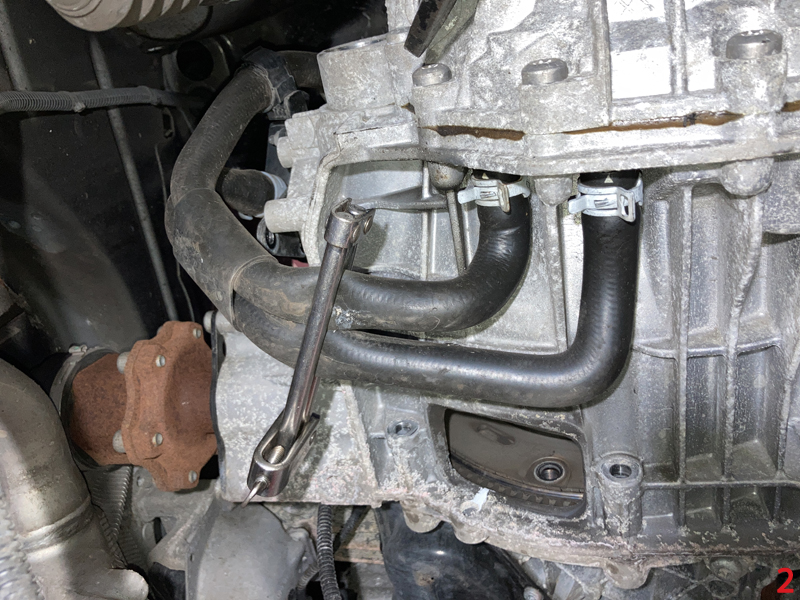
Disconnect both front driveshafts from the gearbox and remove the driveshaft protector on the O/S, then the gear linkage and stabiliser bar can be disconnected and stowed to one side. Separate the electrical multiplugs from the gearbox and position the loom away from the gearbox. The clutch slave cylinder can now be removed from the bellhousing, so clamp the two coolant pipes that pass into the bottom of the gearbox (Fig.2) and then disconnect from the gearbox.
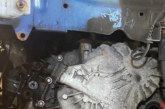
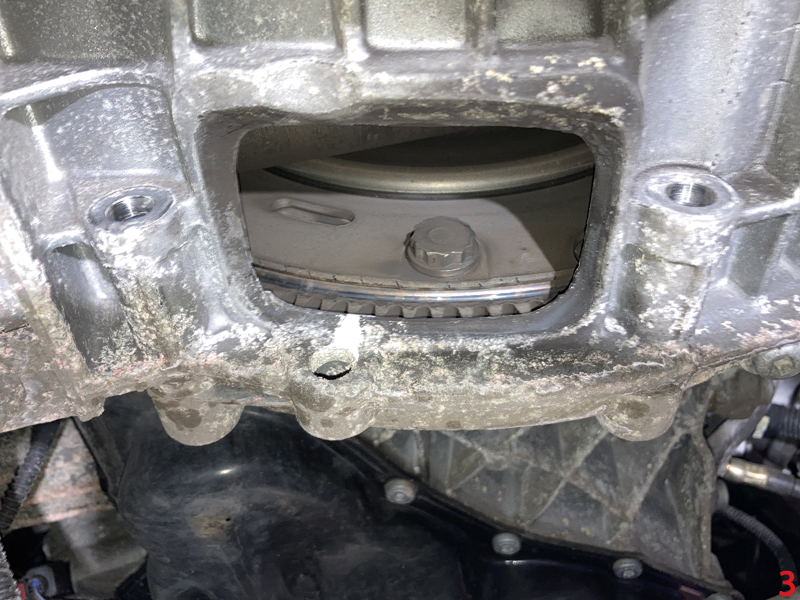
Remove the black plastic blanking cover from the bottom of the bellhousing, this will now give access to the flywheel and drive plate bolts that need to be removed (Fig.3).
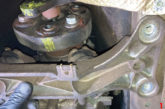
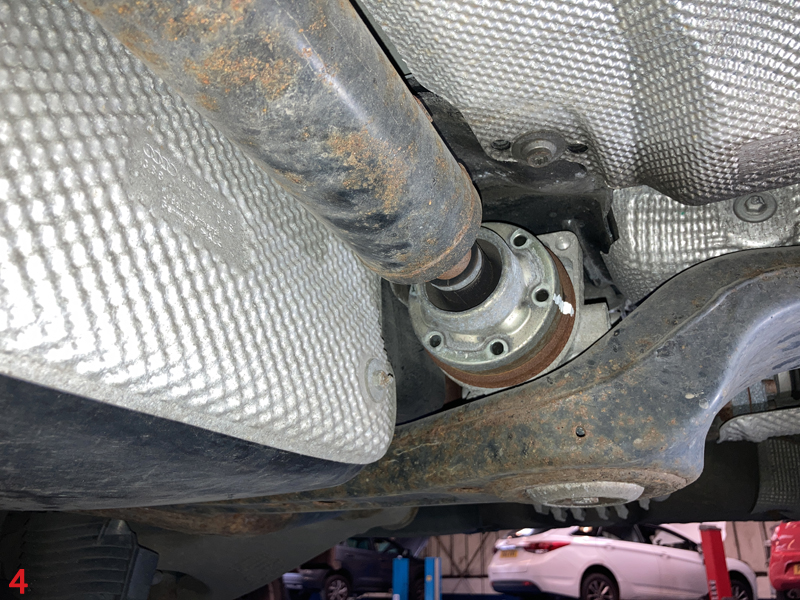
Remove the three bolts, position a transmission jack under the gearbox, support the weight of the gearbox, and remove the gearbox mounting. Now disconnect the propshaft from the rear differential by removing the six bolts (Fig.4). Then, remove the centre bearing bracket, which will allow the propshaft to slide away from the differential and hang down.
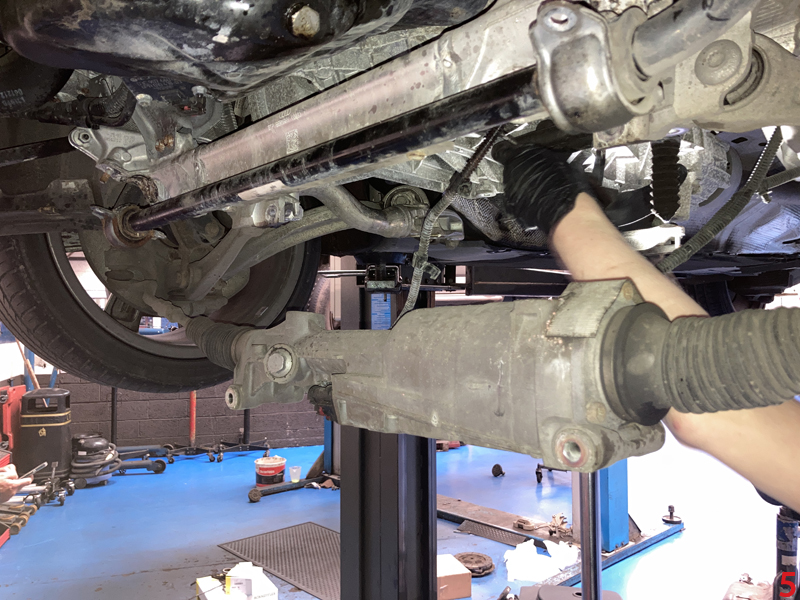
Next, the steering rack needs to be lowered to gain access to the lower bellhousing bolts. Disconnect and lower the anti-roll bar, which allows the steering rack bolts to be removed and the steering rack lowered (Fig.5). With the gearbox supported, remove the bellhousing bolts while taking care to note their position. The gearbox can now be eased away from the engine. Once clear, lower the transmission jack and position the gearbox safely.
Clutch replacement
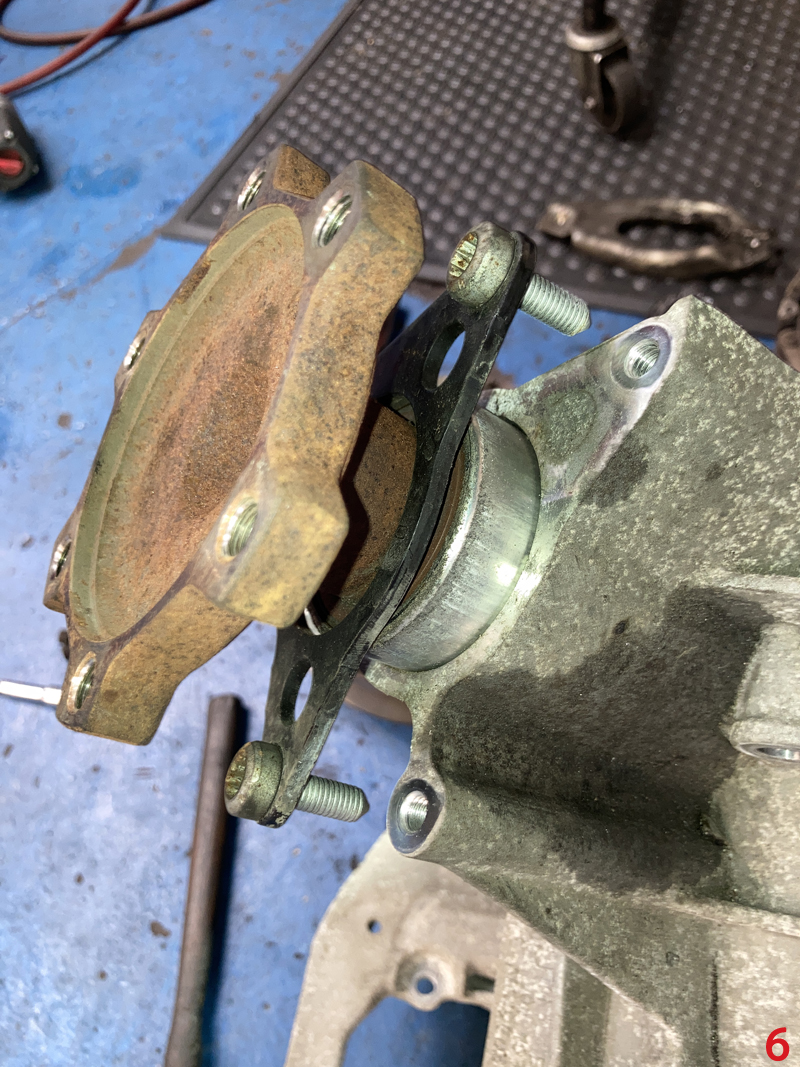
With the gearbox positioned safely, remove the three bolts that retain the bellhousing driveshaft, and then remove the driveshaft from the bellhousing (note – this bearing should be a good fit in the casing, but if the bearing is loose, it will need to be rectified, as it will cause a rattling noise, Fig.6). With the driveshaft removed, the clutch and flywheel assembly can now be lifted off the gearbox input shaft and removed from the bellhousing.
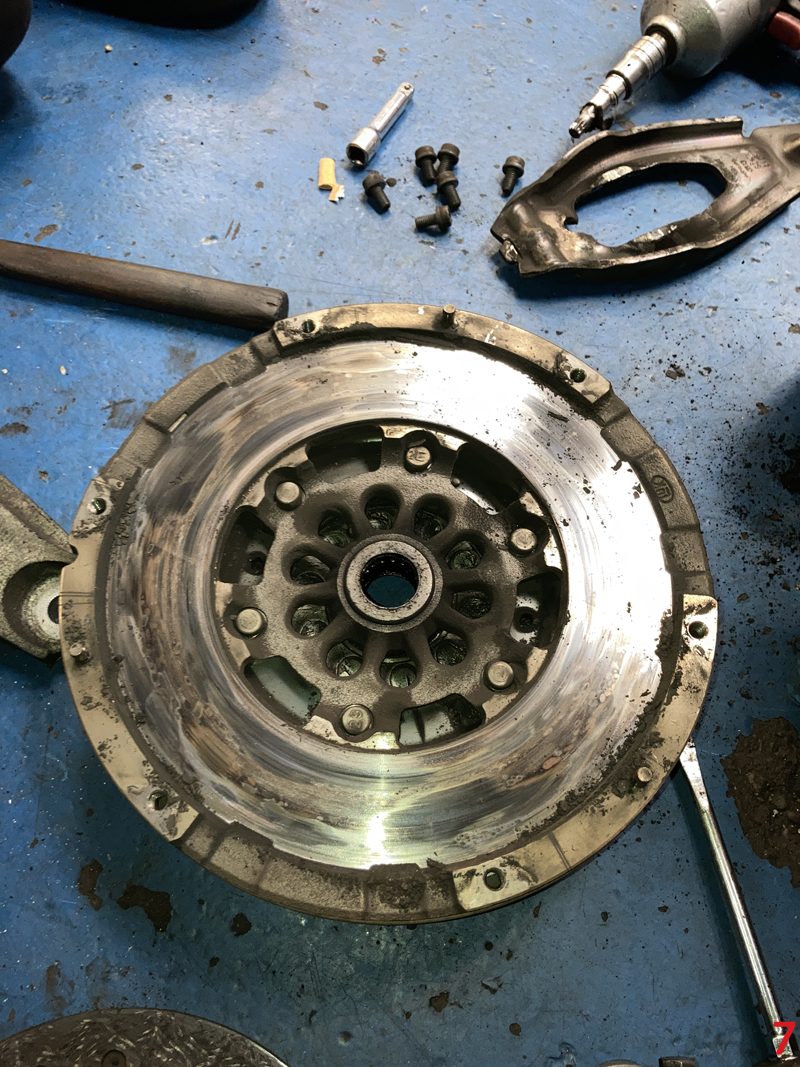
During this repair, when the clutch was unbolted from the DMF, clutch slippage was evident, as the face of the DMF was ‘blued’ (Fig.7), at which point the customer was advised that the DMF also needed replacement and their authorisation given.
Remove the clutch release arm and bearing assembly to allow the bellhousing area to be cleaned with clutch and brake dust cleaner. Replace the release bearing guide tube supplied in the LuK RepSet clutch kit, mount the new release bearing onto the release arm and refit the release arm.
Apply a light smear of high melting point grease to the gearbox input shaft splines and then slide the clutch plate onto the input shaft, which will ensure the clutch plate is correct and evenly distribute the grease, then remove the clutch plate and wipe off any excess.
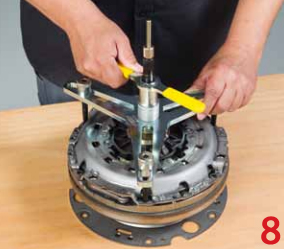
Place the new clutch plate onto the flywheel, ensuring it is the correct way round as indicated by the ‘Gearbox side’ notification. Centralise using the clutch plate alignment tool, align the pressure plate onto the dowels, mount the self-adjusting clutch tool and ease the pressure plate into the home position (Fig.8). Once in the correct position, insert three clutch retaining bolts and tighten, remove the self-adjusting clutch tool, fit the remaining three clutch bolts, tighten and torque to the manufacture’s specification.
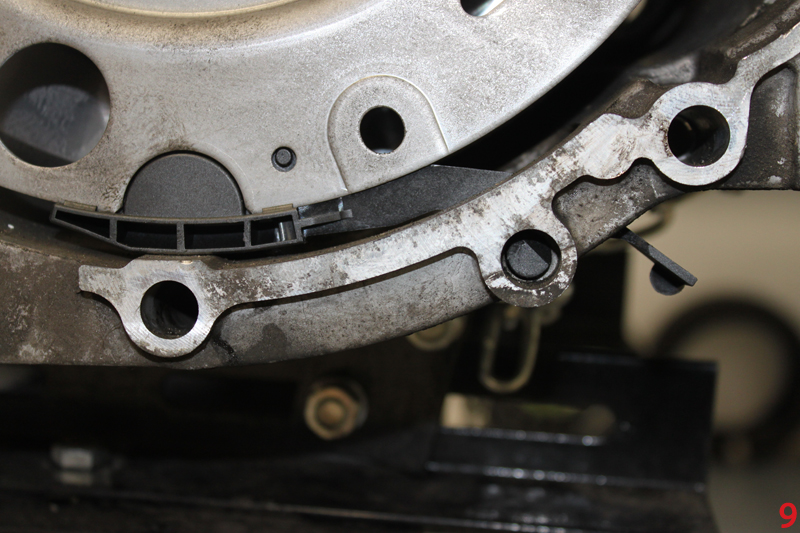
The clutch and flywheel assembly can now be mounted into the input shaft. Once in position, support with the plastic tool supplied (Fig.9), insert the bellhousing driveshaft and secure it.
Gearbox installation
Before installing the gearbox, ensure the alignment dowels are located correctly and that all pipes, hoses and wires are clear of the bellhousing area, so they do not get caught as the gearbox is being installed. Using the transmission jack, bring the gearbox close to the engine/drive plate, align the gearbox and ease into position, securing it with a couple of easily accessible bell housing bolts. Now insert the three flywheel-to-engine drive plate bolts, and tighten to the manufacturer’s specification.
Installation is in the reverse order of removal and after the battery lead is connected, reset electrical consumers as required and always carry out a road test to ensure a quality repair.