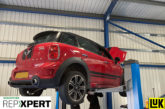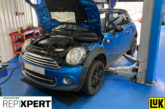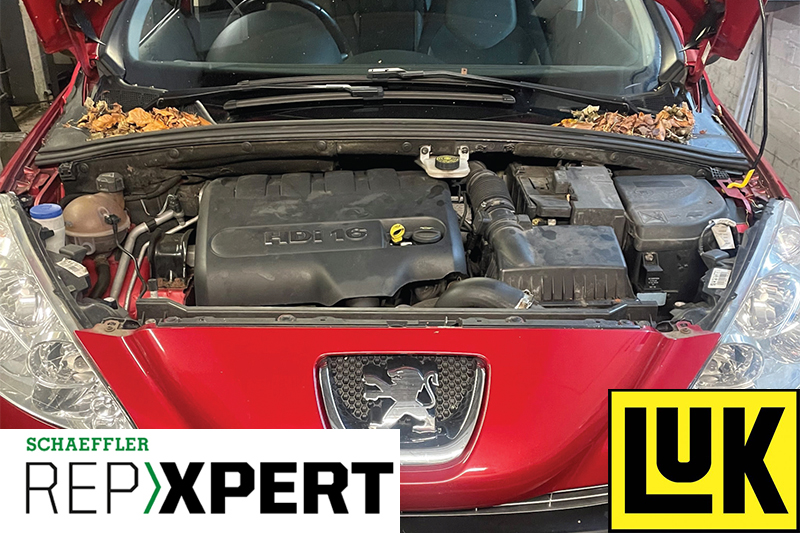
In this month’s Schaeffler LuK Clutch Clinic, REPXPERT Bob Carter is replacing the clutch and dual mass flywheel in a Peugeot 308 fitted with a 2.0 HDi engine.
Vehicle Information
Make: Peugeot
Model: 308
Year: 2011
Engine: 2.0 litre, Diesel HDi
Transmission: Manual
Mileage: 115,306
This car has covered 115,306 miles and the driver has reported that selecting first or reverse gear is difficult. In other words, the clutch is not clearing. A short road test confirmed the problem and a clutch replacement was advised. As this is the vehicle’s first clutch change and bearing in mind its mileage, a DMF change was recommended, subject to its testing.
With a little insight into this repair, an independent workshop will be able to confidently replace the clutch system on this vehicle. The replacement time for this job is 6.9 hours, so it’s not an easy job. So, to ensure a complete and high quality repair, it was decided to fit a LuKRepSet DMF module kit (part number 600 0136 00), which has all the required, matched components in one box. The REPXPERT app was used to gain the fitting instructions, torque settings and service information.
Gearbox removal
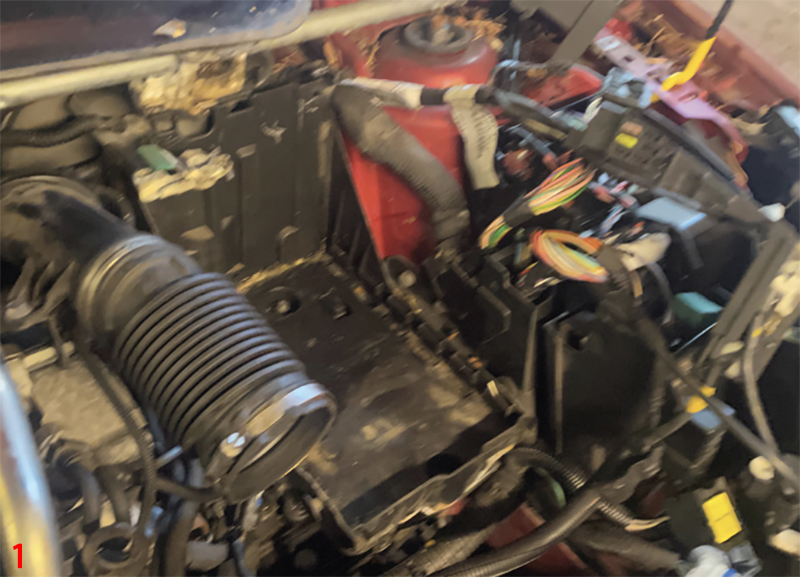
With the vehicle positioned on the ramp, slacken the front hub nuts, raise the lift and then remove the front wheels, open the bonnet and disconnect the battery. Remove the engine cover, intercooler hose (between intercooler and inlet manifold), air filter housing, battery and tray (Fig. 1), then both wheel arch liners and underbody tray.
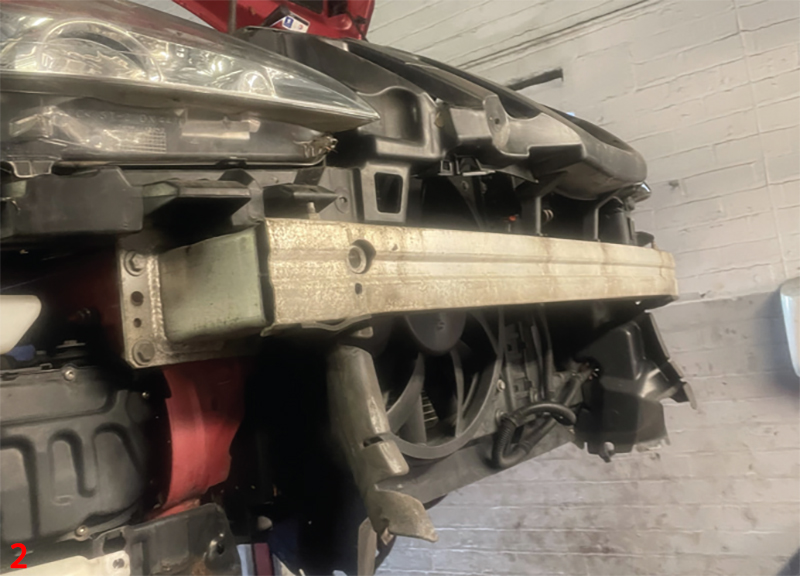
Remove the front bumper cover by undoing the four screws at the bonnet slam panel and five under the car. Disconnect the electrical plugs and lift the cover clear (Fig. 2). Then disconnect all the electrical connections to the gearbox.
Unclip the slave cylinder hose from the support bracket, remove the slave cylinder bolts and store the slave cylinder assembly to one side. Disconnect the reverse light switch and remove the earth strap from the gearbox. Disconnect the gear selector cables from the gearbox, remove the reverse gear Bowden cable and then remove the starter motor, support and store to one side. Loosen front exhaust pipe clamps, remove the lower gearbox pendulum mount, unscrew the intercooler bolts – which are a little awkward to access – and the air tube between the intercooler and exhaust turbocharger. Then remove the gearbox cradle by removing the retaining bolts.
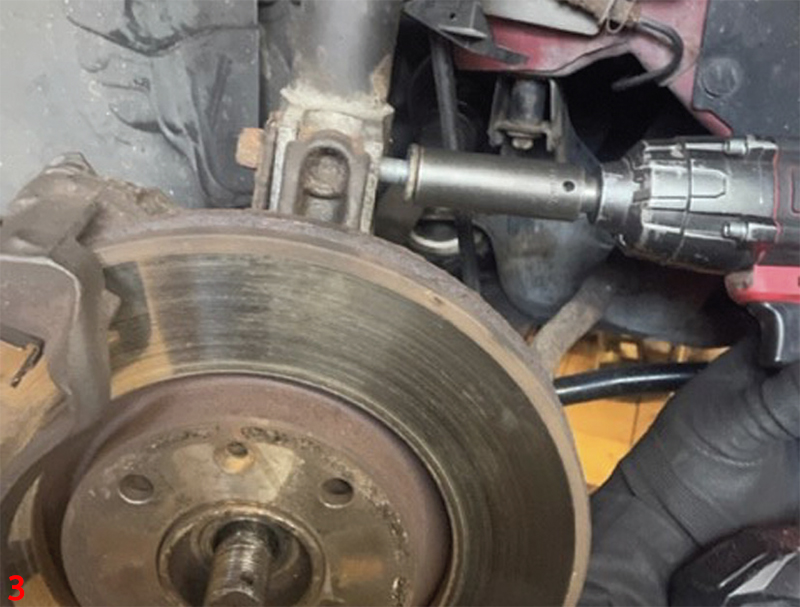
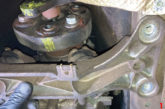
Now is the ideal time to drain the gearbox oil. Whilst the oil is draining, release both front driveshafts by removing the hub nuts, disconnecting the hub from the front strut (Fig. 3), this will allow the CV joint to be eased out of the hub. Then remove the driveshaft from the gearbox. When removing the right-hand driveshaft, the intermediate bearing carrier also has to be released.
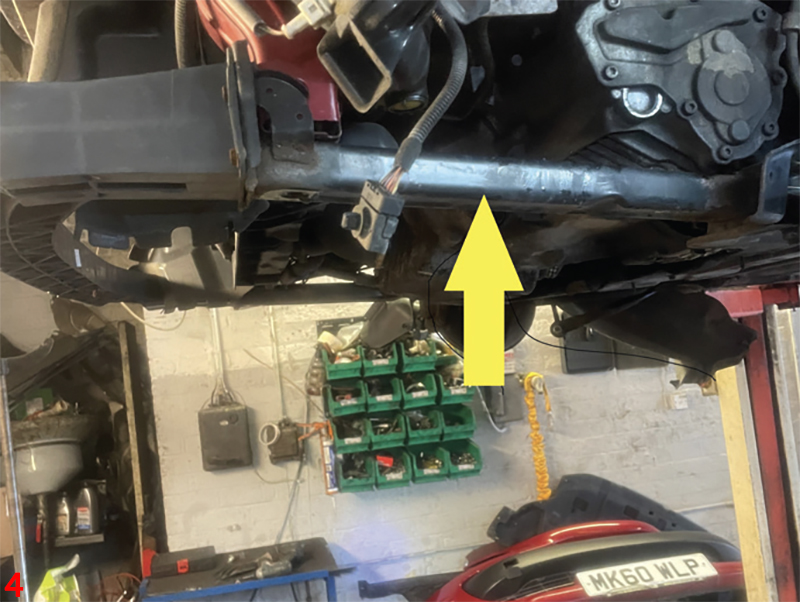
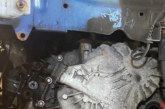
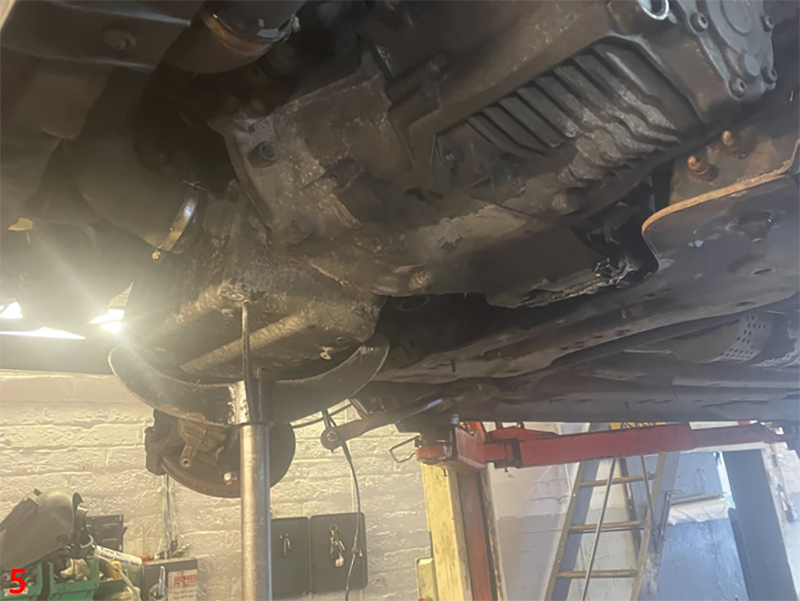
Remove the front bumper aluminium bar and then the left-hand front sub frame tube (Fig. 4), followed by the lower bell housing bolts and support the engine. With the engine and gearbox supported, remove the gearbox mounting and retaining plate (Fig. 5 & 6). Using a transmission jack, support the gearbox, remove the final bell housing bolts and then ease the gearbox away from the engine. Once clear, lower the gearbox and remove it from the vehicle.
Removal and replacement
At this point it was evident that the clutch had reached the end of its service life as the three small yellow springs on the self-adjusting clutch mechanism had extended, indicating it was near the end of its adjustment. Remove the clutch assembly from the flywheel by removing the six bolts and ease the clutch assembly off the DMF. During all clutch replacements the DMF should be measured for rotational free play and rock, against its specification to establish the extent of its wear. All DMFs have different measurements depending on part number and comparison with specification will reassure the customer that the flywheel does need changing. Helpfully, the measurements can be found using the REPXPERT app.

Any scoring, heat damage or excessive grease loss will also require the DMF to be replaced.
Remove the six flywheel bolts and then remove the DMF. At this point, check for any leaks from the engine (oil or coolant) that could contaminate the new flywheel and clutch assembly and rectify if required.
Remove any clutch dust or debris from the bell housing using brake and clutch dust cleaner before mounting the new flywheel, as this could contaminate the new components.
Mount the new DMF ensuring any alignment dowels are correctly positioned and secure into place using new flywheel bolts. Tighten them in an even and sequential process and torque to the manufacturer’s specification, (flywheel bolt torques can easily be obtained from Schaeffler’s DMF Checkpoint app).
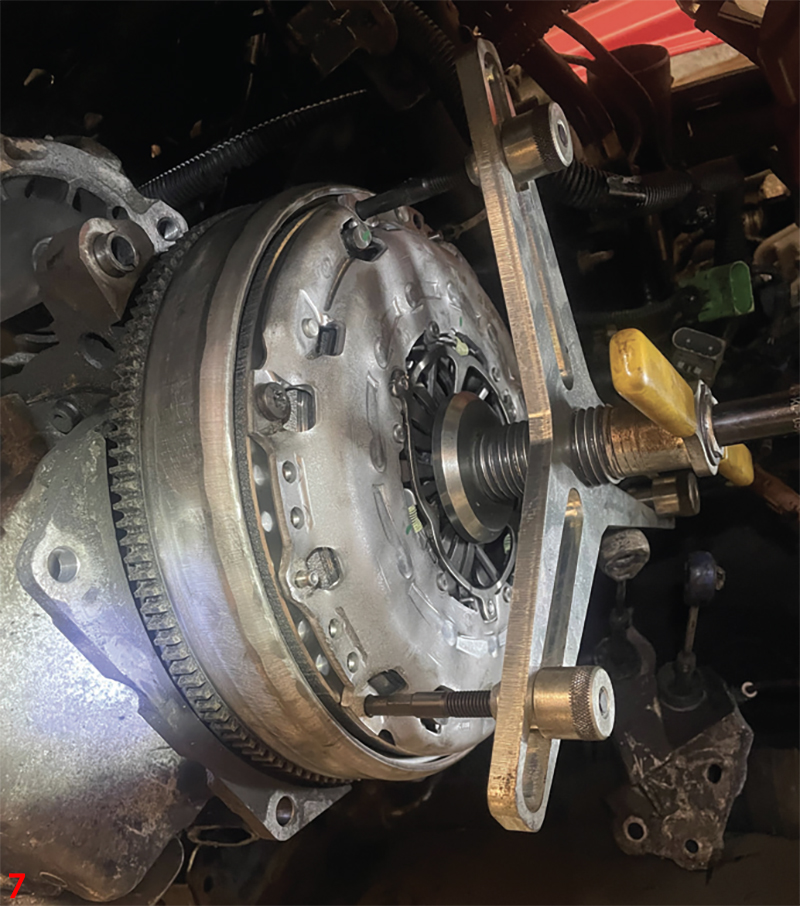
After ensuring the clutch plate is the correct way round, with “Gearbox Side” or “Getriebe Seite” stamped on the centre of the clutch plate facing the gearbox, fit the new clutch to the DMF. Use the Special Tool (SAC tool) to install the clutch (Fig. 7), which does three things: gives perfect alignment, avoids the risk of de-adjustment and operates the clutch before the gearbox is reinstalled.
One final recommended process to carry out before installing the gearbox is to flush out the old clutch fluid, which may be contaminated from the system, by simply draining it into a waste container and replenishing it with new clean clutch fluid. Whilst it is draining, pour clean new fluid into the reservoir and when the new fluid is flowing through the system, clamp the hose. Finally, check that the gearbox alignment dowels are installed correctly in the engine block and that the spacer plate is aligned correctly, after which the gearbox is ready for installation.
Reinstallation of the gearbox is the reverse of the removal procedure.
Bleeding the clutch is best done using a vacuum bleeding tool, as was done with this vehicle. This is recommended by vehicle manufacturers and has the benefits of providing a right first-time job, is a one-man operation and eliminates the risk of over pressurisation.
When assembly is complete, reset all electrical consumers as the battery has been disconnected and carry out a full road test to ensure a complete and successful repair.