
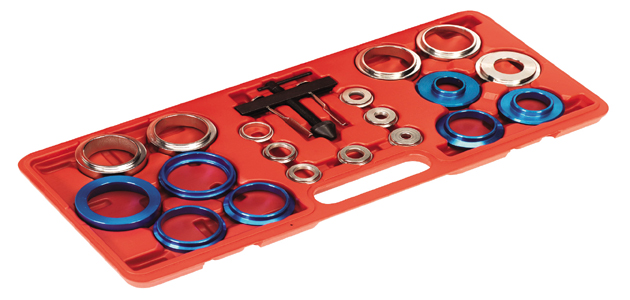
This step-by-step guide from Sealey shows you how to efficiently remove and install vehicle oil seals.
Designed for use in-situ with the vehicle and supplied with adapters and spacers to suit most vehicles, this excellent kit makes light work of a normally awkward job.
Removal
Firstly, remove the cam/crank pulley and insert both puller legs into the inside edge of the seal. Slide the head of the puller legs into the beam (Fig 1 below).
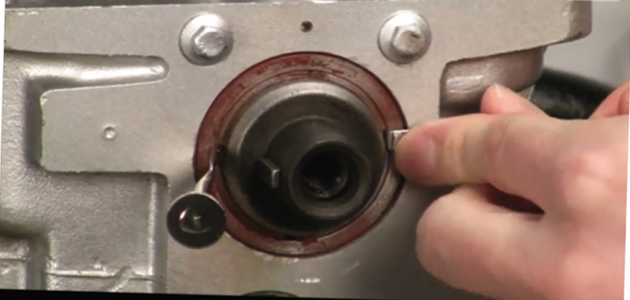
(Fig 1)
Turn the thrust screw clockwise to engage with cam/crankshaft (Fig 2 below).
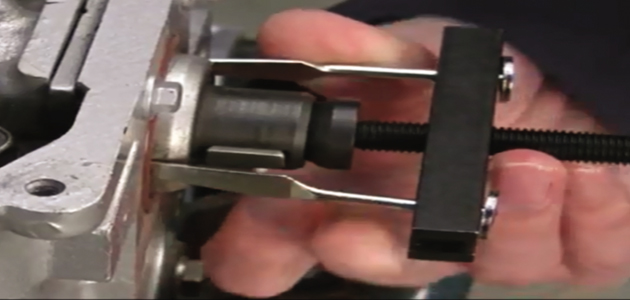
(Fig 2)
Continue until the seal is fully extracted (Fig 3 below).
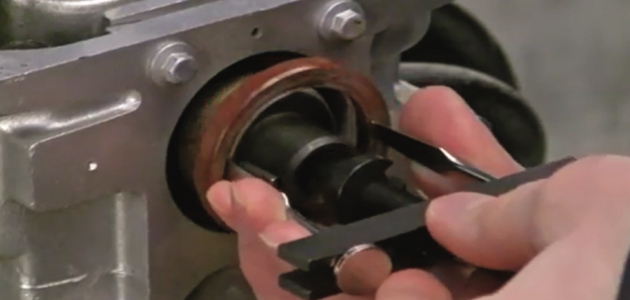
(Fig 3)
Installation
To install, use the existing pulley bolt and washer. Select the chrome adapter to suit the bolt size and insert it into the chrome carrier. Choose the appropriate chrome spacer to match the pulley and finally select a coloured adapter to suit the seal diameter (Fig 4 below).
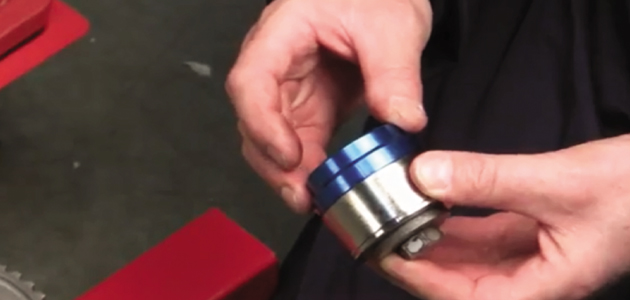
(Fig 4)
Hand fit the new oil seal into the engine. Thread the bolt through the installer kit and tighten clockwise by hand. Tighten with a spanner until the seal is fully installed (Fig 5 below).
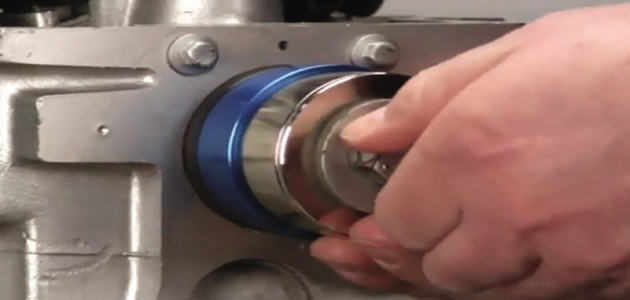
(Fig 5)
Finally, turn the nut anti-clockwise to remove the installation kit. Job done. (Fig 6 below).
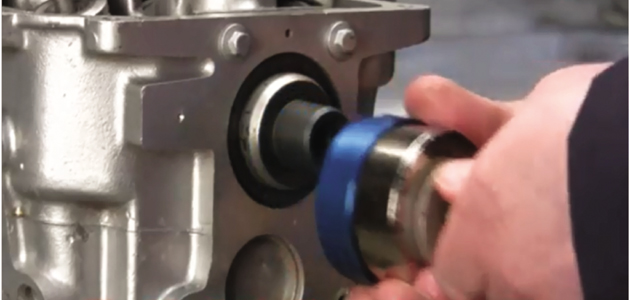
(Fig 6)


