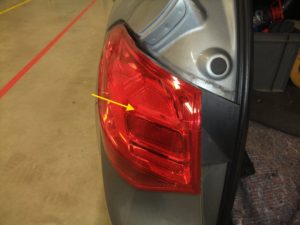
Make light work of the Tourer – Rear light replacement guide for the Vauxhall Astra J Sports Tourer
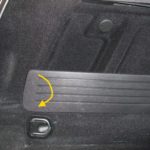
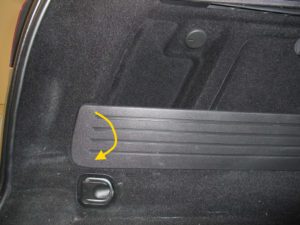
To replace the lamps on this particular model, technicians should follow a specific process. Firstly switch off the ignition and light switch and then open the tailgate. Now fold down the plastic cover in the trunk on the driver’s side and remove the cover (see below).
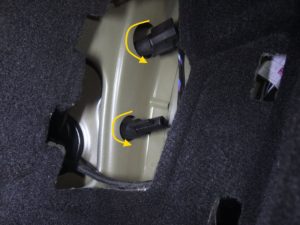
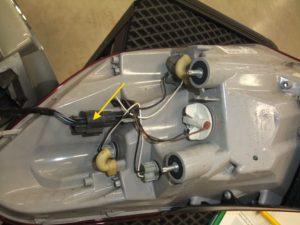
Loosen the plastic nuts of the rear light fastening in an anti-clockwise direction and take the rear light out of the holder. Loosen the plug connection of the electrical cable (see below).
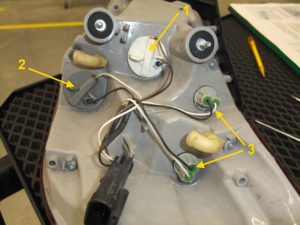
Next loosen the lamp holder of the stop light in an anti-clockwise direction and remove it before replacing the defective lamp with a new one (see below).
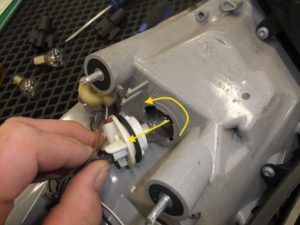
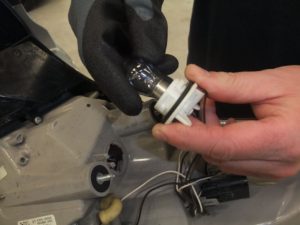
Insert the lamp holder and fix it in position in a clockwise direction. To replace the lamp for the direction indicator light and rear light positions 2 and 3 (see below), proceed as described for the stop light.
“Fold down the plastic cover in the trunk on the driver’s side and remove the cover. Loosen the plastic nuts of the rear light fastening in an anti- clockwise direction and take the rear light out of the holder.”
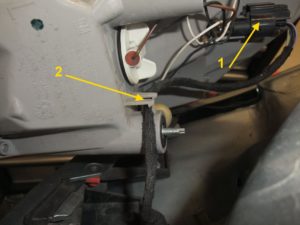
Connect the plug connection position 1 (see below) to the rear light and ensure that the electrical cable position 2 is fitted correctly. Check the light’s function and then re-insert the rear light and secure with the plastic nuts by turning in a clockwise direction.
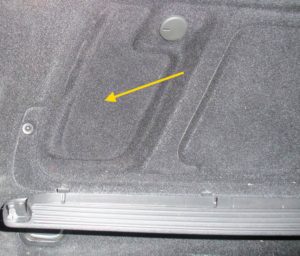
To replace the rear lights on the front passenger side, open the cover on the right (see below).

Loosen the plastic nuts (see below) of the rear light fastening in an anti-clockwise direction and take the rear light out of the holder. For the driver’s side you should follow the same procedure. 


