BRAKE PADS
Removal
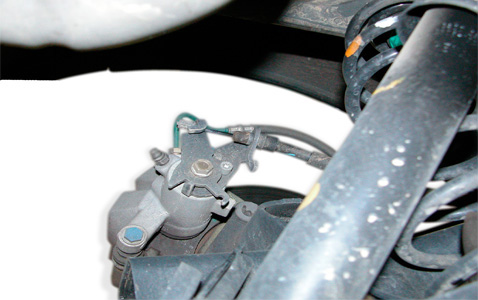
Position the vehicle onto the lift and release the parking brake. Remove the rear wheels before releasing the parking brake cables. Now remove the lower calipers’ stud mounting bolts, turn the caliper upward.
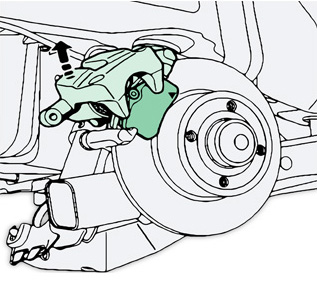
The next step is to remove the brake pads.
Replacement
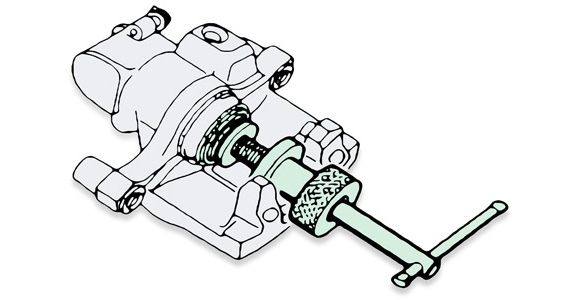
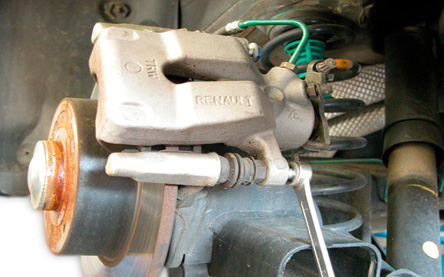
Press the piston back fully against the bottom of its seat.
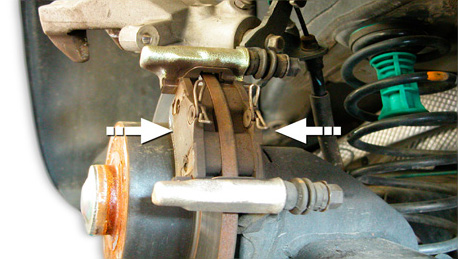
Fit the new pads. Refit the stud bolts, tighten the lower caliper stud bolts to a torque of 7 Nm and re-attach the parking brake cables.
Please note: Fit new bolts if supplied, if not thread retainer should be applied before refitting existing bolts. Press the brake pedal several times to make contact between the pistons and the pads. Apply the handbrake to check functionality of the park brake. Also, if disc replacement is necessary, see the following replacement and removal procedures.
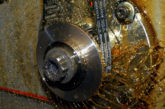
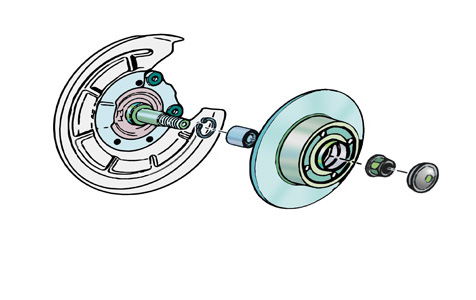
BRAKE DISC
Removal
Position the vehicle onto the lift and then remove the rear wheels. Release the parking brake cables before removing the stud bolts, brake caliper, pads, caliper mounting screws, caliper mountings, hub plugs, stud holder nut and disc-bearing set – in that order.
Replacement
Position the disc-bearing set onto the stud holder and tighten to a torque of 15 Nm.
Now tighten the stud holder nut to a torque of 280 Nm and fit the hub plugs. Fit the brake pads and position the caliper on the mounting. Tighten the brake caliper mounting screws to a torque of 105 Nm and also tighten the stud bolts to a torque of 36 Nm. Re-attach the parking brake cables and carry out the adjustment. Finally, check the brake fluid level.
Operational precautions
Brake fluid is hygroscopic, and it should be changed at regular intervals. Do not use fluid which does not comply with the specifications indicated in the table. Take care not to let fluid accidentally drop onto painted, rubber, plastic and mechanical parts. Do not use brake fluid from a container that has been open for an extended period of time.
PARKING BRAKE
Removal
Place the vehicle on the lift and remove the central console. Loosen the parking brake adjuster as required.
Replacement and adjustment
Re-attach the parking brake cables into their relative seats. Check the routing and actuation of the hand brake cables and also make sure the cable is adjusted to caliper stop. Position the parking brake cables and then refit the parking brake caliper side cables and control side cables. Fit a new adjuster nut and check that the parking brake cable locks are against the seat. Tighten the adjuster nut until the ‘X’ value indicated in the picture is reached (note: if the cable lock bracket is black then X = 21mm; if it is golden then X = 16mm). When the hand brake cables are replaced, apply the brake park control several times before adjusting the travel ‘X’ value.
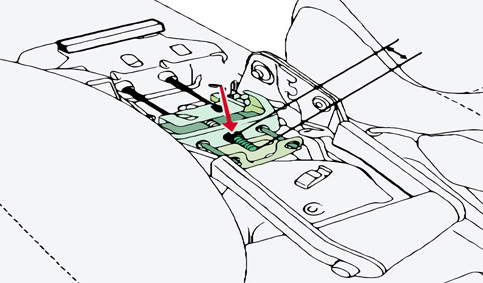
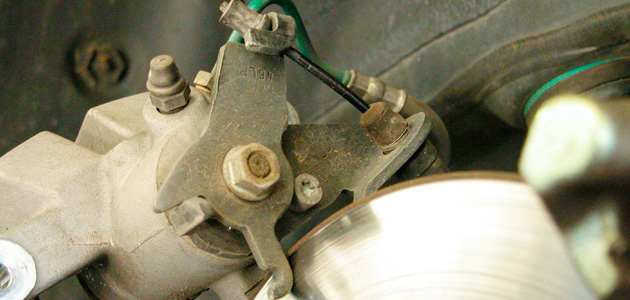
The value ‘x’ sits between the width of the two black lines coming from the adjuster nut (arrowed, on left pic). The picture on the right shows the restart level.
HYDRAULIC CIRCUIT
Bleeding
Check the brake fluid and bleeding device levels. Please note: the ABS circuit must be free from hydraulic and/or electrical faults. The vehicle battery should be disconnected for safety reasons.
Position the vehicle onto the lift and connect the bleeding device to the vehicle brake fluid reservoir. Fit the bleeding bowls onto the bleeding screws and bleed the circuit by loosening the bleeding screws in the following order:
1. Right rear caliper
2. Left front caliper
3. Left rear caliper
4. Right front caliper
Check the pedal travel with the engine switched off; if it is incorrect, repeat the bleeding procedure. Add oil until the desired brake fluid level into the reservoir after the bleeding device was removed. Check the bleeding screws’ tightening and verify that the plugs are fitted. Carry out a road test where some instances of ABS braking occur in order to check if the brake pedal travel is regular.