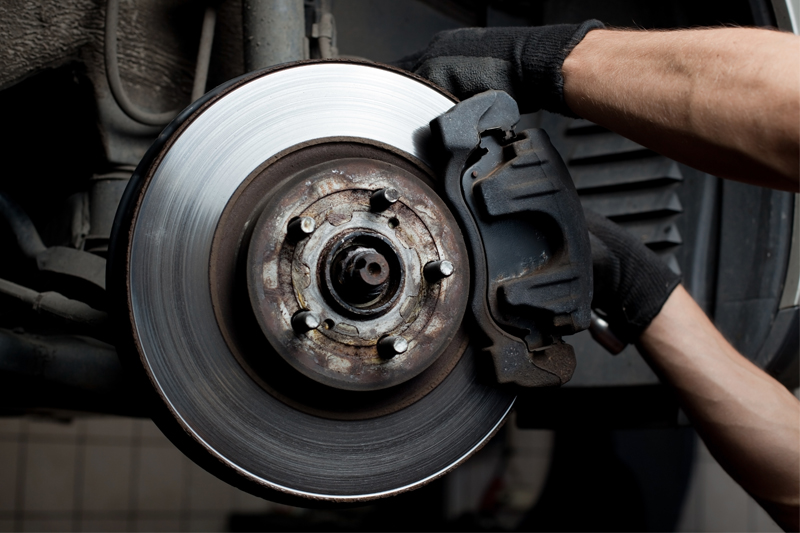
TechMate, the dedicated team of automotive specialists attached to the private label brands of Alliance Automotive Group, Apec and NAPA, provides its top tips for servicing brakes.
Best practices are not just guidelines; they are the cornerstone of delivering exceptional outcomes. Consider the example of changing brake pads and discs. While most workshops perform this task routinely, it’s the adherence to the latest technical guidelines, or “best practice,” that often separates success from issues such as brake squeal or judder. The product is seldom at fault; the blame frequently lies in the omission of best practices.
TechMate has devised a best practice acronym for brake maintenance: CALM – Clean, Accessories, Lubricate, and Measure. These four simple steps, they claim, are key to ensuring a flawless brake job.
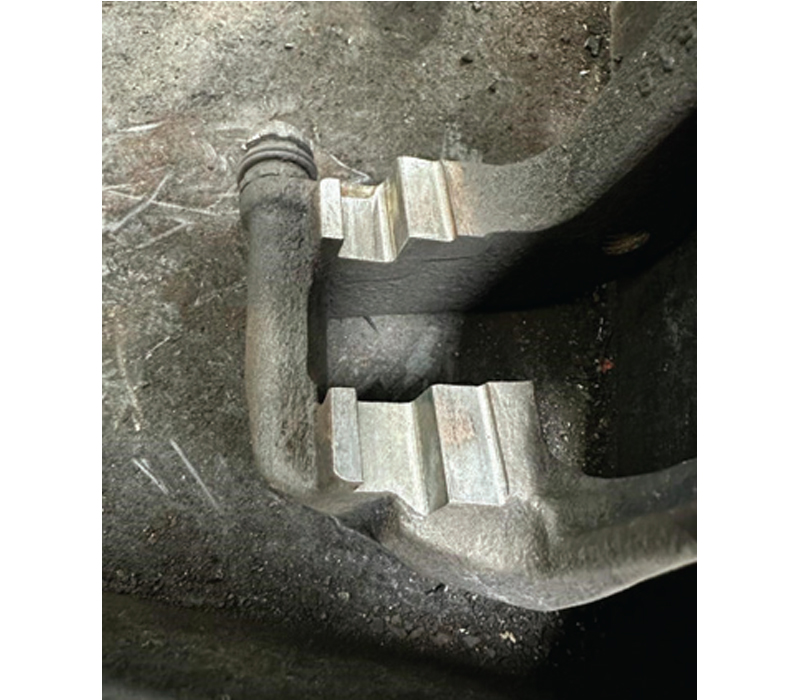
Clean
Begin with a thorough cleaning process to optimise brake performance. Remove the caliper, carrier, and slider pins, allowing you to eliminate rust and debris from the contact surfaces. Use a wire brush and caliper file to ensure these surfaces are pristine. This step ensures that brake pads fit and move freely, preventing the need for modifications. When replacing discs, take the time to clean the hub surface meticulously. Use a wire brush and a hub cleaning tool to remove any rust and debris. Neglecting this cleaning process can lead to brake judder down the line.
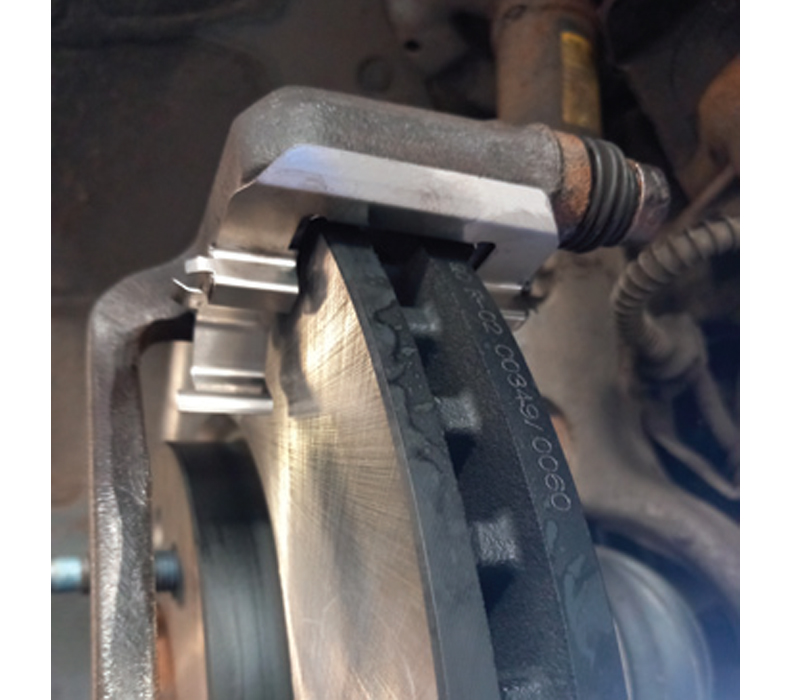
Accessories
Ensure that all brake pad and caliper hardware, including fitting kits and abutment shims, are replaced. These components, sometimes overlooked, play a vital role in promoting free pad movement while holding them securely to prevent vibration, which can manifest as brake squeal. Brake hardware can lose its tensile strength by up to 50 per cent in a two year period. Since they may not always come with the pads due to compatibility variations, it’s wise to request them when ordering brake pads. Also, it’s crucial to inspect slider pins. If incorrect lubricants have been used, they can cause rubber boots to swell and allow water ingress. If they are beyond a simple cleaning, replace them. Typically, new rubber boots accompany slider replacements and should be installed as well. Additionally, check for any rubber bushings on the sliders, ensuring they haven’t become cracked or swollen. Such issues can restrict caliper movement, potentially causing unwanted brake noise.
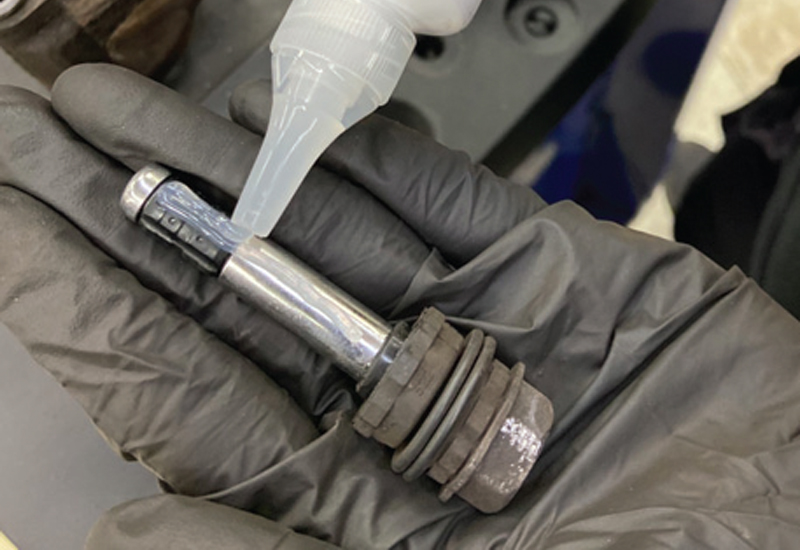
Lubricate
For optimal performance, lubricate the pad abutment points and caliper slider pins. A fundamental rule here is to strictly avoid the use of copper grease. Copper grease often dries up, making it stickier than lubricating. Furthermore, it contains copper, which is conductive and can interfere with the ABS sensor. The use of copper grease can lead to galvanic corrosion between dissimilar metals in the brake component, which speeds up corrosion rather than preventing it. We recommend using metallic-free, high-melting-point petroleum-based grease for pad abutment shims and a silicone-based grease for slider pins. The grease suitable for pads should not be used on the sliders, as petroleum-based greases can damage the rubber seals, making them hard and brittle, potentially causing splits.
Measure
After replacing discs, it’s imperative to conduct a runout check using a Dial Test Indicator gauge to ensure the disc is flush with the hub. Neglecting this step, even in the absence of visible excessive lateral runout, can lead to brake judder down the line. Excessive runout can cause uneven wear on the disc, known as disc thickness variation. It’s DTV that often leads to brake judder, not a warped disc. Taking a few extra minutes to check for runout using a gauge is a cost-effective measure compared to having an unhappy customer return with brake judder issues.


