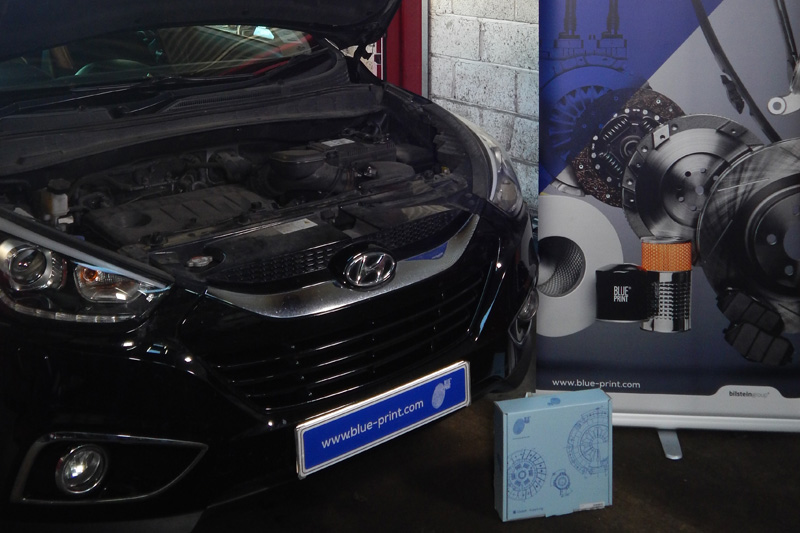
In this month’s Clutch Clinic, Charles Figgins, Technical Marketing Manager at Blue Print, takes readers step-by-step through a clutch replacement on a 1.7 Hyundai ix35.
Vehicle Information
Make: Hyundai
Model: ix35
Year(s): 2009-2015
Engine: 1.7-litre diesel
Transmission: Six-speed, FWD
Mileage: 97,000
This popular Hyundai model range was introduced in 2004 and is a high-seller worldwide as demand increases for sport-utility crossover vehicles. The model featured in this article is a second-generation ix35 – also known as the Tucson in some markets between 2009 and 2015. This example is front-wheel drive, equipped with the 1.7-litre diesel engine and a six-speed transmission. An intermittent clutch ‘squawking’ noise in slow-moving traffic had been reported – this required investigation.
The vehicle was brought into the workshop and the bonnet was opened. On inspection, some common items needed to be removed in order to gain access to the top of the transmission. Firstly, the key was removed from the vehicle and stored in a safe place. This ix35 is equipped with a push-button start and electronic ignition lock, so it’s important to have access to the key in case of any possible issues during the battery disconnection and reconnection process.
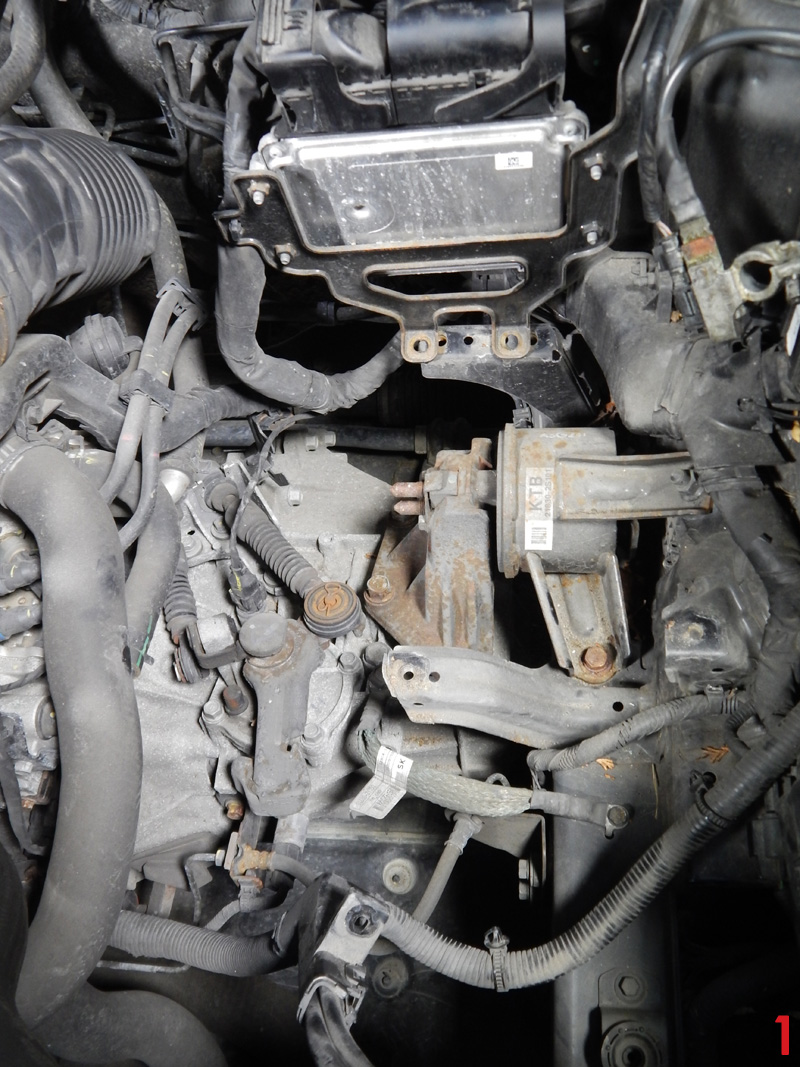
The plastic engine cover was removed, followed by the air cleaner assembly, air duct and upper intercooler hose. Next was the removal of the battery and battery tray, leaving the engine control unit connected to the wiring harness. With the top of the transmission exposed, the reverse lamp switch and neutral switch were disconnected and the earth cable unbolted. (Fig. 1)
Then, the two “R” clips were removed, retaining the gear-selector cables which were disconnected from the bracket.
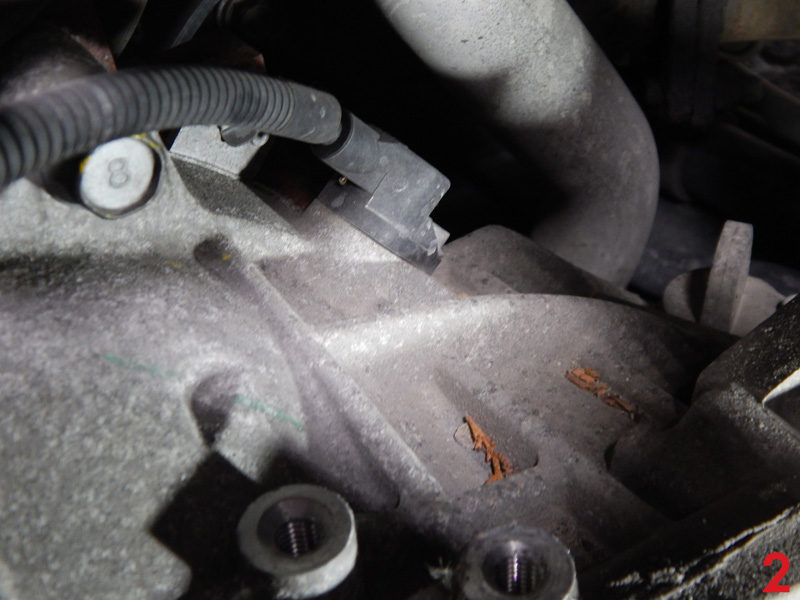
The three bracket bolts were removed along with the bracket, so as to gain access to the two top transmission-housing bolts. This was followed by the removal of the crankshaft position sensor, including unclipping it from the wiring harness. If the sensor was not removed, it would be damaged against the flywheel upon removal of the transmission. (Fig. 2)
The vehicle was raised to remove the wheels and the hub nuts retaining the driveshafts. Afterwards, the split pins were removed from the tie rod ends and nuts, along with the lower control arm ball joint split pins and nuts. The tie rod ends were separated from the hubs so that the hubs could be turned independently of the steering rack in order to remove the driveshafts, because the ignition lock is activated with the battery disconnected.
Next, the lower ball joint retaining bolts were removed and the ball pins were released from the hubs. This was followed by the removal of the transmission oil drain plug, to drain the oil. Once the oil was drained, both driveshafts were removed from the hubs and a suitable lever bar was used to release the inner driveshaft joints from the differential. It is important to be careful not to damage the oil seals.
Working from underneath the vehicle, the plastic engine undercover was removed – as well as the left-side cover – to gain access to the other components that required removal.
The clutch slave cylinder was unbolted and removed, including the hydraulic hose-retaining bracket from the transmission. Then, the two starter motor bolts were removed – but not the starter motor itself.
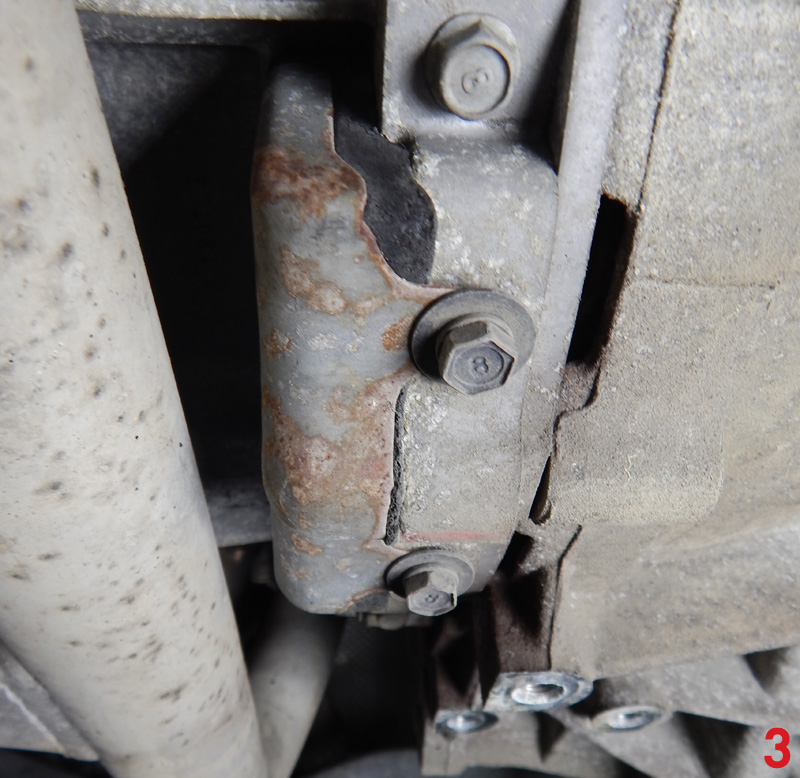
The lower transmission mounting was taken off – including the retaining bracket attached to the base of the transmission – along with the dust cover, to reveal any hidden bell housing bolts. (Fig. 3)
Ensuring the engine was supported, the bolts holding the top transmission mount to the transmission were removed and the lower intercooler hose was released from the metal pipe that connects to the turbo.
After all remaining bell housing bolts were removed, the transmission was separated from the engine and lowered to the floor.
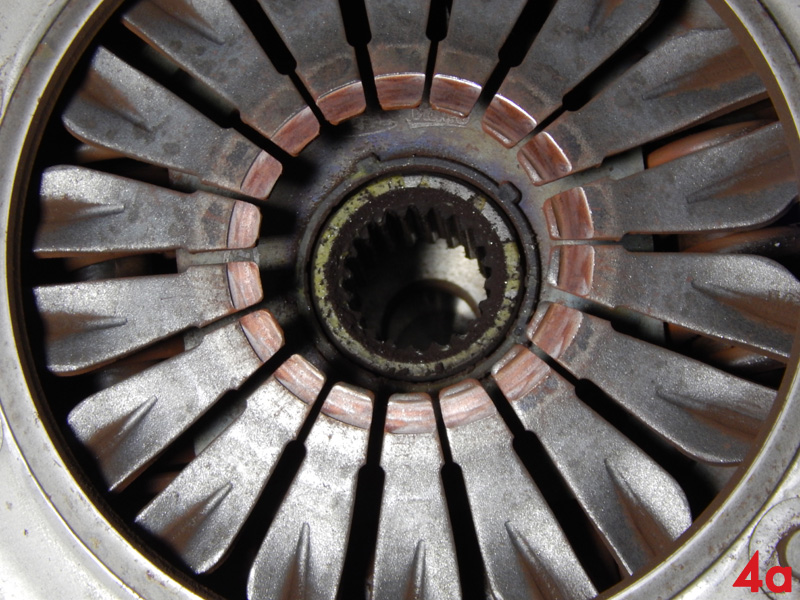
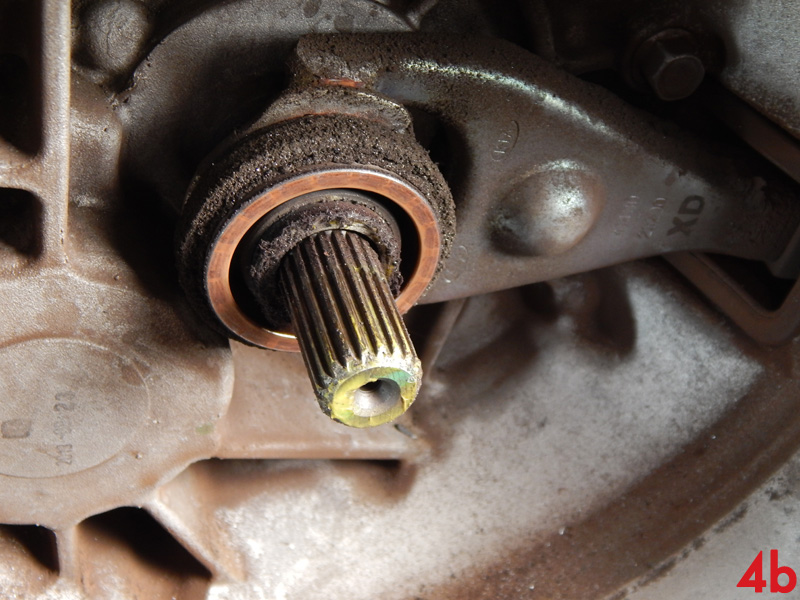
With the transmission removed, the clutch pressure plate and friction disc were removed from the flywheel and inspected for any unusual wear issues in order to diagnose the possible cause of the clutch’s ‘squawk’ noise.
The release bearing was found to be worn and noisy, along with a worn pressure plate diaphragm spring. (Fig. 4 a&b)
After 97,000 miles of mixed-traffic driving, the solid flywheel was found to be in good condition and only required cleaning before fitting a new clutch kit. Blue Print clutch kit ADG030203 was chosen as the replacement, along with clutch slave cylinder ADG03644.
The new pressure plate and friction disc were aligned and attached to the flywheel, and all nine bolts were tightened in a star pattern to the required torque. This is to give an even spread of pressure during the tightening process – preventing twisting and vibration of the cover and the lifting of the pressure plate.
The bell housing was cleaned and inspected, followed by the replacement of the release bearing. A small amount of grease was applied to the input shaft and then the transmission was ready to be refitted to the engine.
The transmission was aligned to the engine and secured in place with a few of the bell housing bolts. This was followed by fitting all of the parts to the transmission. Additionally, all other parts that were taken out in the transmission removal process were refitted. All of the bolts and fixings were tightened accordingly, and all the split pins were renewed along with the new hub nuts retaining the driveshafts. The transmission was filled with fresh oil through the level plug until the desired level was reached, and then the plug was refitted.
Following this, the brake/clutch fluid reservoir was topped-up with fresh fluid and the new clutch slave cylinder was bled of any excess air.
The battery tray – along with all the associated wiring – was refitted, as well as the battery and other covers. This was followed by resetting the clock, windows, steering wheel angle sensor and a check of the clutch pedal operation. Finally, a road test was carried out to make sure the clutch was back to full operational order.


