In this month’s timing belt focus, Schaeffler INA REPXPERT, Alistair Mason, is replacing the timing belt and auxiliary belts on a 2006 1.9 Vauxhall Zafira.
Vehicle Information
Manufacturer: Vauxhall
Model: Zafira
Year: 2006
Engine: 1.9 CDTI (Z19 DTH)
Mileage: 150,000
The timing and auxiliary belts on this 2006 Vauxhall Zafira, fitted with a 1.9 CDTI (Z19 DTH) engine, need to be replaced. This vehicle has covered more than 150,000 miles, with an interference type engine, so the likelihood of engine damage if the timing belt fails is very high.
The Zafira is a very popular car in the UK and Ireland and with the manufacturer’s recommended replacement interval of 100,000 miles or 72 months, a repair time of 1.6 hours and the workshop repair instructions available on the REPXPERT workshop information system, belt replacement is a great repair for any independent garage.
Always remember to disconnect the battery earth lead before starting the repair and to only turn the engine in the direction of rotation during belt removal and replacement. In addition, if fitted with a timing belt-driven water pump, it is also recommended that the water pump is replaced at the same time. However, in this instance, the customer declined the recommendation.
Timing belt removal
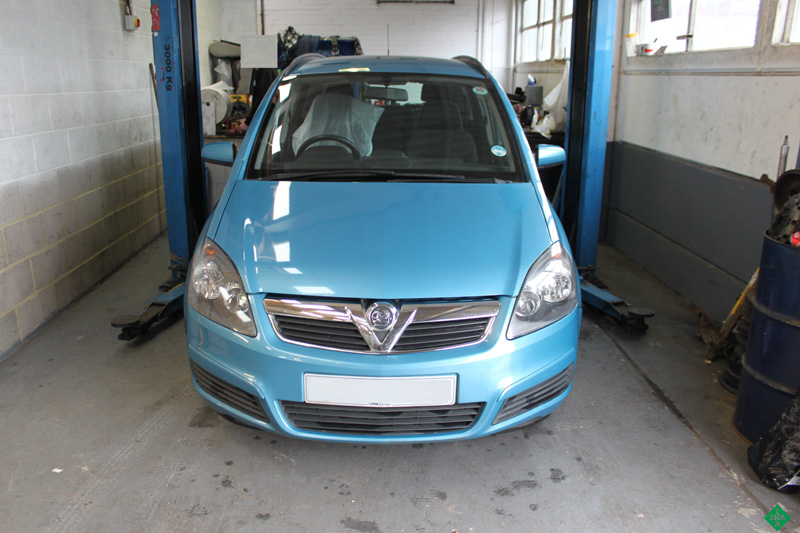
With the INA timing belt kit ordered and service information checked, place the vehicle on the ramp, open the bonnet and disconnect the battery earth lead, then remove the plastic engine cover followed by the air filter assembly (Fig.1).
Slacken the O/S/F wheel, then raise the vehicle lift to gain access to the underside and remove the engine undertray, lower the ramp to waist height and remove the O/S/F wheel, disconnect the front section of the wheel arch liner and then remove the lower splash guard to expose the auxiliary drive belt area.
It is always advised to replace this auxiliary belt when replacing the timing belt, so with the auxiliary belt still installed, slacken the four front pulley bolts and then remove it to inspect for wear. Also check the over-running alternator pulley for its correct function and the idlers for smooth operation.
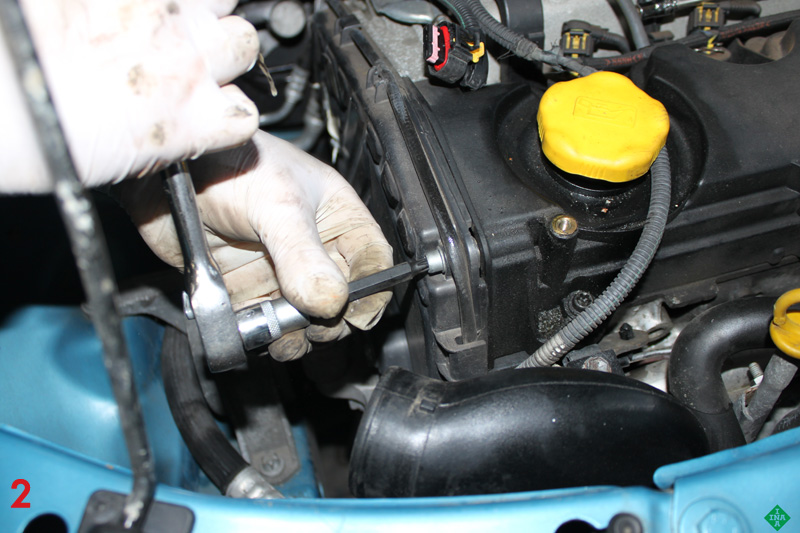
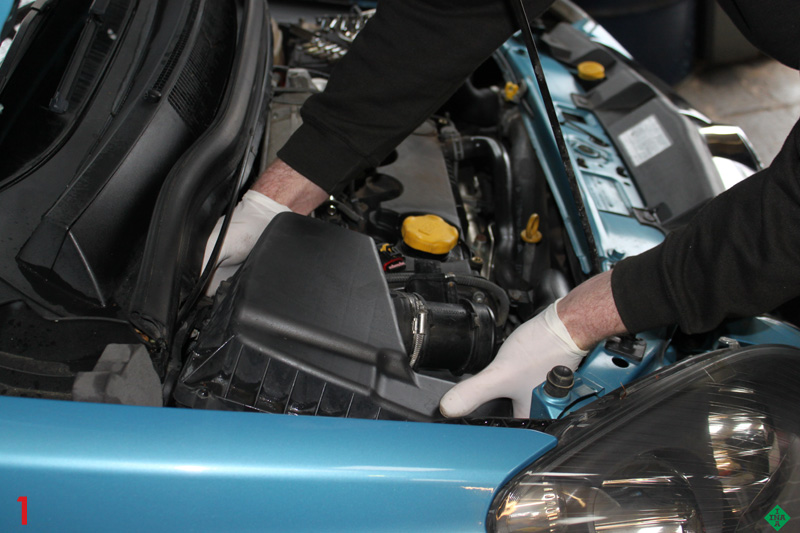
The next part of the removal process is to support the engine. In this instance a subframe-attached engine support was used under the vehicle, but an engine brace works equally well. With the engine supported, lower the vehicle lift to gain access to the engine bay. Remove the upper timing belt cover (Fig.2) and then the engine mounting and engine bracket assembly (Fig.3), to make the timing belt fully visible and accessible.
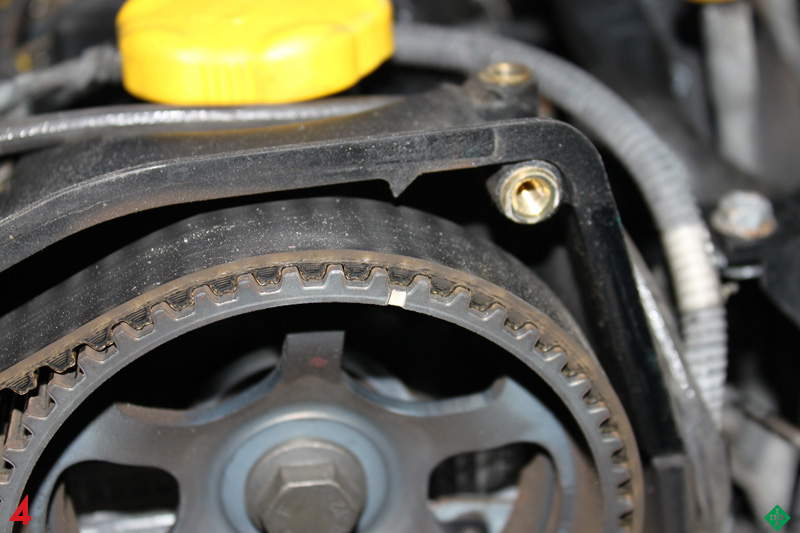
Rotate the engine in a clockwise direction until the notch on the camshaft pulley is aligned with the pointer on the cam cover (Fig.4), then raise the vehicle lift to gain access to the crankshaft pulley, remove the pulley and inspect it for any cracking on the rubber damper area and replace if necessary.
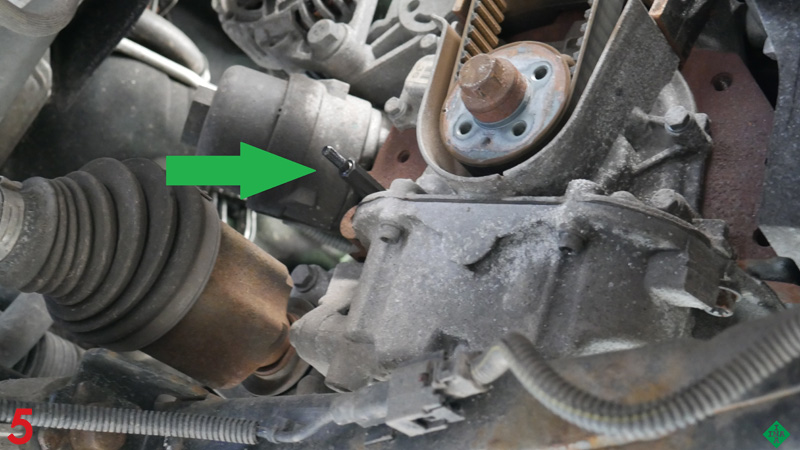
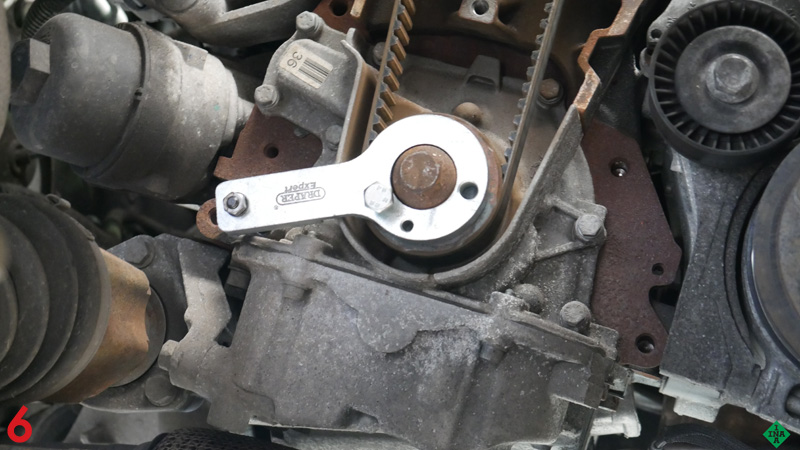
With the pulley removed, unscrew the bolt from the oil pump housing and insert and tighten the locating pin (Fig.5), then fit the crankshaft locking plate (Fig.6). With the crankshaft locked, slacken the timing belt tensioner bolt, ease the timing belt off the upper pulleys, remove the crankshaft locking plate and then the timing belt.
Timing belt replacement
With the timing belt removed, check for any leaks that may contaminate the new timing belt kit and rectify as required. Remove and replace the timing belt tensioner and idlers and secure them using the new bolts supplied in the INA timing belt kit. Before installation of the new timing belt, ensure the camshaft pulley and high-pressure fuel pump are aligned.
Locate the new timing belt onto the crankshaft pulley and refit the crankshaft locking plate. Working in a clockwise direction, ensure that the white lines on the new timing belt align with the marks on the high-pressure fuel pump and camshaft pulley.
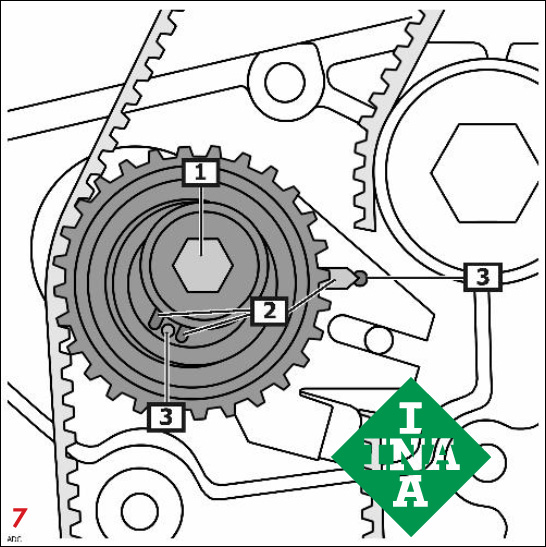
With the belt installed, check all timing marks align, set the tensioner so the pointer aligns with the hole/reference point on the base plate (Fig.7), tighten and torque the tensioner bolt. Remove the crankshaft locking plate, rotate the engine two complete revolutions, refit the crankshaft locking tool and check that the camshaft and high-pressure fuel pump timing marks align to ensure the timing is correct and check the pointer is still aligned correctly on the tensioner.
Installation is in reverse order of removal, in this instance the multi ribbed auxiliary belt and tensioner were also replaced.
Schaeffler’s ‘4Ts ’ Rule
Temperature – Always carry out timing belt replacement on an engine that is at ambient temperature, as this can affect the tension of the belt
Tools – Timing/locking tools are essential for the correct and accurate timing on today’s engines
Torque – Ensure all bolts are torqued to the manufacturer’s specifications
Tension – Always tension the belt correctly, ensure the tensioner is set in the correct rotation, that tension marks align and pulley movement is available where required


