
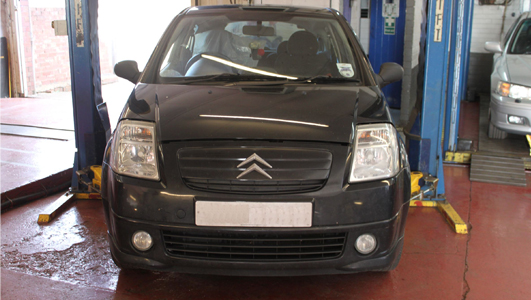
A clutch replacement on the Citroen can be a little tricky but with the guidance of the experts at LuK the whole process will become much easier. Nothing out of the ordinary is needed to complete the job, the only special tools required are a transmission jack, an engine support cradle and a long axle stand. A two-post ramp was used in this example as a four-post ramp may not provide enough clearance.
For safety reasons its considered best practice to disconnect the battery earth lead before commencing work. If the vehicle has alloy wheels it may be fitted with anti-theft wheel bolts, so make sure you have the key before you start.
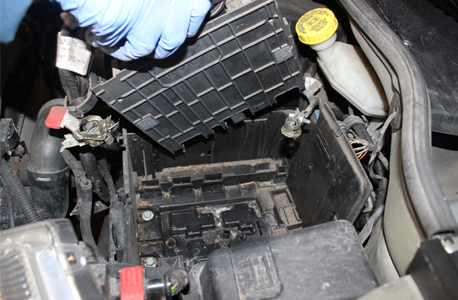
Open the bonnet, remove the two piece battery cover and disconnect the battery. Lift out the battery and release the ECU pack (pictured below) inside the tray and stow it to one side.
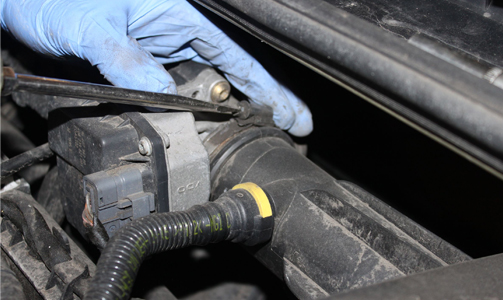
Release and remove the plastic divider separating the other ECUs from the battery tray. Remove the air filter housing by removing the plastic clip and releasing the jubilee clip (pictured below).
Unbolt and slide out the battery tray then remove the attached harnesses and the other ECU.
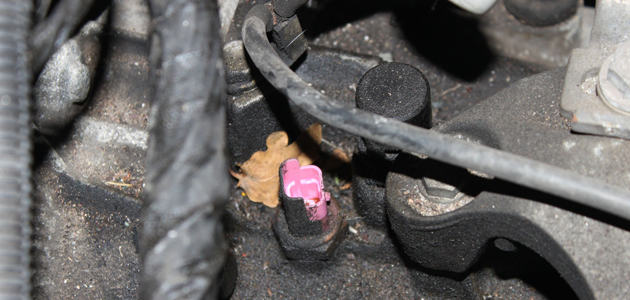
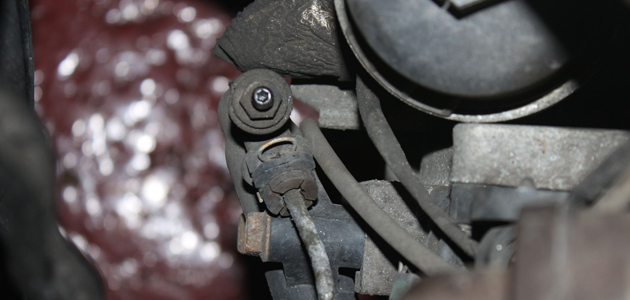
Remove the end of the gear linkages by pushing together the white clips while lifting them clear of the gearbox selector arm. Disconnect the reverse light switch (pictured below) and the crankshaft sensor and stow them to one side. Undo the earth point on top of the gearbox and remove the upper bell-housing bolts.
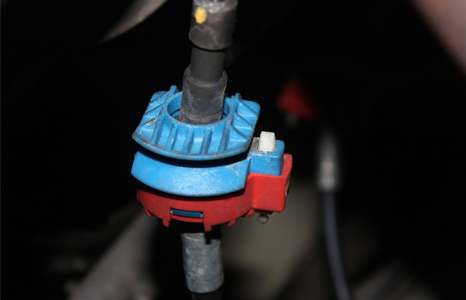
Clamp the flexible part of the slave cylinder and disconnect the hydraulic connection to it (pictured below).
Release both gear selector cables from the supporting bracket; to do this just pull the pin (pictured below) on the coloured side of the plastic housing and lift the cable clear.
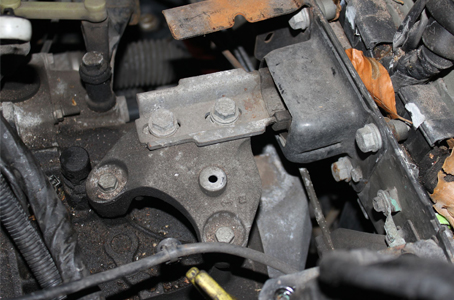
Finally, while supporting the engine with the cradle, remove the complete gearbox mounting (pictured below).
Raise the vehicle and remove both front road wheels. Remove both hub nuts and release both lower arms. Drain the gearbox fluid and remove both driveshafts from the gearbox and hubs. Undo the cross member support bar and undo the rear gearbox support bracket. Remove the starter motor bolts and stow the unit to one side.
While supporting the gearbox from below using a transmission jack, remove the remaining lower bell housing bolts and slide the gearbox back slightly before rotating it away from the sub-frame, making sure you exercise care. The gearbox can now be lowered to the floor.
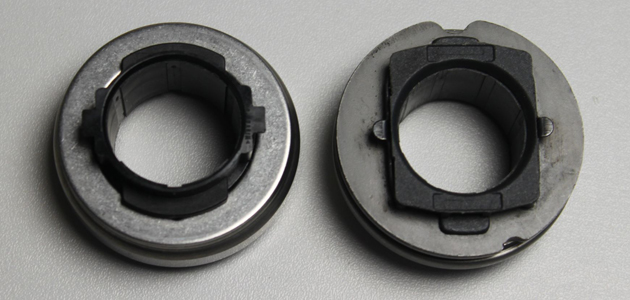
With the clutch removed, check the flywheel for signs of heat stress. Clean the first motion shaft splines and any debris from the bell housing (especially important when a release bearing has failed). When comparing the new and old release bearings on this model you may find that they are slightly different (pictured below). This is normal and the new bearing will work perfectly so don’t worry about fitting it.
Excess grease
Put a small dab of high melting point grease (not a copper-based product) on the first motion shaft splines and make sure the new driven plate slides freely back and forth. This not only spreads the grease evenly but also makes sure you have the correct kit. Wipe any excess grease off the shaft and driven plate hub. Using a universal alignment tool and checking the driven plate is the correct way round (note “Getriebe Seite” is German for “Gearbox Side”) the clutch can be bolted to the flywheel evenly and sequentially.
Before fitting the gearbox make sure the locating dowels are in place and not damaged. Refit any that have become dislodged and refit the gearbox. Make sure the gearbox bell housing bolts are secured before lowering the jack. Refitting is the reverse of the removal.


