The Ford KA was first introduced way back in 1996 with the second generation being launched in 2008. The small city car is still very popular, with over 400,000 on the UK roads alone today.
In this article the guys at LuK take a look at a 2004 1.3 KA clutch replacement and give some handy hints to help any UK independent aftermarket garage undertaking the repair.
The clutch replacement is pretty straight forward and nothing out of the ordinary is required to complete the job. We used a two-post ramp and two transmission jacks. It is best practice to disconnect the battery earth terminal and stow safely. If the vehicle is fitted with alloy wheel then make sure the locking tool is available before starting the repair.
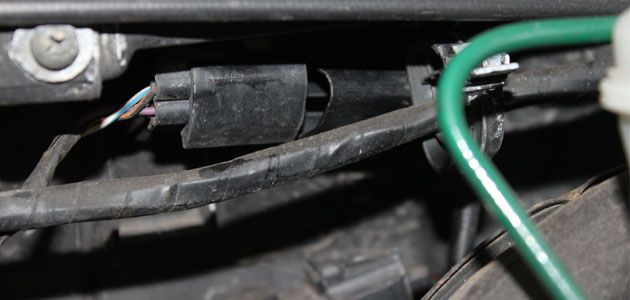
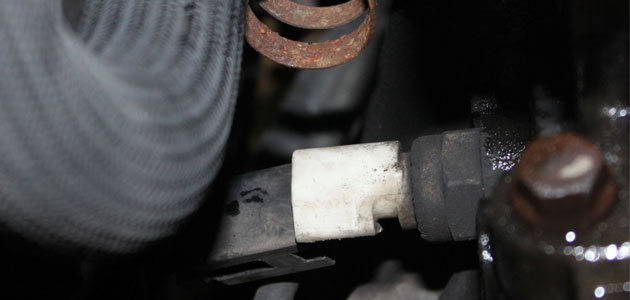
Remove the air filter housing and pipes. Disconnect the speed sensor plug which is hidden away at the rear of the engine compartment.
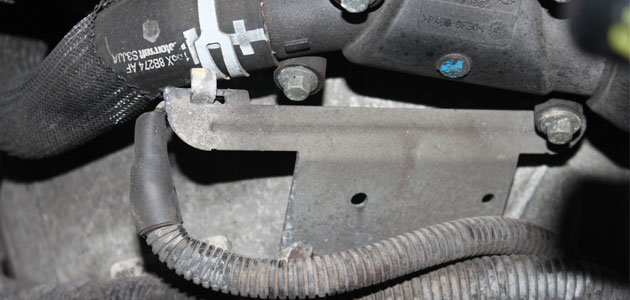
Remove the top two bell housing bolts that also hold in place a bracket for the wiring loom and the earth lead.
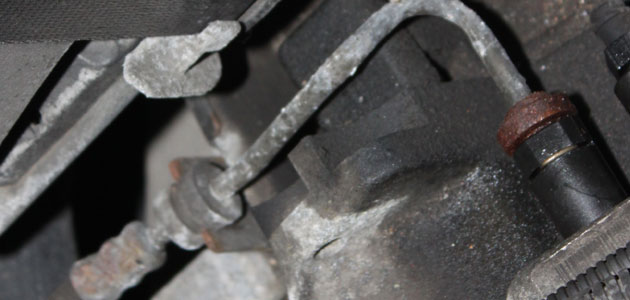
Disconnect the slave cylinder feeder pipe and release the hydraulic hose from its retaining bracket.
Raise the vehicle and remove the nearside front wheel. Disconnect the reverse light switch and remove the bottom radiator hose from its retaining clip.
Remove the driveshaft heat protection plate and then release the two bell housing bolts seated just above.
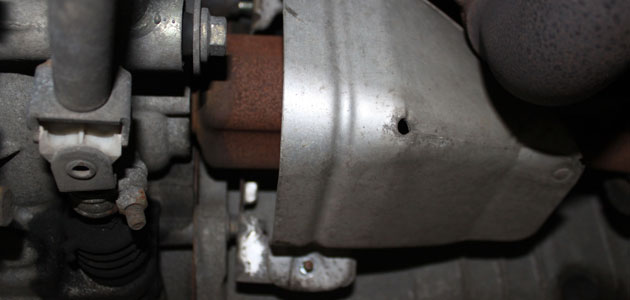
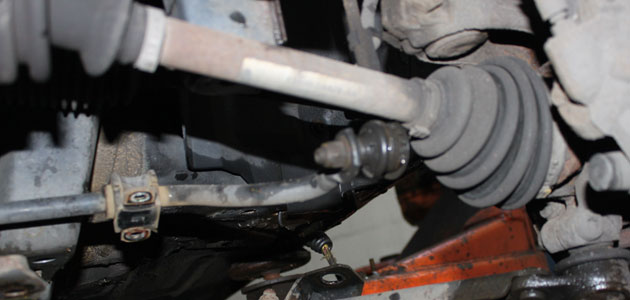
The protection plate is attached to one of the bell housing bolts. Remove all the bolts from both sides that attach the control arms to the chassis and disconnect the anti-roll bar link only on the nearside. The control arms are easily aligned back in place because they have alignment pins for re-fitment. The nearside control arm can then be swung to the side on the ball joint and supported using a bungee tie to take the weight.
Support the engine and gearbox using the transmission jacks and remove the front gearbox mount from its position. Release the starter motor bolts and remove the remaining bell housing bolts. Withdraw the gearbox carefully into the wheel arch and make sure it is supported safely; you should now have enough clearance to remove the clutch and slave cylinder. With the clutch removed check the flywheel for signs of heat stress or excessive wear. Clean the first motion shaft splines and any debris from the bell housing.
Put a small dab of high melting point grease (not a copper-based product) on the first motion shaft splines and make sure the new driven plate slides freely back and forth. This not only spreads the grease evenly but also makes sure you have the correct kit. Wipe away any excess grease off the shaft and driven plate hub. Using a universal alignment tool and checking the driven plate is the correct way round (note “Getriebe Seite” is German for “Gearbox Side”), the clutch can be bolted to the flywheel evenly and sequentially. Install the new slave cylinder without pumping the bearing as this will damage the component.
Make sure the dowels have not become dislodged or damaged and replace any that have. Install the gearbox and make sure the bolts are secured and all mountings are refitted before removing the supporting transmission jacks. Refitting the rest of the components is the reverse of removal.


