Laser Tools recently released a memory saver that prevents the memory of on-board electronics from becoming lost when the vehicle battery is disconnected. PMM finds out how it works.
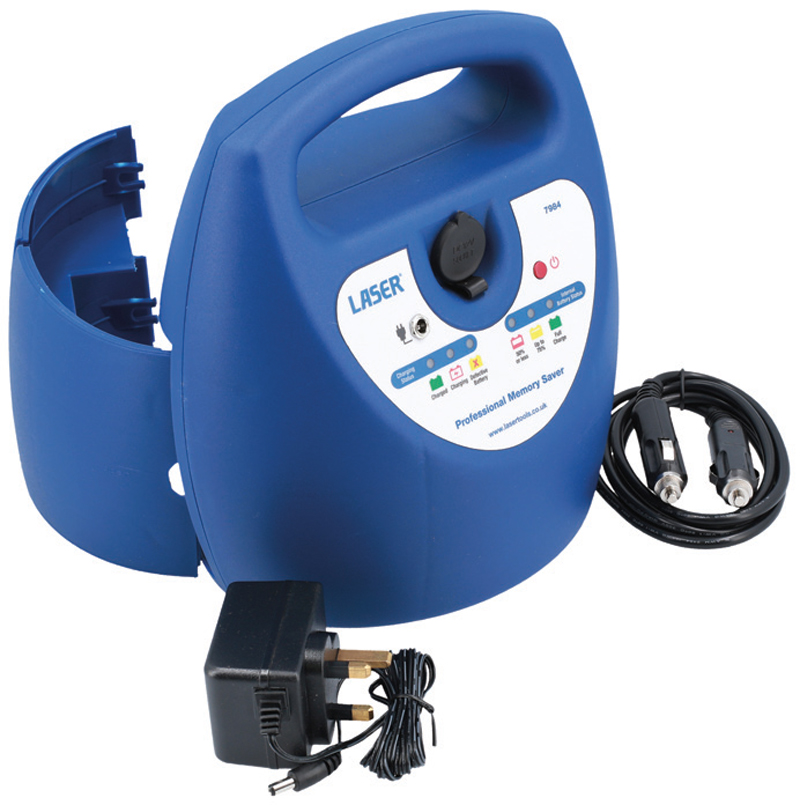
If a vehicle’s battery is disconnected for the purposes of a repair procedure, it can be the case that the memory within that vehicle’s electronics can be lost; trip and fuel readings, radio presets, or even a radio code. To solve this problem, Laser Tools has developed a professional memory saver (part number 7984) that features an internal 12V 7Ah sealed battery that is able to preserve the on-board memory and settings. Technicians can therefore save the time that is usually spent re-entering lost codes.
The memory saver is connected to the vehicle via the EOBD port or alternatively the accessory 12V power socket. Leads for both are included, alongside a mains charger, whilst LEDs on the front of the unit provide information on internal battery condition and charging progress. The unit can also be used as a power source for 12V accessories, featuring an internal circuit breaker if the accessory draws more than 4A or is damaged.
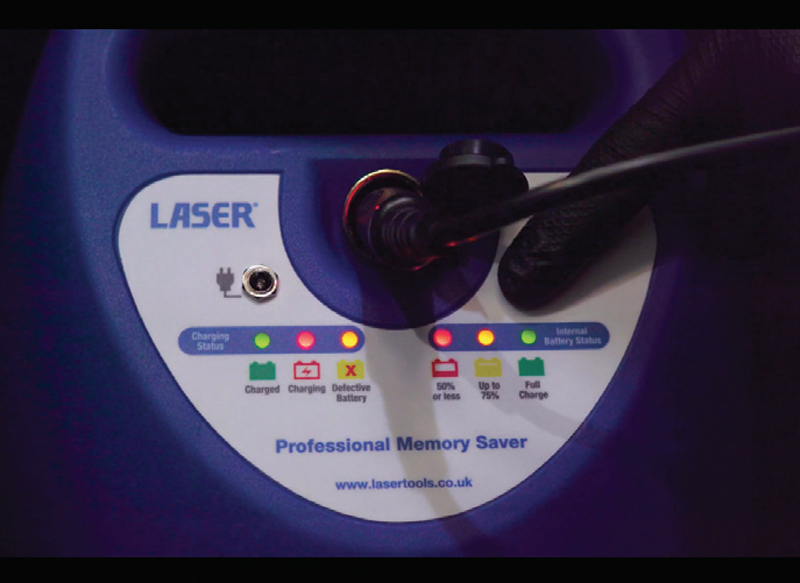
Charging indicators
It is imperative that the internal battery is fully charged before use. To do this, press and hold the ON/OFF button to switch the unit on; the internal battery status panel displays:
- Red: 50% charge or less (fully charge internal battery before use)
- Yellow: Up to 75% charge (unit may be used, but should be fully charged as soon as possible)
- Green: Fully charged
How to use the memory saver
- When disconnecting a vehicle’s battery, it is always best practice to refer to the manufacturer’s documentation to find out how this done
- Ensure that the vehicle ignition switch is in the OFF position before connecting the memory saver
- Turn off all electrical loads on the vehicle (heater/air-con fans, lights, radio, etc)
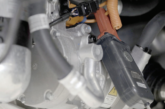
- Connect the professional memory saver to the vehicle via the EOBD port; the location of the port can be found in the vehicle’s handbook
- Alternatively, connect via the 12V accessory socket using the supplied connectors and cable. You will need to ascertain if the vehicle’s 12V accessory socket is ‘live’ with the ignition off. If it is off, turn the ignition key to the first ACC setting; do not move the key to the START setting. The red LEDs in the 12V accessory plugs will illuminate to confirm that the socket is live and the connection is OK
- Switch the memory saver on by pressing and holding the ON/OFF button (approximately three seconds)
- Refer to ‘Charging indicators’; the green LED indicates that there is sufficient voltage in the unit’s internal battery to proceed
- Before attempting to disconnect the vehicle’s battery, the manufacturer’s recommended waiting time must be followed to ensure that all on-board systems have powered down completely
- With the green LED lit, the vehicle’s battery can now be disconnected. Be aware that the battery leads remain ‘live’ — take care to insulate them to avoid a short circuit
- While the battery is disconnected, do not open doors or allow any of the on-board systems to be activated
- Once the vehicle’s battery has been replaced, or repairs have been completed, reconnect the battery leads. Then, switch off the memory saver by pressing and holding the ON/OFF button. Disconnect the cable from the vehicle
Note: The professional memory saver will automatically shut down after four hours to save power.
Using the memory saver as a 12V power source
- The memory saver can also be used as a power source for 12V accessories via the 12V accessory socket at the front of the unit. Make sure the 12V accessory is switched off before connecting to the memory saver. Switch on after the accessory has been connected
- If the accessory draws more than 4A, or is damaged and has a short circuit, the internal circuit breaker in the memory saver will operate. The circuit breaker will reset once the accessory has been removed
- Do not use as a power source if the memory saver is connected to the vehicle via the EOBD port or 12V accessory socket
Product highlights
- Can be connected via 12V power socket or EOBD port
- Sealed internal battery
- Can be used as a power source for 12V accessories
- Internal circuit breaker in case of overload