In this latest article, technical experts from OESAA members, Delphi Technologies and Laser Tools, have teamed up to offer a guide to technicians changing the fluid in a Volkswagen DSG triple-clutch gearbox on a plug-in hybrid vehicle to guarantee a safe, efficient, and professional job.
Vehicle: 2017 Volkswagen Passat plug-in hybrid
Procedure: DSG oil change
Estimated time for the procedure: 20 minutes
Volkswagen’s DSG gearbox is a familiar sight to technicians, but the latest generation fitted to VW plug-in hybrids is an evolution of the existing unit with a triple-clutch design. The scheduled fluid change intervals are critical to ensuring reliable running, and they prevent expensive repairs later in life. The procedure also ensures the fluid level is accurate, providing a suitable reserve of fluid while not causing problems due to over-fill.
While the procedure itself is straightforward, it requires a suitable level of skill, tooling and time to complete the job. That’s why this article from Delphi Technologies and Laser Tools is valuable in understanding the drain and fill methods this sophisticated hybrid vehicle requires.
Why does the ATF need to be changed?
Fluid in a gearbox is subject to wear, just like other components in a vehicle. Fluid needs changing because:
- Fluid is subject to repeated heat cycles, in which it gradually loses its ability to lubricate
- Gear and bearing wear create tiny metallic particles which are suspended in the fluid
- Over time, the fluid becomes saturated and particles can clog small oilways and cause solenoids to jam
- Changing the fluid flushes any particles that have settled on the bottom of the sump
- Clutch slip can subject the fluid to very high local temperatures, limiting its life
EV and hybrid safe working
Delphi Technologies’ guide includes full details of powering down the hybrid system, including the requisite personal protective equipment. Laser Tools offers a wide range of PPE, including arc flash face shields, insulating gloves and pneumatic glove testers. Laser Tools also offers a full suite of electrically insulated tooling suitable for working on hybrid and EVs.
Before you start:
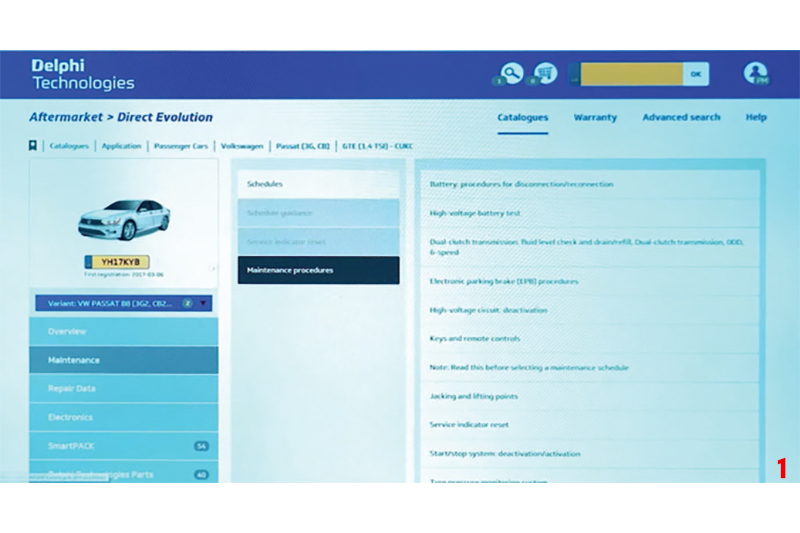
Always refer to the vehicle manufacturer’s instructions for each specific application. The Delphi Technologies Direct Evolution tool offers a wide range of vehicle coverage including up-to-date Volkswagen workshop and diagnostic capabilities.
Step 1: Check the procedure using technical data e.g. Delphi VTI (Vehicle Technical Information).
Step 2: Connect the OBD diagnostic tool e.g. Delphi VCI (Vehicle Communication Interface).
Step 3: Check for fault codes, then empty the pressure accumulator using the diagnostic procedure. NOTE: A fault code will be generated during this procedure; this is normal and can be cleared at the end of the procedure. Once the procedure is complete, the software will advise to proceed with the fluid drain.
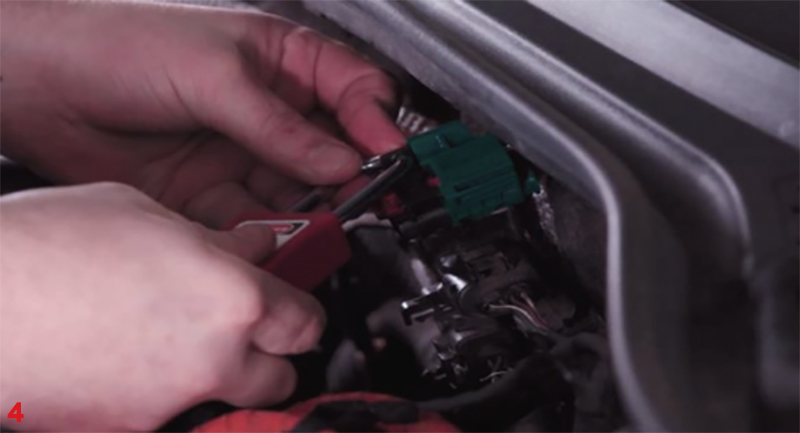
Step 4: Power down the high voltage system, starting by isolating the low voltage (12V) system via the service plug and securing using a padlock.
Step 5: NOTE: Check all PPE before wearing. Wear suitable PPE (including insulated gloves and arc shield helmet). Identify the high-voltage inverter unit on the vehicle.
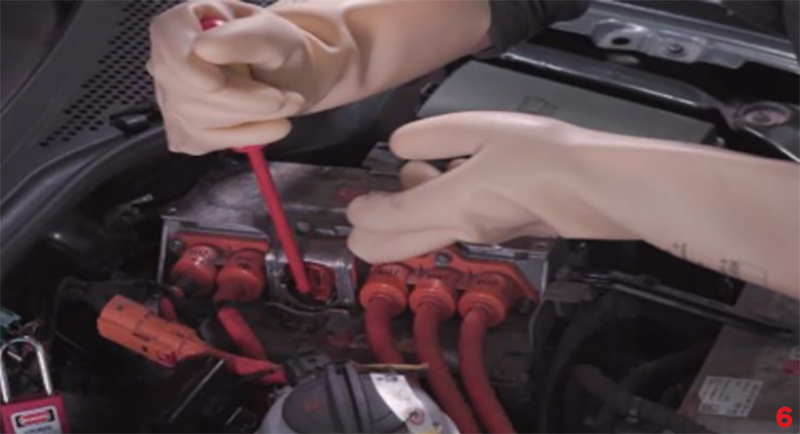
Step 6: Using approved insulated tooling (such as Laser Tools’ insulated screwdriver) gain access to the high-voltage inverter test points.
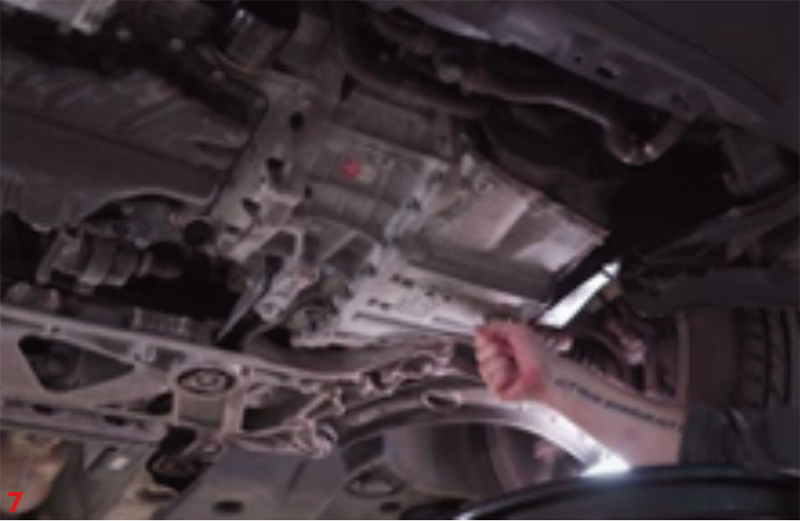
Step 7: Using a suitable voltmeter (e.g. Digital Voltmeter and Insulation Tester 1000V CAT111) check for zero voltage in the DC lines.
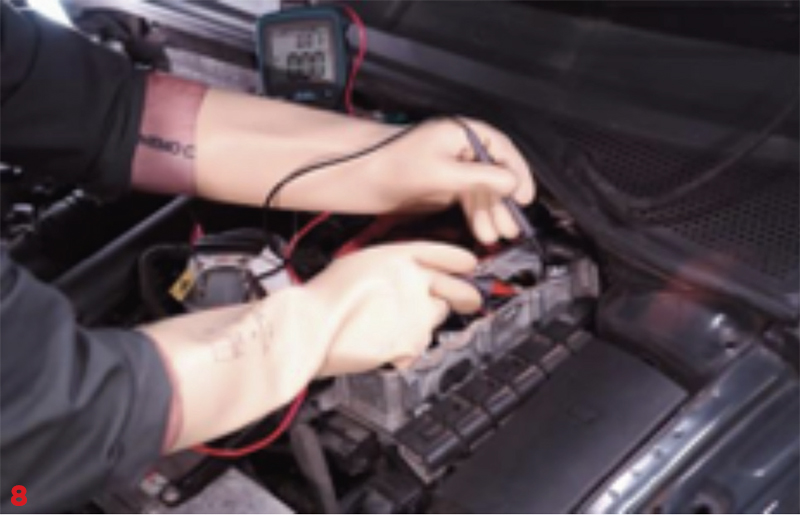
Step 8: Check the AC lines for zero voltage, both between phases and to earth.
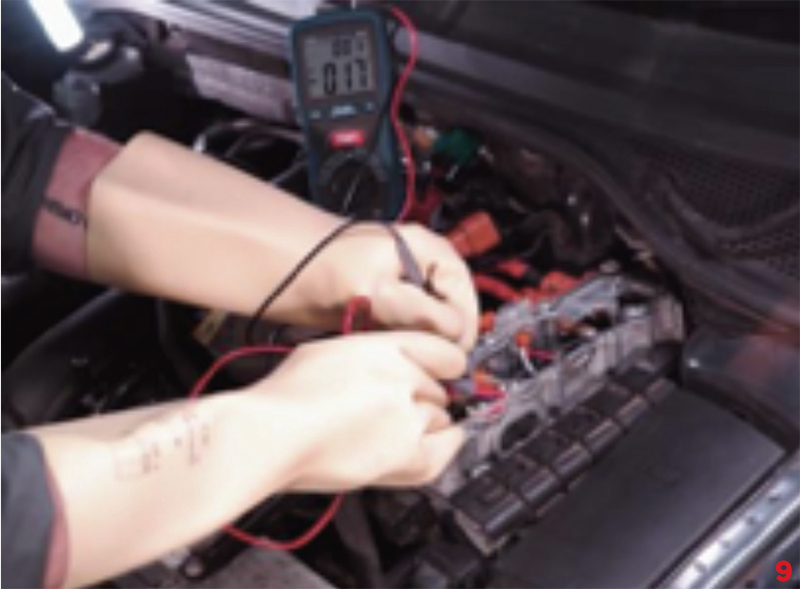
Step 9: Once zero voltage has been confirmed, raise the vehicle. Remove the under shield to gain access to the gearbox drain points.
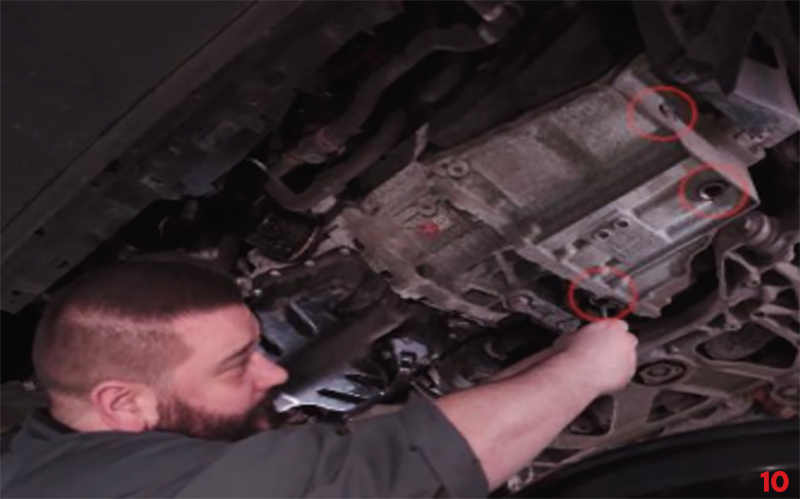
Step 10: Remove the three drain plugs circled. There is a level plug in the drain hole closest to the centreline of the car, which should also be removed. Let the fluid drain into a suitable container, e.g. Laser Tools’ waste oil receiving pan.
Step 11: Once the fluid has completely drained, refit the two outer drain plugs.
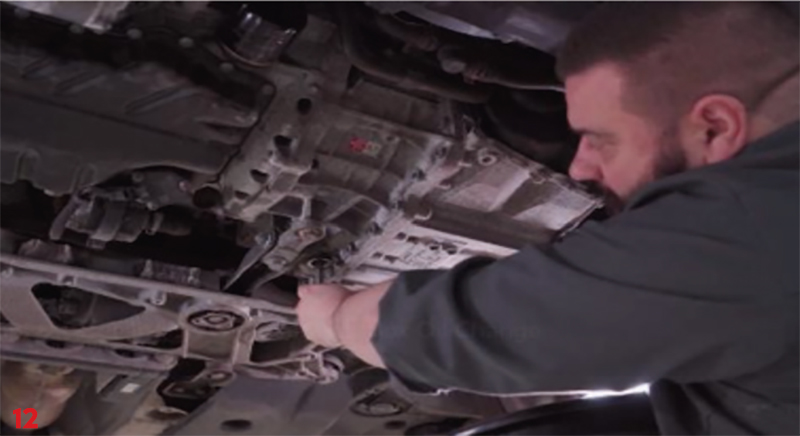
Step 12: Refit the fill plug in the centremost drain hole.

Step 13: Fill a suitable ATF pump, e.g. Laser Tools’ ATF dispenser with seven litres of suitable DSG ATF.
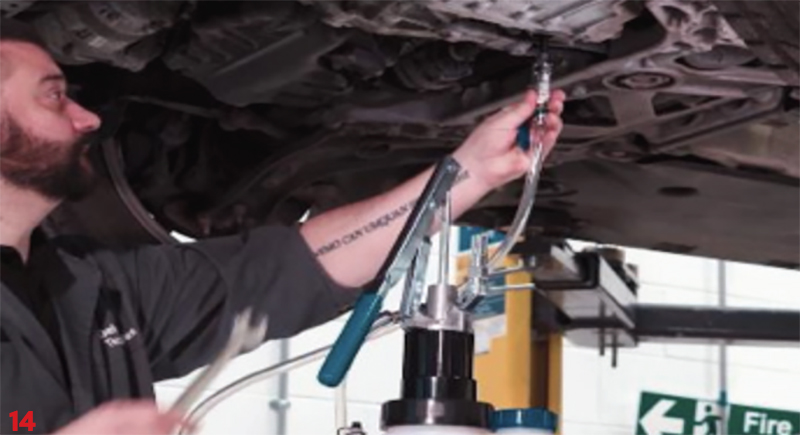
Step 14: Fit the correct adaptor to the centremost drain plug hole. Fit the ATF pump pipe to the adaptor.
Step 15: Fill the gearbox with seven litres of suitable DSG ATF.
Step 16: Quickly remove the ATF adaptor and refit the centremost drain plug. NOTE: Fluid will escape during this step; make sure you have a suitable catch vessel positioned below.
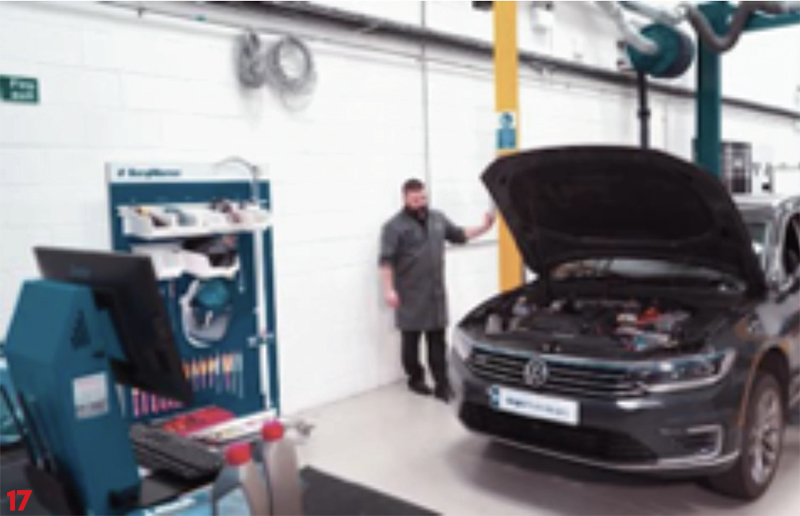
Step 17: Lower the vehicle.
Step 18: Reconnect the high-voltage system.

Step 19: Reconnect the low voltage (12V) isolator switch by removing the padlock applied in Step 4.
Step 20: Connect the OBD diagnostic tool.
Step 21: Start the ‘Fill ATF’ procedure. The ATF pump can be heard operating.
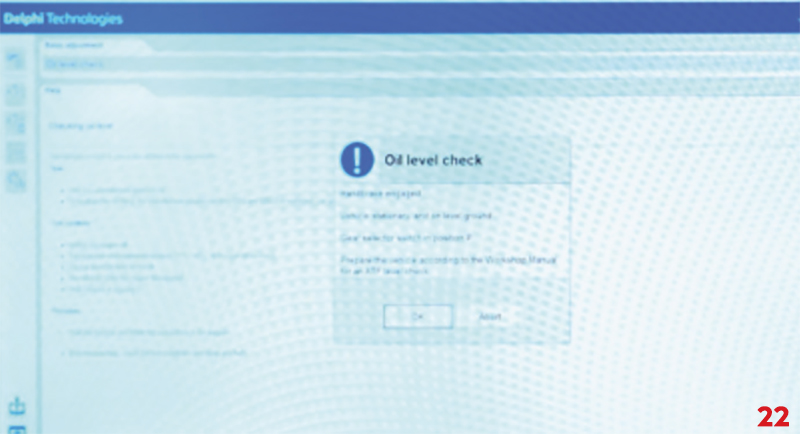
Step 22: Run the ‘Oil Level Check’ procedure.
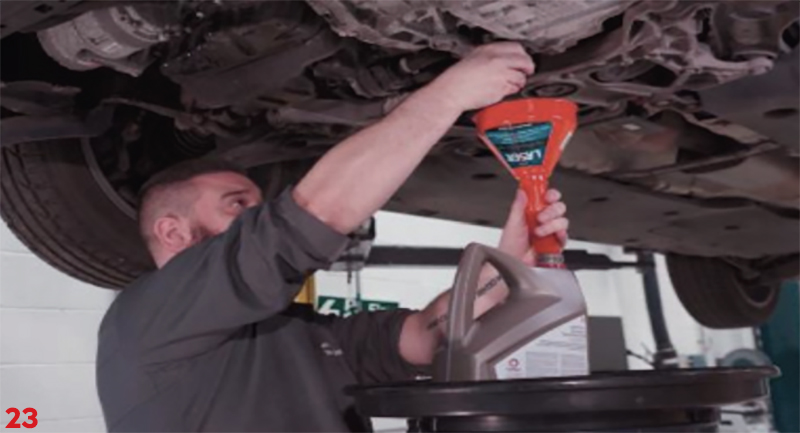
Step 23: Raise the vehicle and remove the centremost drain plug. Let any excess oil drain out into a suitable container. Once excess oil has drained, refit drain plug.
Step 24: Clear all fault codes using OBD diagnostic tool. NOTE: It’s a good idea to check for fault codes in other ECUs on the vehicle, which may have been generated while the vehicle was powered down.
Step 25: Refit undertray.
Step 26: Road test the vehicle to ensure correct operation.


