A 2.2L TD4 diesel engine, Dayco kit KTBWP7150 installation guide.
The 2.2L TD4 diesel engine used in the Freelander 2 features a timing belt driven water pump. As replacing the belt also requires the auxiliary drive system to be removed, Dayco recommends that all the systems’ components – primary drive and auxiliary drive – be replaced at the same time. This step-by-step technical guide will help technicians through the process, to avoid complications and ensure a first-rate job.
As with all primary drive system jobs, the work should be undertaken when the engine is cold, so ideally the vehicle will not have been run for at least four hours.
 Reveal the engine
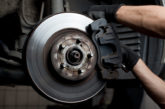
Remove the ducting between the air filter housing and the vertical section connected to the compressor, followed by the two fasteners securing the upper engine cover, which can then be removed to reveal the engine. Then, with the front right wheel removed, take off the cowling inside the wheel arch to reveal the auxiliary drive system. Using a ring spanner on the tensioner, take the tension off the auxiliary belt and remove it, followed by the tensioner.
From the engine bay, disconnect the vertical ducting from the compressor inlet and remove it, along with the upper timing belt case, which has now become accessible.
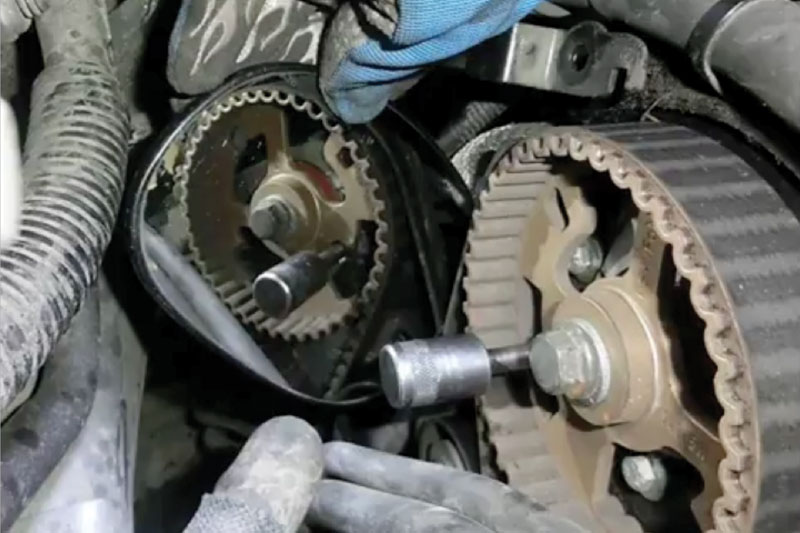
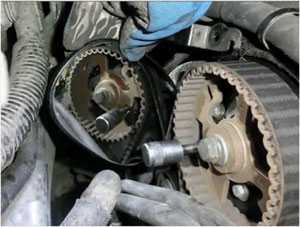
Using the central fastening bolt of the crankshaft pulley, rotate the engine so that, when viewed with the aid of a mirror, the camshaft pulley is aligned with the hole in the head for timing pin tool 303-1277 and insert the pin.
Remove the positive cable from the battery to the starter motor, followed by the starter motor itself. Then insert crankshaft timing pin 303-1270 into the flywheel through the hole in the engine block. Returning to the auxiliary system, remove the crankshaft pulley, followed by the revolution sensor. Then, using two long bolts through the holes in the magnetic phonic wheel of the revolution sensor, remove the wheel held in position by the key in the crankshaft end. This allows the removal of the lower timing belt cover.
Remove the belt tensioner bolt, the belt and then the tensioner; care should be taken with the crankshaft pinion as it is not held in position by the key. Remove the idler and replace with the new idler from Dayco kit KTBWP7150 before tightening the fastening bolt to 60Nm.
Cooling system flush
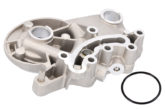
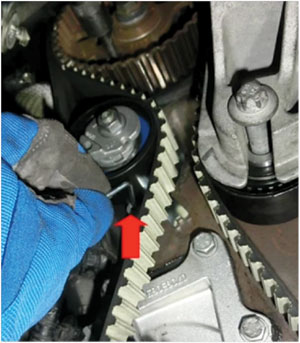 Remove the water pump and, after ensuring that the cooling system has been flushed through and no debris is present, install the new water pump, complete with its seal, followed by the new tensioner from the Dayco kit, making sure that the retainer pin is correctly positioned in the belt tensioner and the block
Fully rotate the crankshaft pinion anticlockwise, install the new HT timing belt from the Dayco kit and remove the retainer pin from the tensioner. Using an Allen key in the hexagonal hole, position the index and tighten the fastener to 25Nm.
Install the magnetic phonic wheel and crankshaft pulley and, while holding the flywheel, tighten the pulley fastener to 70Nm. Remove all the timing pin tools, loosen the crankshaft pulley fastening bolt and rotate the engine clockwise by 10 turns. Then reinstall the timing pin tools, re-time the engine and, while holding the flywheel, remove the crankshaft pulley to allow the movement of the crankshaft pinion.
 Hold the tensioner with the Allen key, loosen the fastener and re-align the tensioner index with the reference mark before retightening the fastener to 25Nm.
Re-fit the lower timing belt cover, check the condition of the crankshaft pulley and, if necessary, replace it with Dayco DPV1052. While holding he flywheel, tighten the pulley fastening bolt to 70Nm + 80°. Remove the timing pin tools, rotate the engine clockwise several times, re-install the timing pin tools and make sure the tensioner index is still aligned with the reference mark.
If okay, remove the timing pin tools and refit all the components in reverse order of their removal. Make sure you check and, if necessary, replace the auxiliary belt tensioner with Dayco APV2464. Dayco does, however, recommend that the auxiliary belt 6PK1744 is always replaced.