A full clutch replacement guide for a Kia Picanto, 1.1G4HG, from the experts at Schaeffler Automotive Aftermarket.
Equipment Used: Two-post Ramp, Transmission Jack, Engine Support
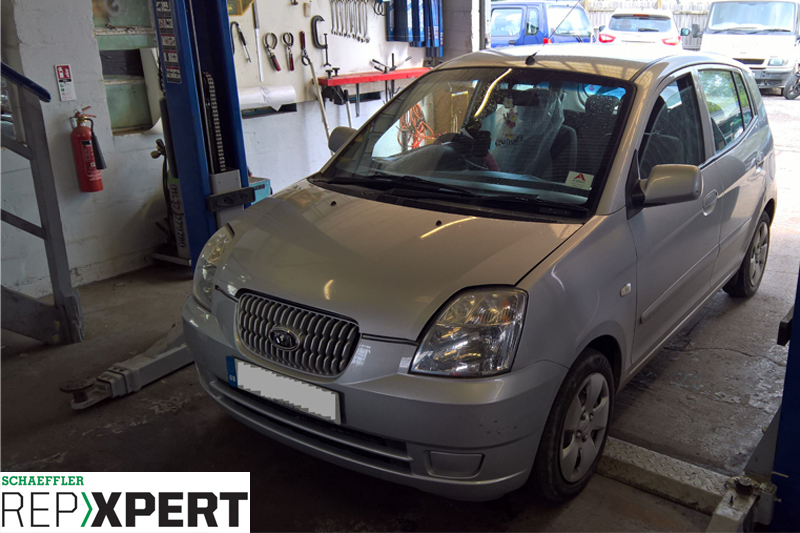
This month, Schaeffler’s Alistair Mason replaced the clutch on a 2006 Kia Picanto, fitted with a 1.1 G4HG engine and with more than 85,000 miles on the clock, after a customer complained of an oil leak from the engine. An inspection confirmed there was an oil leak emanating from the rear main oil seal and, whilst carrying out this repair, a clutch replacement was advised.
With the vehicle positioned on the ramp, open the bonnet (see below) and remove the complete air filter assembly and ducting that is bolted on the top of the engine.
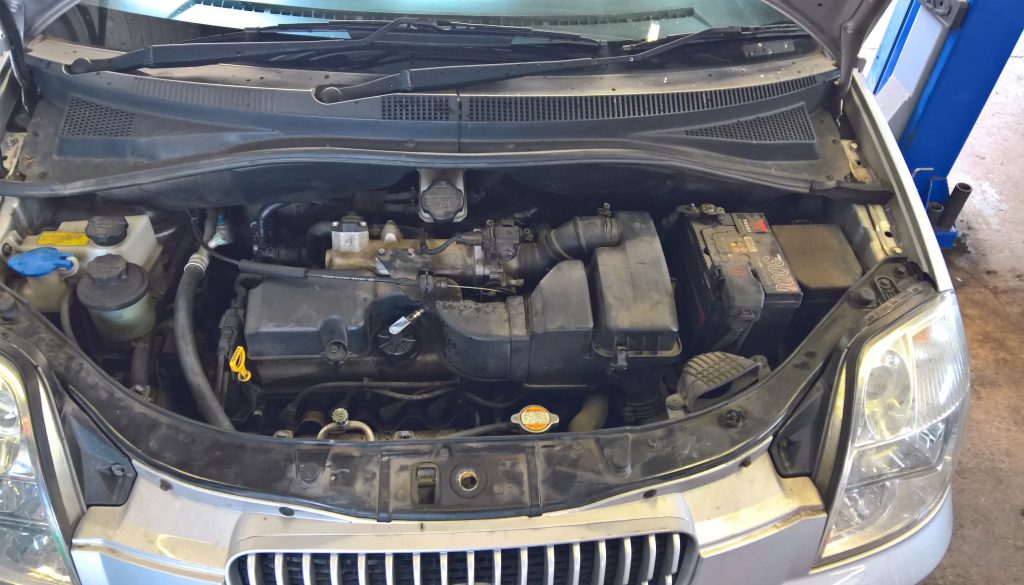
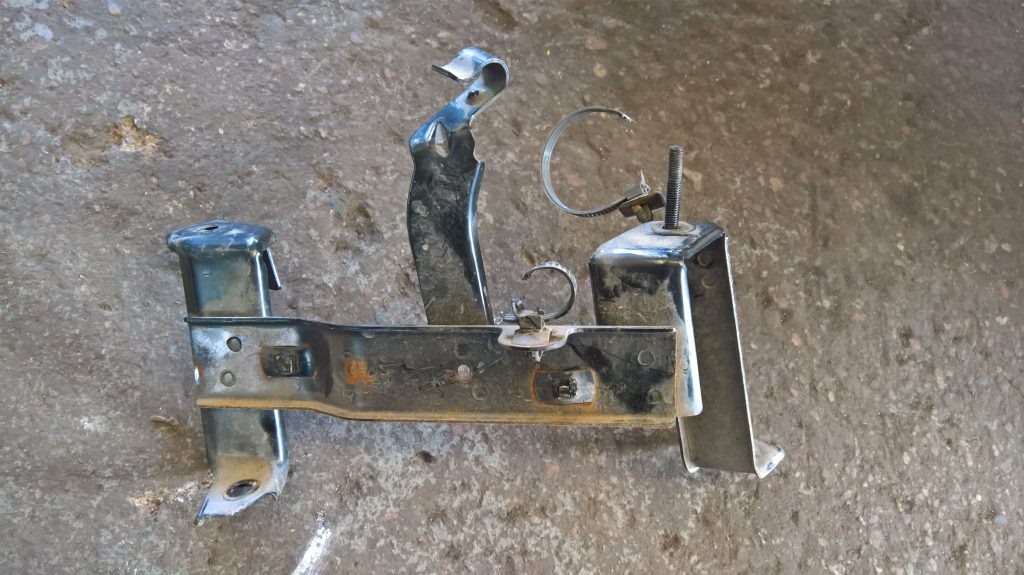
Remove the battery and the battery carrier, which now gives access to the top of the gearbox and bell housing area. Disconnect the reverse light switch and the speed sensor multi-plugs, which are located on the differential, before detaching the clutch cable and wiring loom retaining bracket from the top of the gearbox (see below).
This step provides good access for disconnecting the clutch cable, which is achieved by simply pulling down on the cable and then unhooking it from the arm. Consequently, the outer cable will then pull out from its retainer and the cable can be stowed out of the way.
The gear change cables can now be separated from the gearbox. Remove the outer cable retaining spring clips, and then remove the two retaining pins from the linkage assembly, before disconnecting the gear change cables and stowing in the bulkhead area.
With the vehicle still on the ground, slacken both front hub nuts, raise the vehicle to waist height, remove both front wheels and front hub nuts, disconnect both bottom ball joints. As a result, the front struts can be pulled out and the driveshafts removed from hub assemblies.
Next, raise the vehicle to gain access to the underside and drain the gearbox oil. Whilst the oil is draining, remove the plastic gearbox under-shield, which allows the driveshafts to be removed from the gearbox (see below). Store these in a safe location.
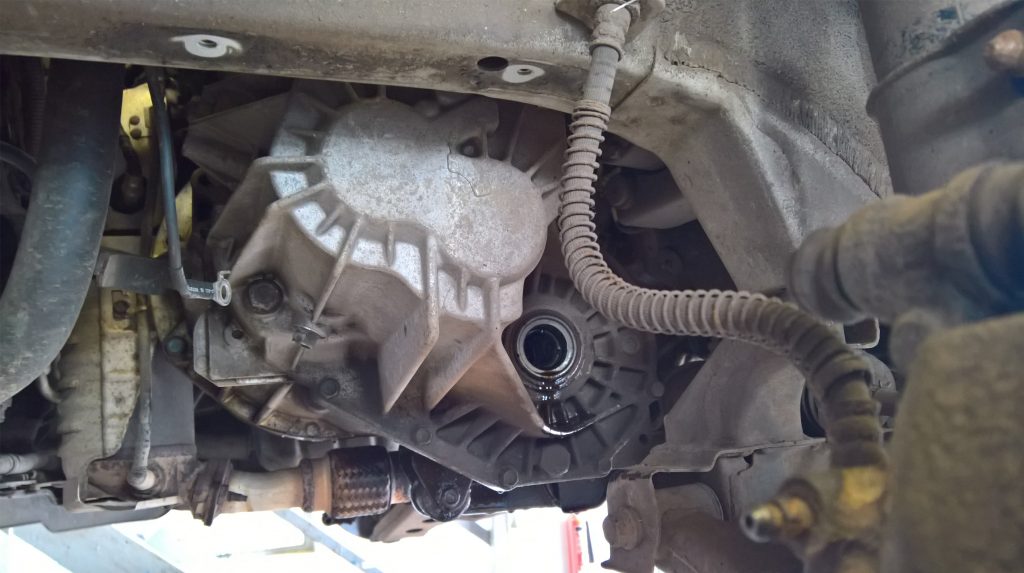
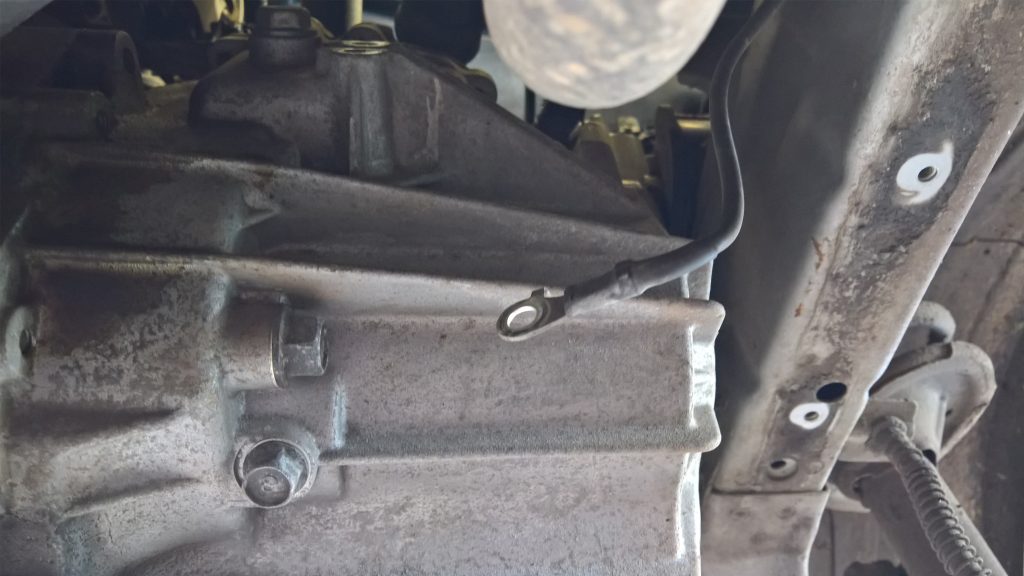
At this point, disconnect the two earth straps – one on the front of the gearbox (see below) and one on the rear – remove the gearbox pendulum mount/torque arm and the cover plate bolted to the lower part of the bell-housing.
Now support the engine by using a sub- frame attached support (see below) and lower the vehicle onto the ramp. Remove the top gearbox mounting, the upper bell-housing bolts, and once removed, raise the vehicle to access the underside of the vehicle.
![]()
Lower the engine and gearbox using the engine support to gain more clearance to help the gearbox removal. Support the gearbox by using a transmission jack and remove the remaining bell housing bolts – once removed, the gearbox can be eased out gently. When clear from the engine, lower the transmission jack and place the gearbox in a safe location.
Remove the clutch assembly from the flywheel (see below), then check the component for evidence of excessive heat ‘blueing’ or crack. If the flywheel is clean, remove the glaze from it using emery cloth.
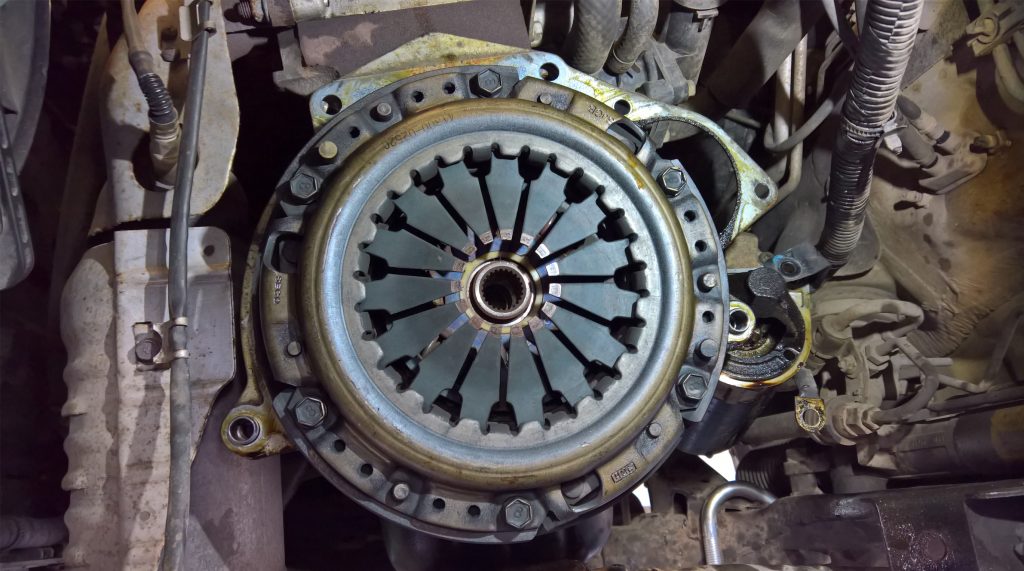
In this instance, the flywheel needed to be removed to gain access to the rear main oil seal, which had failed. On examination of the old clutch, it was evident that it had reached the end of its service life as the lining was nearly level with the clutch rivets (see below).

Next, remove the release bearing from the gearbox, inspect the release system assembly to ensure there is no wear at contact and pivot points. If required, replace them, clean and lubricate the release system and operate to confirm smooth and correct operation. Fit the new release bearing and locate the retaining clip correctly, and, finally, lightly smear high- melting point grease on the input shaft splines.
When fitting a new clutch, always remember to mount the clutch plate onto the gearbox input shaft to confirm the correct fitment, as this will also evenly distribute the high-melting point grease used to lubricate the splines.
Remove the clutch plate and wipe off any excess grease. Clean the back of the engine and flywheel with brake and clutch dust cleaner, so as not to contaminate the new clutch, and inspect the spigot bearing in the crankshaft, lightly lubricating it with high- melting point grease. In addition, check the clutch cable for smooth and light operation – if in any doubt, it is always advisable to replace the cable.
Gearbox installation
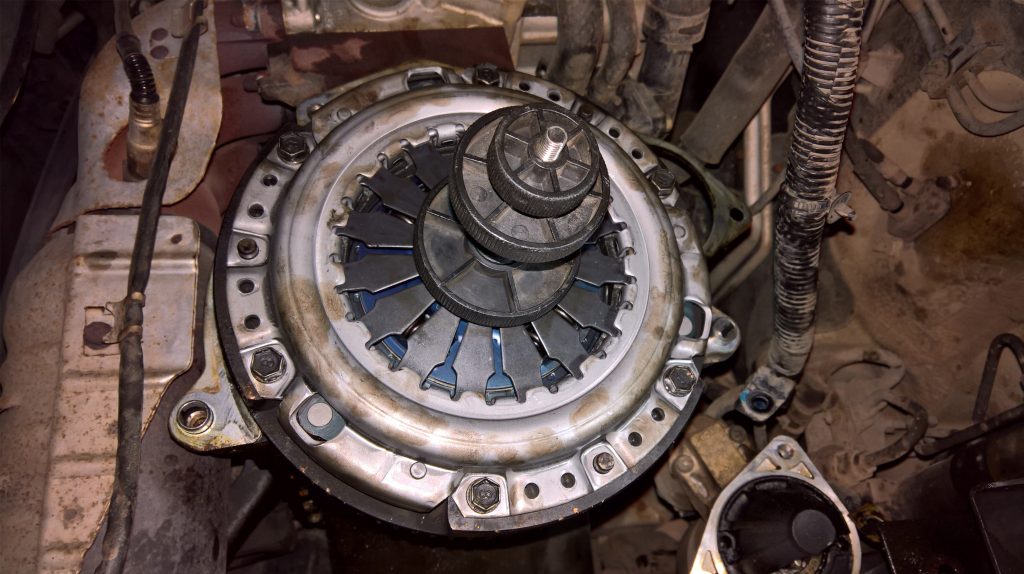
Now mount the new clutch using a clutch alignment tool (see below), ensuring the clutch plate is fitted correctly with ‘Gearbox side’ or ‘Getriebe seite’ facing the gearbox. With the clutch plate and pressure plate mounted correctly, fit, tighten and torque the bolts evenly and sequentially. Next, ensure the gearbox alignment dowels are located in the engine and that all cables are ready for gearbox installation.
Using the transmission jack, refit the gearbox and secure with the bell housing bolts. Once secure, remove the transmission jack and locate the gearbox on its mountings, attach the clutch cable and adjust. At this point, confirm the clutch feel and operation are correct, and install all other components in reverse order of removal.
Remember to adjust the clutch cable to ensure there is some ‘free play’ at the top of the pedal and reset all electrical consumers when the battery is connected. Road test the vehicle on completion to ensure the correct clutch operation and a quality repair.


