In this regular column, VARTA’s technical team demonstrates the capabilities of using the VARTA Partner Portal to accurately change a battery. Below is an example of the step-by-step fitting instructions that can be accessed from the portal and this month we look at a battery replacement on a Land Rover Discovery.
Before starting the battery replacement
Where fitted, disable the satellite anti-theft system (by setting it to ‘maintenance’). Make sure the ignition switch is set to ‘off’. Before disconnecting the battery, switch off all the electrical accessories, bearing in mind the following recommendations:
- Make sure you have the car radio security code, if provided
- Bear in mind some data (e.g. time, computer trip, and the settings of certain accessories) will be reset to zero
- Wait for the necessary power latch time required for the electronic units – the time may vary from five to 15 minutes depending on the vehicle
- If the battery needs replacing, make sure the new one is suitable for vehicles with a start-stop system
- It can take anywhere between four to six hours in standby mode (with the instrument panel switched off) for the system to reset
- Once the battery has been replaced/disconnected, it is recommended to run diagnostics on the electronic control units and remove any faults found
Removal
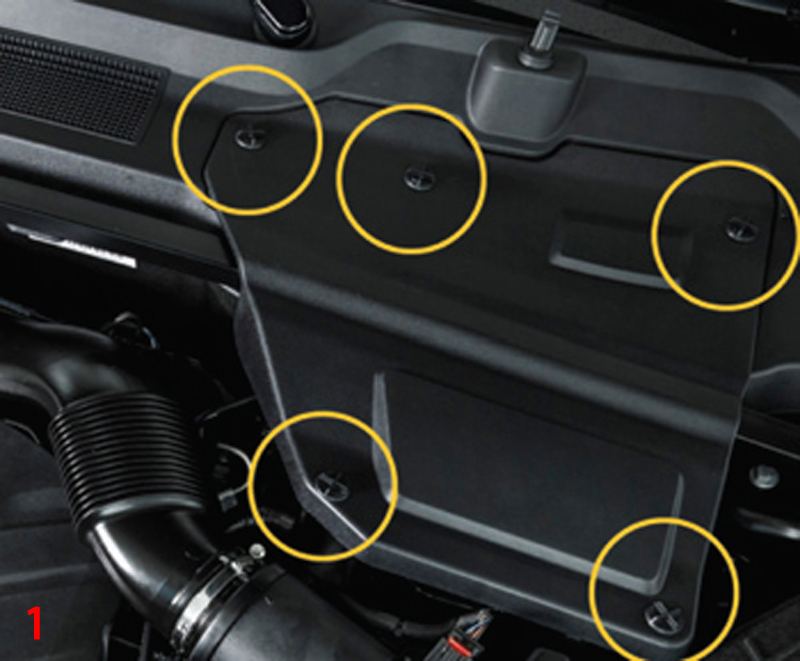
- Remove the protective cover (Fig 1)
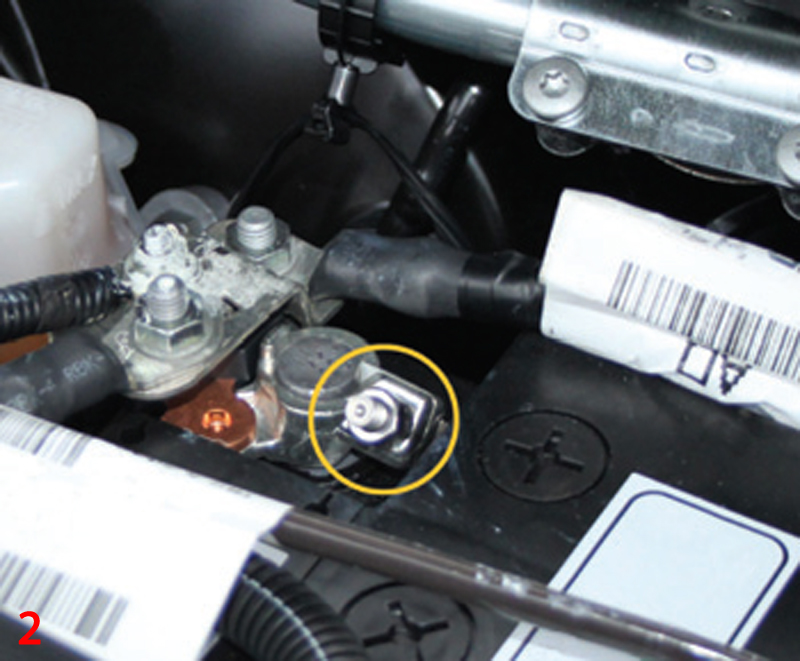
- Remove the cover (Fig 2)
- Remove the crossmember of the engine compartment
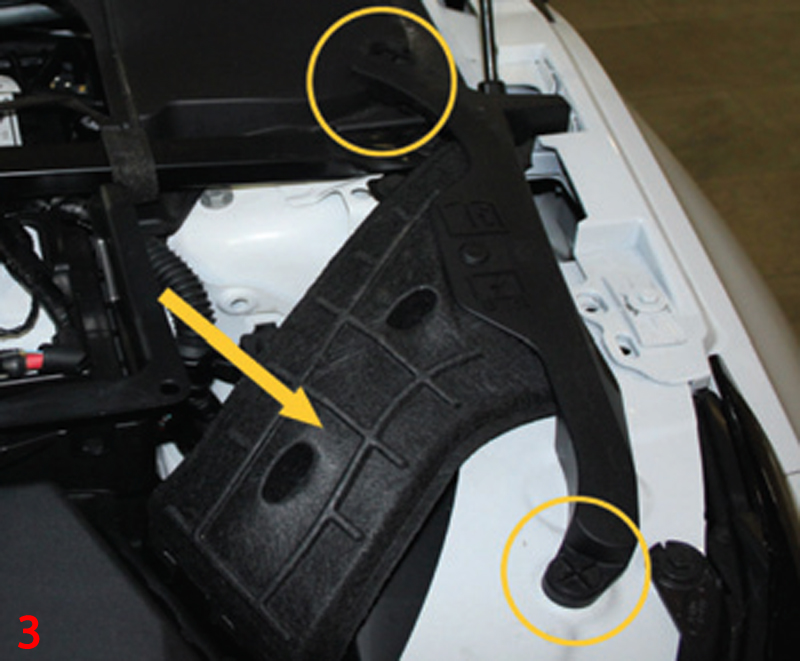
- Disconnect the battery’s negative terminal (Fig 3)
- Disconnect the battery’s positive terminal
- Disconnect the breather pipe
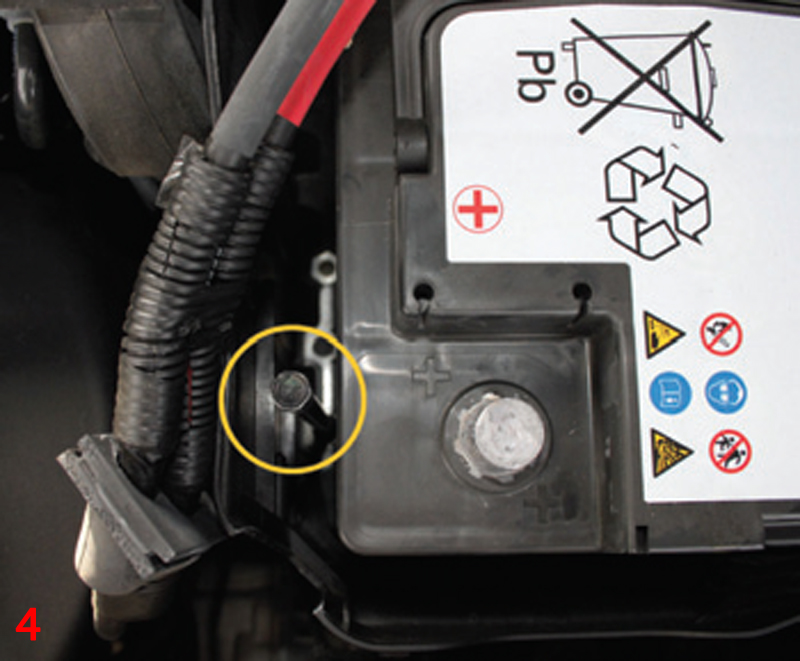
- Unscrew the battery locking screw, and lift the battery out (Fig 4)
Mounting
- Refit the battery in its slot, then tighten the battery locking screw
- Connect the breather pipe
- Connect the positive terminal and tighten the nut to the specified torque (6 Nm)
- Connect the battery’s negative terminal and tighten the nut to the specified torque (6 Nm)
- Assemble the crossmember of the engine compartment
- Fit the cover
- Fit the protective cover
Battery registration (only for the Intelligent Battery Sensor (IBS) equipped version)
- Register the battery replacement
- Check for possible trouble/fault codes in the electronic modules in order to read and delete them
To visit the VARTA Partner Portal, click here.


