
The 3 series is the best selling model in BMW’s range, representing nearly 30% of sales for BMW. A clutch replacement on this model is really straight forward and, with the guidance of the LuK ‘Clutch Clinic’, the whole process will become even easier.
Launched in 1975 the BMW 3 series has seen many updates over the years, winning lots of awards along its journey. A compact executive car, its popularity is unlikely to diminish, meaning the likelihood of one arriving at your garage will remain pretty high.
We used a two-post ramp in this article, however a four-post ramp would also be suitable. A transmission jack, a long axle stand and a special alignment tool is also required.
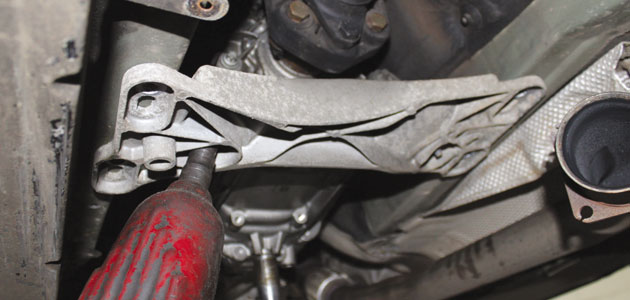
Disconnect the battery earth lead and raise the vehicle. Unbolt and remove the plastic under-tray which will expose an alloy plate that should also be removed. Remove the front section which exposes the exhaust bracket that is bolted to the gearbox; this can be removed later as it is fixed with three bell housing bolts. Support the rear exhaust silencer and unbolt the two supporting brackets. Split the rear section of the exhaust from the front section and carefully lower out of the way to gain access to the heat shield. Unbolt and remove the heat shield to expose the propshaft.
Remove the crossmember support for the gearbox
Support the gearbox using the long axle stand and remove the cross member support for the gearbox.
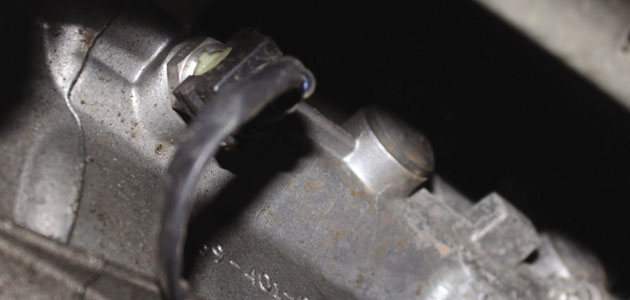
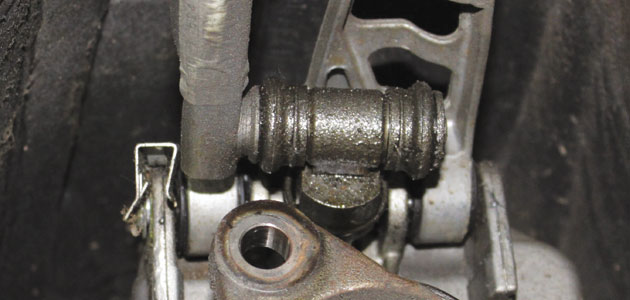
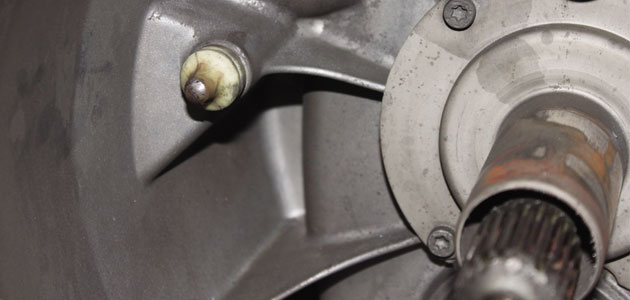
You may need to carefully bend the heat shield out of the way to allow better access to the bolts. Unbolt and remove the slave cylinder and stow to one side. Unclip the reverse light switch on the side of the gearbox.
Remove the bolts holding the propshaft centre bearing then mark the propshaft position and remove the bolts holding the propshaft to the gearbox. Carefully swing the propshaft to the side and secure out of the way using bungee ties. This allows plenty of room to remove and lower the gearbox.
The exhaust bracket from earlier can now be removed, along with the three bell housing bolts. Disconnect the gear mechanism by removing two pins – they are held by two metal tabs that are prised upwards.
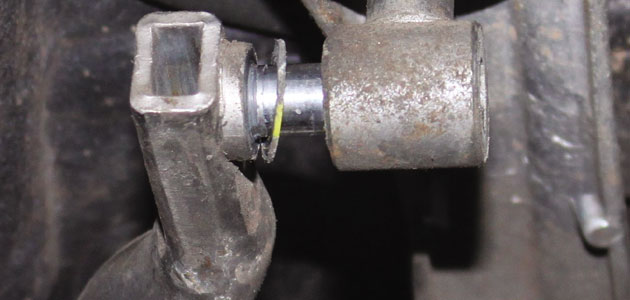
Remove the clip from the gear mechanism to the gear lever and tap it off, however be careful not to lose the two small nylon shims either side of the link arm.
Remove the 10mm bolt from the gearbox closing plate and remove the remaining bell housing bolts – the two top bolts are a little tricky. Knock the starter motor dowel through the bell housing using a punch to release the starter motor. Once the bell housing bolts are removed, carefully lower the gearbox to the floor. Remove the worn clutch, bearing and fork. It is important to remove the worn fork pivot and replace it.
In this example the dual mass flywheel (DMF) was also replaced with the clutch and bearing, however, in most cases you have no need to replace the DMF as this can be checked whilst on the vehicle for signs of heat stress and evidence of grease loss. The DMF should also be tested for free play and rock between the primary and secondary masses. LuK tool number 400008010 is specifically designed for this purpose and full instructions and DMF tolerances can be found by searching “DMF data sheet” at www.schaeffler-aftermarket.com.
Clean the first motion shaft splines and any debris from the bell housing (especially important when a release bearing has failed). Put a small dab of high melting point grease (not a copper-based product) on the first motion shaft splines and make sure the new driven plate slides freely back and forth. This not only spreads the grease evenly but also makes sure you have the correct kit. Wipe any excess grease off the shaft and driven plate hub.
Fitting the new clutch
Fitting of the new clutch will require a special tool. The clutch is a self-adjusting clutch type and it is also fitted with a transit locking plate between the wear cradle and diaphragm springs. Note: do not remove this locking plate until the clutch is bolted to the flywheel.
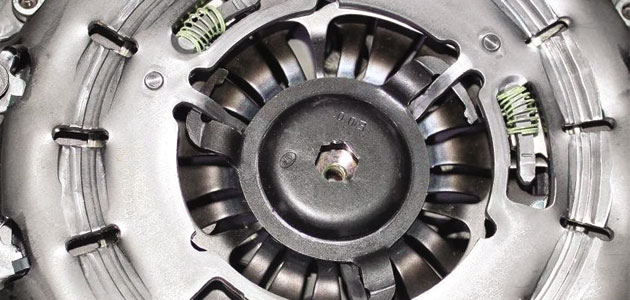
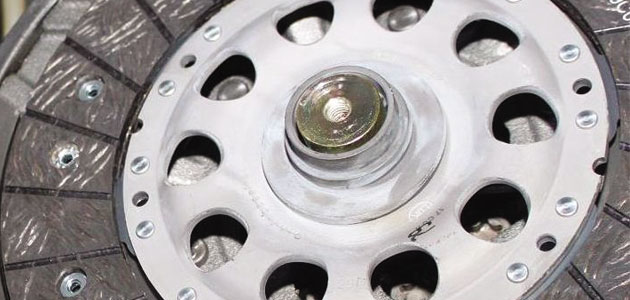
After checking the spigot bearing check the adjusting springs on the new clutch pressure plate to make sure they are fully compressed. Fit the clutch alignment tool and locate it into the spigot bearing on the flywheel. Place the driven plate over the alignment tool, making sure the correct side is facing the gearbox (note: ‘Getriebeseite’ means ‘gearbox side’ in German).
Bolt on the pressure plate, tightening each opposing bolt progressively around the cover until the desired torque setting is reached. Once the driven plate is secured the locking plate can now be removed. To remove this use an appropriate sized Allen key in the centre of the plate and rotate it anticlockwise – this can be discarded once it has been removed. Finally remove the alignment tool by using an appropriate size bolt.
Refitting is the reverse of removal.


