Stefano Previtali, Product Marketing Manager at the Italian brake manufacturer Brembo, explains the causes of brake squeal and shares his tips for both preventative maintenance and corrective actions.
When it comes to a vehicle’s braking system, brake squeal can be unsettling for drivers when first confronted with this problem. The issue is a result of vibrations within the braking system and there can be a myriad of reasons for it.
“Luckily, the problem can be minimised and eliminated if the workshop technician uses good quality components, the correct tools, and takes the necessary preventative maintenance steps,” explained Stefano Previtali. These steps include:
- The discs
Inspection: Always evaluate both the disc condition and its thickness. Minimum thickness is generally marked on the rim of the braking surface or on the hub surface. Replace, if the discs are below minimum thickness because they will not be able to dissipate heat correctly. Brembo advises against turning or grounding the braking surface.
Cracks: Check the discs per axle for grooves and cracks at each change of pads. If necessary, replace the disc.
Cleaning: Clean the disc with either petrol, spirits, or a specific brake disc cleaner. This includes cleaning the braking surface and the surface that comes into contact with the hub. The anticorrosion layer (oil) must be completely removed. If the disc is a coated disc, it is not necessary to clean the braking surface.
- The hubs
Always clean the surface of the hub before installing a new disc. A variety of options, which include a hub resurfacing tool, a wire brush, petrol and spirits, can be used to eliminate rust and other deposits which can lead to disc runout.
- Check for runout
Always measure the disc before and after maintenance using an appropriate tool. Ensure that runout does not exceed 0.10mm when the disc is fitted, as runout variation is a common cause of brake vibration. Tighten the disc using wheel screws and washers to simulate the thickness of the wheel.
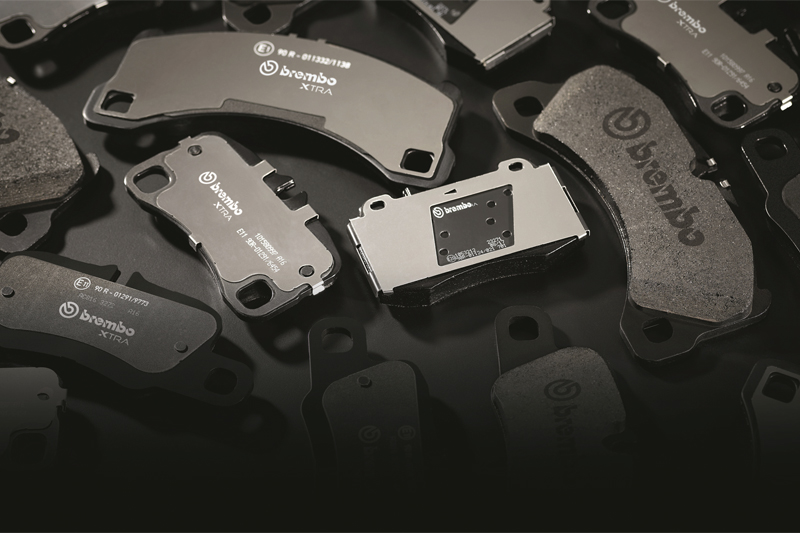
- The pads
Inspection: Always check the pads’ thickness and surface. Replace the pads if necessary because pads that are below specifications can result in safety and noise issues like cracking and fading.
Directional pads: When fitting the pads inside the caliper body, ensure that they are being installed in the correct direction, which can be indicated by the presence of arrows, the letters ‘L’ (left) and ‘R’ (right), a crescent or half-moon cut-out on the anti-noise shim, or differentiated chamfers on the pads themselves. Fitting the brake pads on the wrong side can lead to unwanted noise.
- Seal and sliding element
Clean and lubricate the caliper slide pins, pin boots and external piston seal. Check the pistons, seals, boots and sliding elements on the caliper to ensure that they are free from damage and corrosion, and therefore able to slide correctly. Use a specific grease suitable for each component. Replace if needed.
- Use of torque wrench
Failure to use a calibrated torque wrench on all brake components and wheels in a star pattern can result in brake groan and pedal pulsation, potentially causing disc damage. Check vehicle data for the correct torque.
- 300km ‘bedding-in’ period
After any braking replacements, every mechanic should carry out a road test and then advise the driver to ‘bed-in’ their new system for around 300km. This means that the driver must avoid abrupt and intense braking. The driver must also look out for vibrations and noise coming from the brakes, both when driving and braking. This is a vital aspect in ensuring that the discs and pads align correctly.