Brake inspection can become a breeze with this checklist from performance brakes expert Meyle.
The Hamburg-based manufacturer Meyle continues to expand its range of brake components: With these further extensions, the company has strengthened its brake portfolio with reliable and performance-oriented solutions. With almost 4,000 items on offer in the brake sector, the firm is specialised on brake discs and pads. This is why out of the total portfolio, Meyle offers 3,000 brake discs and pads with an EU coverage of 95% – more than 450 of these are Meyle-PD brake pads for passenger cars that meet the demand for high-performance and low-noise braking.
Let’s have a look at the performance brakes and see what mechanics should always consider when checking and assembling brake components. With more than 25 years of experience as a manufacturer in the independent aftermarket, Meyle knows exactly the high demands placed on brake components: the company’s experts analyse market needs and tailor new components precisely to drivers’ requirements.
The high degree of customisation is particularly evident when it comes to the Meyle-PD brake pads: To ensure the goal of performance-oriented brake pads and at the same time low-noise braking, the shims, chamfers and slots of the pads have each been individually matched to the vehicle model and driver type. But that’s not all: the firm’s experts also know precisely what mechanics need to pay attention to when it comes to checking and installing these brake components. Thus, to make installation and removal in workshops as efficient as possible, Meyle has developed a helpful checklist.
1. Test
The first steps must be carried out with the vehicle on the ground: After conducting a first test drive, the mechanics should test the brake function on a roller test bench, paying particular attention to the brake fluid. The key questions are: Is the boiling point within the tolerance? Is the level of brake fluid inbetween minimum and maximum levels? Also, a visual check for leakage of the brake master cylinder should be performed at this point.
2. Check
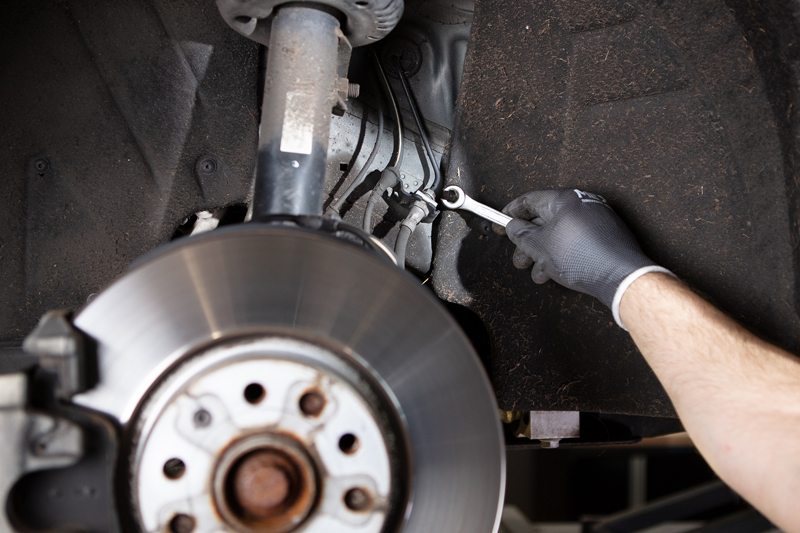
As soon as the vehicle is on the lift, a detailed check of all other components corresponding to the brake system should be undertaken. Start with examining the wheels and tyres for damage, cracks, tread and pressure. Continue with checking the wheel bearings for play. Then proceed to the service and parking brake and look for wear, damage and leakage. Continue with checking suspensions, shock absorbers, drive/half shafts, axle bearings, stabiliser bars and links as well as the steering for play, damage, leakage and porosity. After that, it is all about the load-dependent brake, assessing its function, or possible damage and leakage. Then check the cables of the hand parking brake. Make sure that it is functioning correctly and not damaged. Before starting the repairing/installation, check the brake line for rust, porosity or leakage.
3. Repair
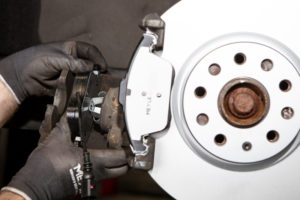
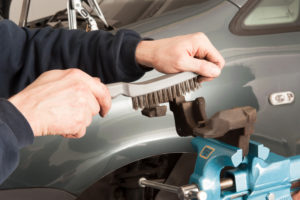
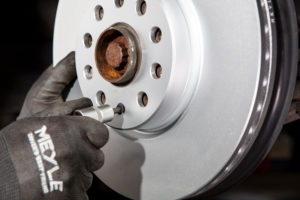
When repairing and installing brake components, there are more components to test for proper functioning. These include brake calipers, slides and support elements that might be loose, damaged or leaking. Continue with looking at the wheel cylinder and check for any damage and leakage. Also, check if the accessories and mounting seats work correctly. Clean the wheel hubs and check them for damage, axial and radial run-out and fix, if necessary. As the last step, check the wheel bolts threads for damage and tightness.

4. Be safe
To be sure that all repairs and installations were conducted successfully, build up pedal pressure and check the level of the brake fluid which should be at max. Then, again, test the brake function on the roller test bench and make a test drive. Be sure to re-tighten the wheel bolts after 50km.
You can download a detailed checklist with every step mentioned above, here.


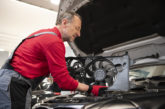
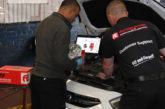
![Bosch’s ESI[tronic] diagnostic software](https://pmmonline.co.uk/wp-content/uploads/2026/03/Febi-diagnostics-tool-165x109.jpg)