Schaeffler REPXPERT Alistair Mason presents the replacement process for the front and rear wheel bearings on a 2005 MINI Cooper.
Even though we now enter the better months, potholes are still ever present. Thanks to these obstacles, combined with large diameter wheels and low-profile tyres, plus the fact that many vehicles have been parked up through the three lockdowns, it is now becoming more common to see wheel bearing problems.
As wheel bearings are safety critical components, the FAG brand provides workshops with the obvious choice, because they are manufactured to the highest of standards for the vehicle manufacturers and come with everything required for the repair in the box, which reduces the risk of installation errors. It is therefore the complete solution for a professional repair, with a two-year/unlimited mileage warranty against manufacturing defects.
BMW reintroduced the MINI 21 years ago, with the first generation of these being known as R50, R52 cabrio and R53 Cooper S. With more than 600,000 examples on our roads, all using the same wheel bearings, the likelihood that this repair will arrive at the workshop is quite high.
The front and rear wheel bearings are bolton units known as Generation 3, and are double row sealed tapered bearings that incorporate the ABS encoder ring. These bearing units bolt directly onto the hub carrier and the drive flange is part of the bearing assembly that is orbital formed to set the correct bearing preload during the manufacturing process.
With no special tools required, this is an ideal and easy repair for any independent. However, before starting the repair, ensure the locking wheel bolt key is with the vehicle, if it’s required.
Front wheel bearing replacement
Replacing the front wheel bearings in this particular case has a scheduled time of 0.65 hours
With the vehicle placed on the ground, slacken the front hub nut and the wheel bolts, raise the front wheel off the ground and remove the front wheel and hub nut.
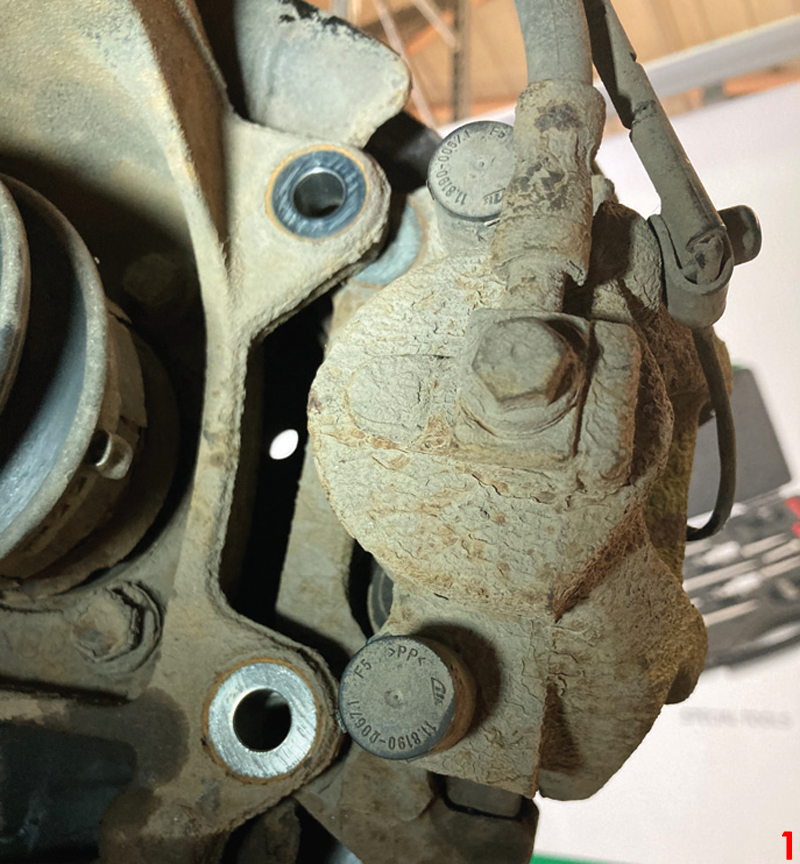
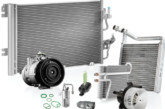
Remove the brake calliper (Fig 1) and carrier assembly as one unit and secure so as not to strain the flexible brake hose, then remove the Torx bolt (Fig 2) that secures the brake disc and with the bolt removed, take off the brake disc.
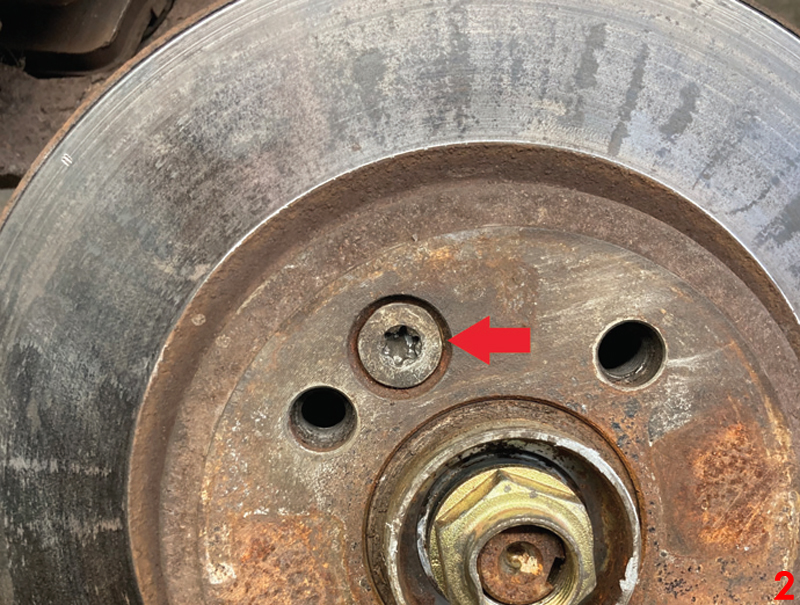
The wheel bearing housing bolt threads are now visible, so, if possible, remove any dirt/corrosion with a small wire brush, lubricate the bolts and then remove the four wheel bearing housing retaining bolts (Fig 3).
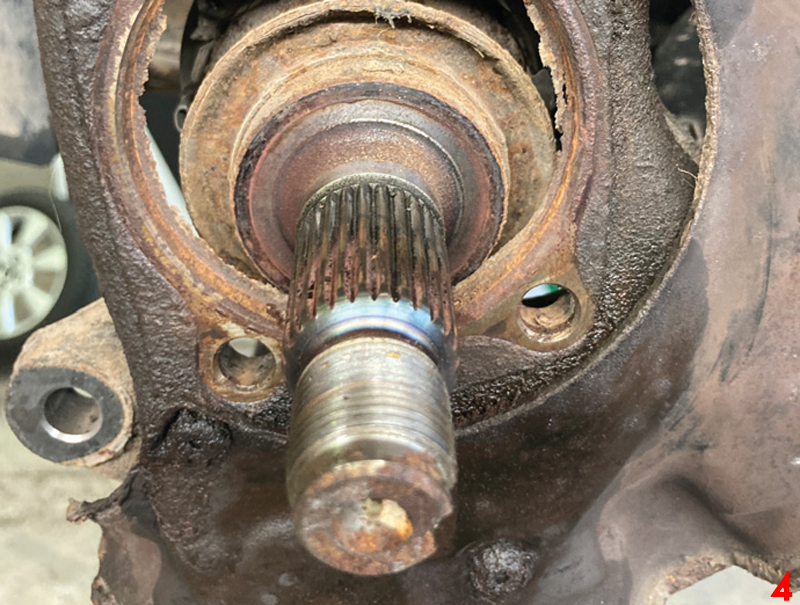
The bearing assembly can now be removed from the hub carrier and eased off the driveshaft (Fig 4). With the wheel bearing assembly removed, ensure the mounting surface is free from any debris, being careful not to damage the ABS sensor.
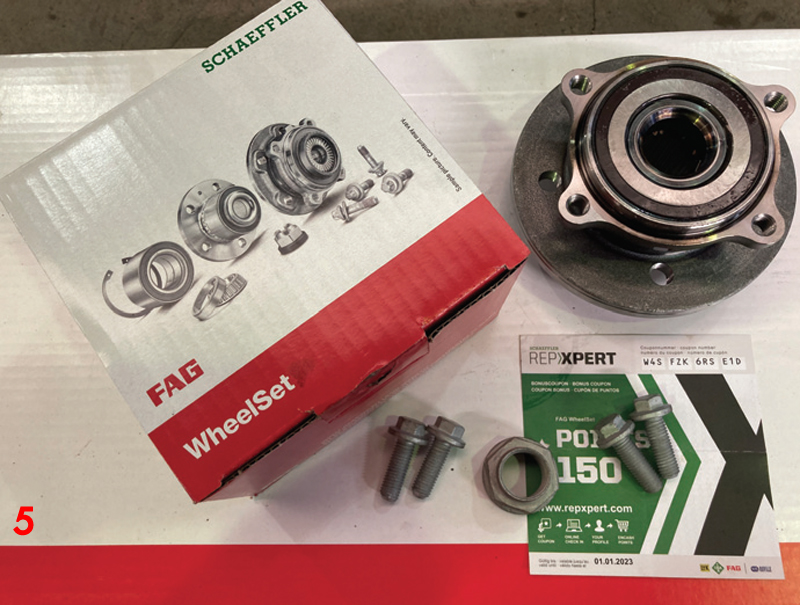
Mount the new wheel bearing assembly onto the splines of the driveshaft, and then ease the housing into position, install the new bolts supplied in the kit (Fig 5) and torque to the manufacturer’s specification.
Installation is then in reverse order of removal (Fig 6), but ensure the mounting face of the brake disc is clean. A new hub nut is provided in the FAG bearing kit, which must also be torqued to the manufacturer’s specification and remember to always apply the brakes after the caliper has been refitted.

Rear wheel bearing replacement
Replacing the rear wheel bearings in this particular case has a scheduled time of 0.85 hours
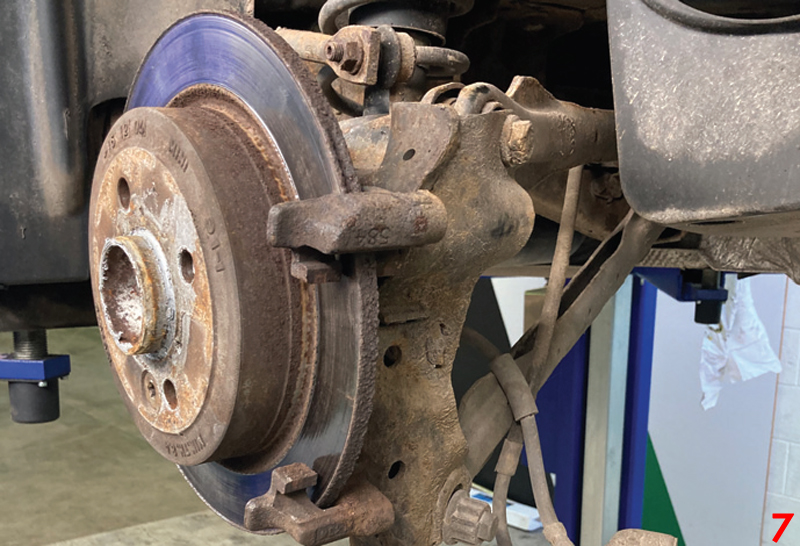
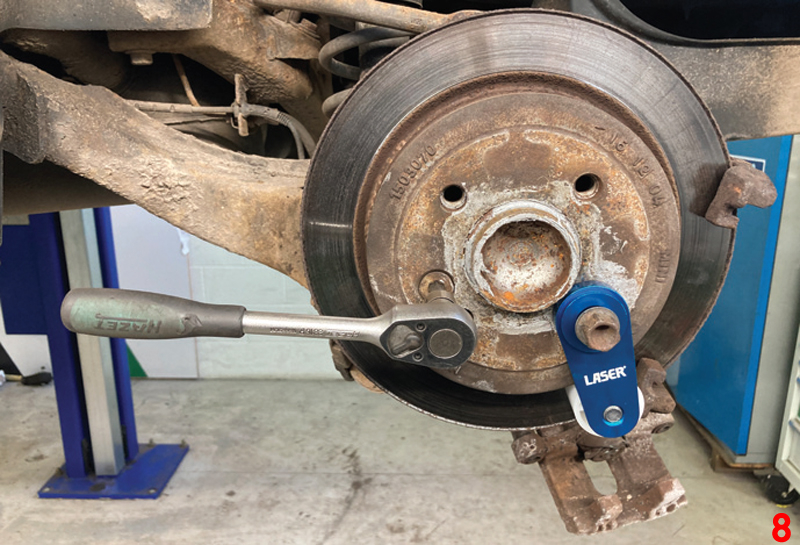
With the vehicle placed on the ground, slacken the wheel bolts, raise the vehicle and remove the rear wheel, followed by the rear calliper and brake pads (Fig 7) and then the brake disc retaining Torx bolt (Fig 8), and finally, the rear brake disc.
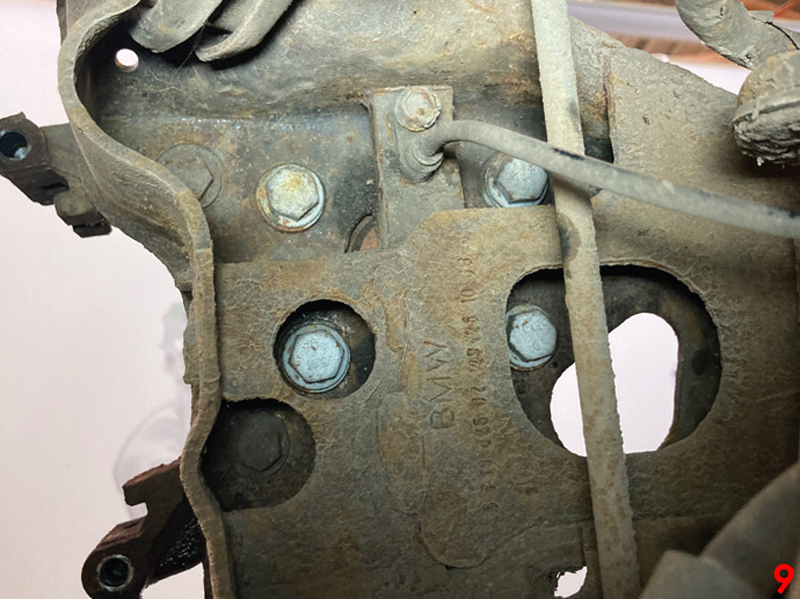
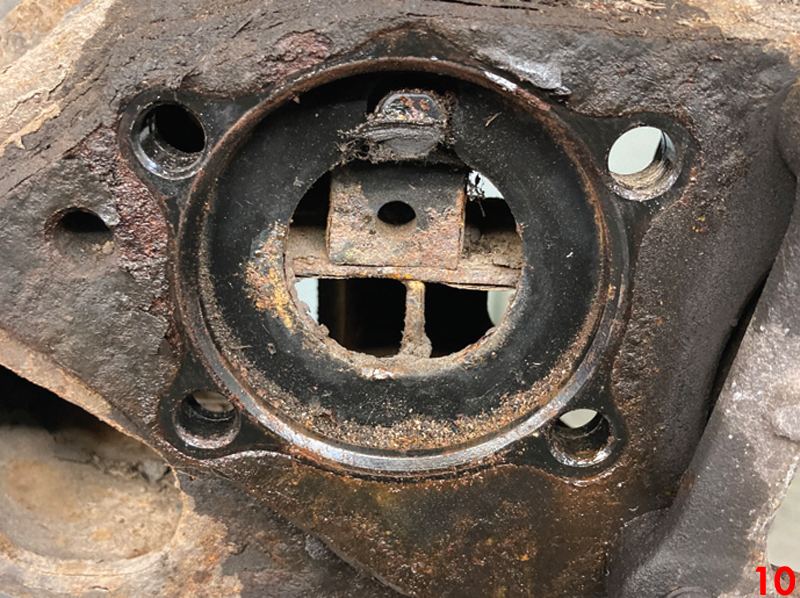
Follow the same procedure as the front wheel bearing by cleaning and lubricating the housing bolt threads, removing the four bolts from behind the brake backplate (Fig 9), and then carefully removing the bearing assembly (Fig 10).
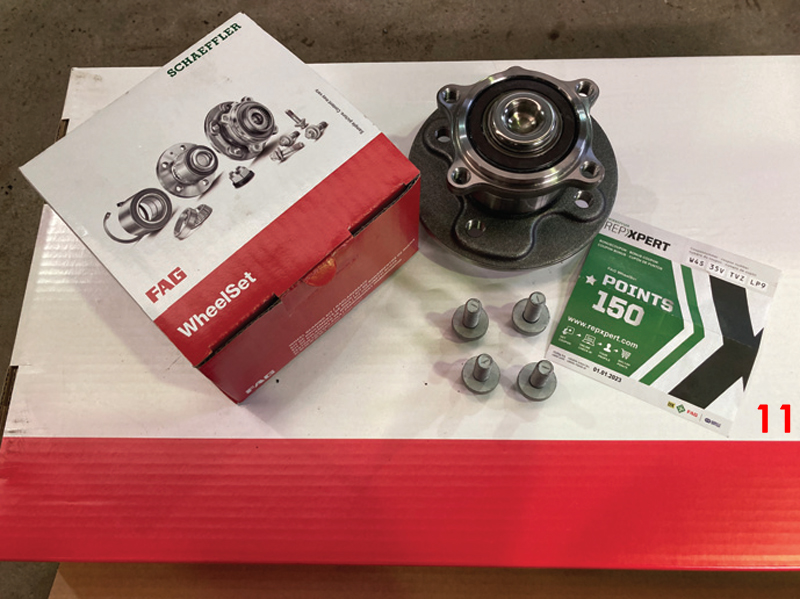
Cautiously clean the bearing housing mounting surface, mount the new bearing assembly, install the new mounting bolts (Fig 11), tighten and torque to the manufacturer’s specification (Fig 12) and, as before, installation is in reverse order of removal.

Remember, torque all bolts and apply the brakes to reset the brake calliper.