Removing a turbocharger unnecessarily due to misdiagnosis is a common occurrence. With a focus on Rotary Electronic Actuator (REA) and Simple Rotary Electronic Actuator (SREA) faults, Tom Wright, Melett’s Product Manager, talks about the necessary steps required to ensure the removal and replacement of the turbo only occurs when there is a strong probability that it is at fault.
Whether you are considering the removal of a turbo or experiencing faults after replacing the turbo, the following points will help you to determine whether the root cause of the fault is the turbo itself.
Initial investigation
It is important to gain a full understanding of the issue, including the exact conditions at the time of the fault. For example:
■ How the car was being driven – i.e. engine speed, load, acceleration, braking or idling.
■ Engine temperature – how long since start-up?
■ Vehicle mileage and how long the turbo has been fitted to the vehicle.
■ Were any other electronic devices in use at the time of the fault, or any other electrical component faults showing?
Points to consider
Investigating the ECU error codes is critical and can help you identify the root cause very quickly. Check the vehicle history for past issues, particularly replaced engine parts linked to the turbo and previously recorded ECU error codes. At this stage further investigation is required, as we have seen examples of turbo faults being registered on the diagnostic tool, yet, upon looking into the error code, it was the injectors at fault.
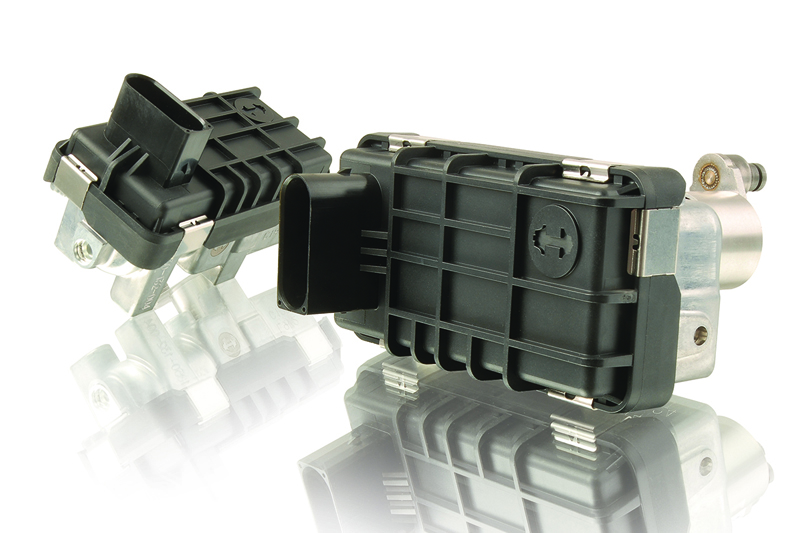
When the engine is turned off and cold, check if the actuator rod arm can be seen or felt between the REA/SREA (this is a small black box attached to the intake side of the turbo) and bearing housing lever arm of the turbo. If accessible, check the actuator rod arm is attached at each end and check for corrosion and material deterioration, which may be restricting movement. When checking for movement, there should be a natural amount of play at each end of the linkage.
Further investigation
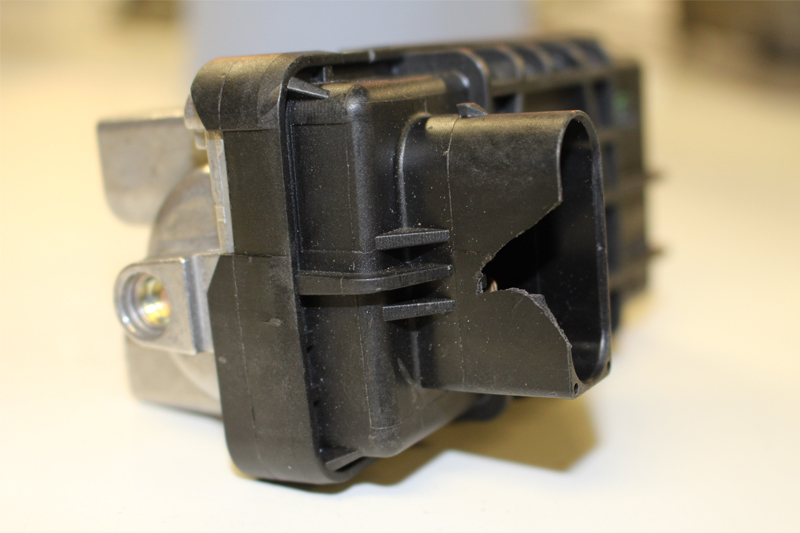
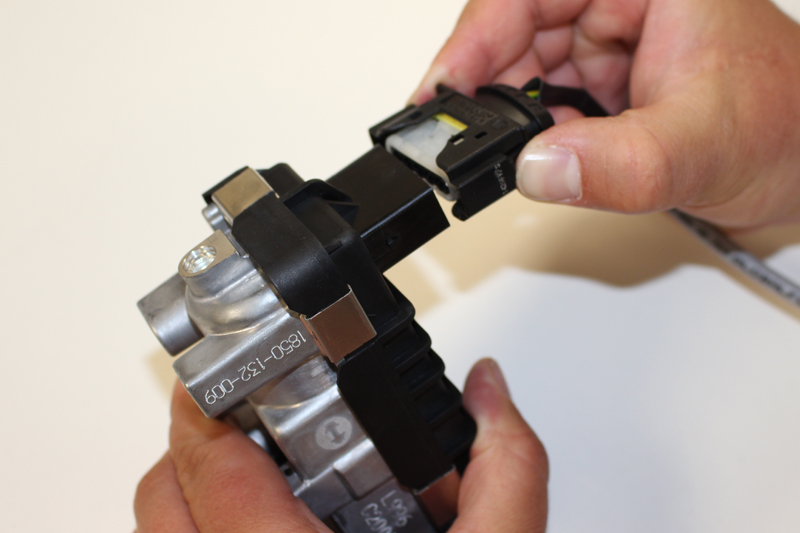
■ Are the locking tabs on the REA/SREA electrical connector damaged?
■ Are the wires within the harness connected properly and unused positions sealed?
■ Is the connector firmly located? Avoid pulling the wiring directly as this could cause damage.
■ Are the connector walls or seal damaged?
■ Are there signs of water ingress? Check for water or staining below the connector seal and in the REA/SREA connector (removal of the connecting wires is required to do this).
Finally…
■ Without starting the engine, turn the ignition on – does the electronic actuator move freely? Note: some actuators will not move without the engine running.
■ Do any warning lights appear on the dashboard?
■ Start the engine and listen for actuator noise. If possible, visually check for movement of the actuator.
■ Check again for warning lights on the dashboard. If lights appear and movement of the actuator can be seen, it may mean there is an electronic fault elsewhere on the vehicle.
■ Switch the ignition off. The actuator arm should move rapidly to the ‘safe’ position. On some occasions, the actuator arm may continue its sweep to clear the nozzle vane path. This depends on the application.
If the steps above have been followed and all connectors are in good condition, movement of the REA/SREA is free and there are no signs of water ingress, then it is highly likely the fault lies somewhere other than the turbo.


