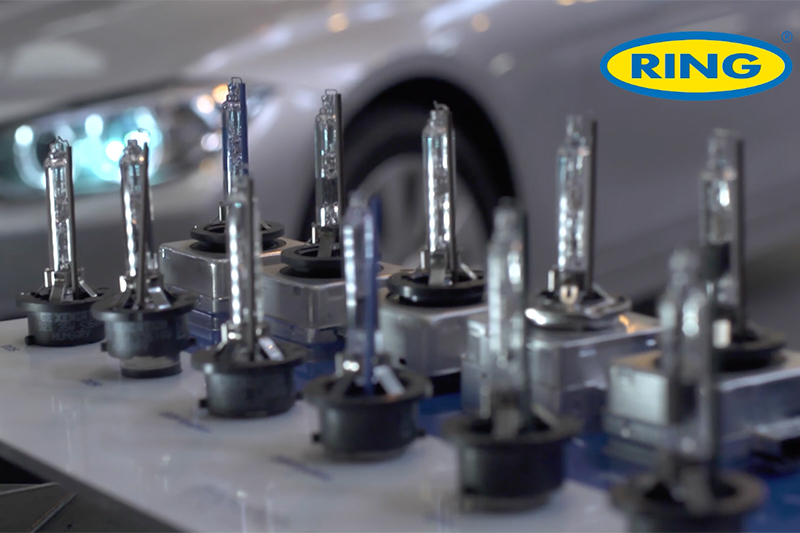
Ring Automotive has showcased a step-by-step guide to removing and replacing high intensity discharge bulbs in a video guide which can be viewed on our website. Here, we guide you through the process.
Vehicle bulbs are a consumable part and Ring’s universal fitting guide offers a visual walkthrough on new bulb fitment depending on how the light is accessed, either via the headlamp unit via clips under the bonnet, or through an access panel in the wheel arch.
According to Terri Clark, Lighting Marketing Manager at Ring: “The automotive aftermarket has seen an increase in the demand for replacement Xenon HID bulbs. Ring stocks a full and comprehensive range, including the latest D3, D4 and D5 references, all E-marked and of OE matching quality.
“We recommend that Xenon HID bulbs are replaced every five years and in pairs, to maintain optimum light output.”
Step-by-step
Remember to ensure the bulb reference has been identified in advance of removing the old bulbs before commencing any fitting work. This can be found in the vehicle’s handbook, on the headlamp unit or through Ring’s Find My Bulb App.
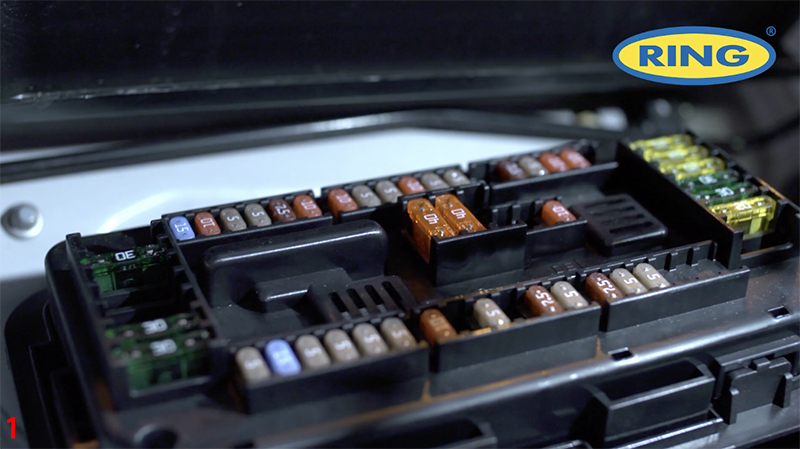
Once the vehicle is ready to be worked on, you must isolate the lighting circuit, turning off the ignition and removing the keys, and turning the headlight switch off. The fuse box needs to be accessed, and all headlamp fuses removing, ensuring safety while the bulb is replaced (Fig.1).
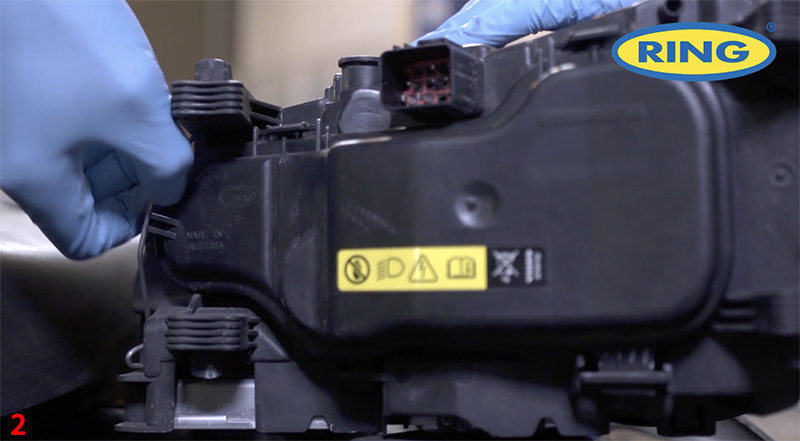
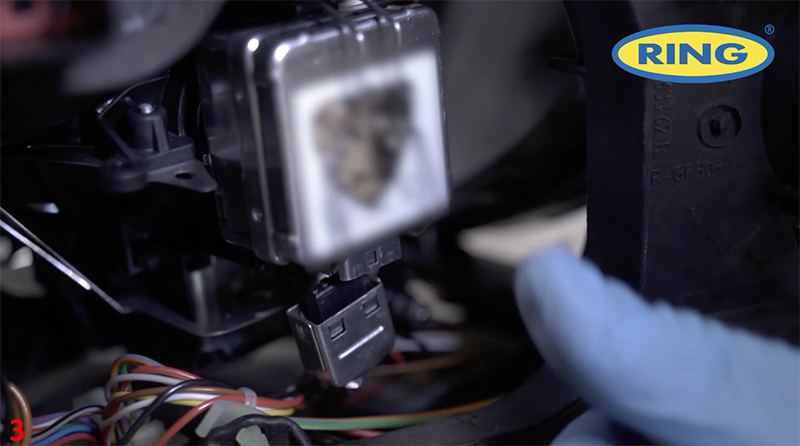
Regardless of the access position of the unit, the replacement of a headlamp bulb needs to be done carefully to ensure not to scratch the lens on any surfaces. Technicians should remove the protective cover (Fig.2) from the back of the headlamp unit, as well as unclipping the metal retainer (if present) and the power lead from the bulb (Fig.3).
If there is no metal retainer clip, quarter rotate the bulb anticlockwise to unlock.
Replace the bulb with the new one and refasten the retaining clip. With the power supply reconnected and protective covers replaced, carefully reposition the headlamp and fasten the retaining clip.
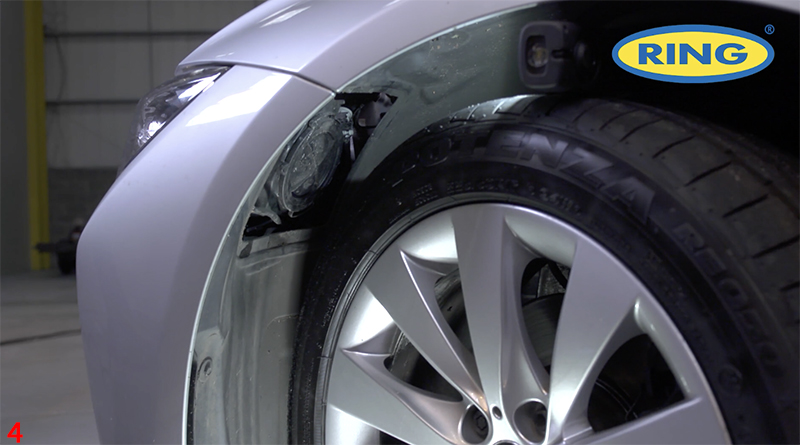
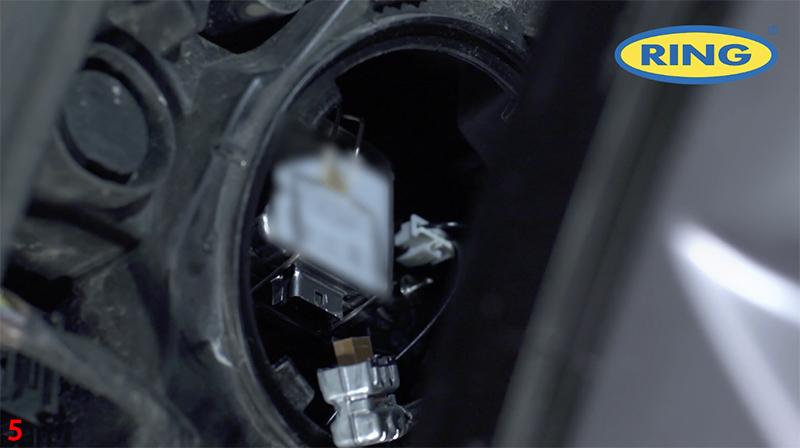
With under wheel arch bulb replacement, turning the wheel to full lock will enable full access. After the fuse removal process has been completed, the wheel arch access panel can be removed, and the protective cover removed (Fig.4). The power lead is then removed from the bulb and the bulb removed. The new bulb is inserted, metal retaining clip (if present) reattached and power supply reconnected (Fig.5). The bulbs are successfully fitted with the replacement of the protective cover and wheel arch panel.
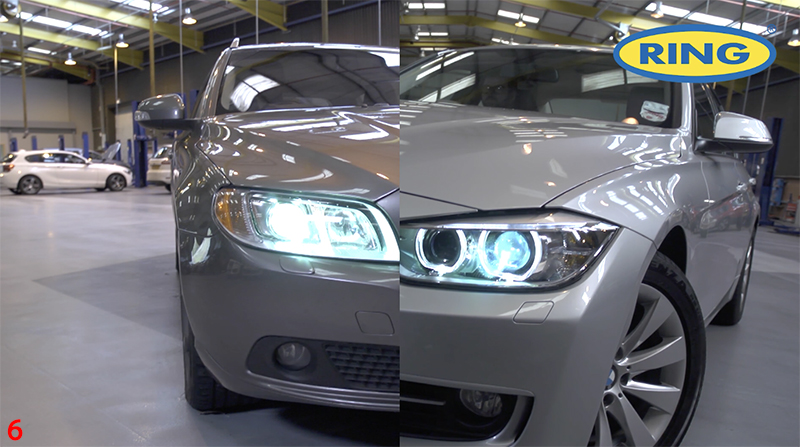
Now the new bulbs have been fitted, replace all the fuses and protective covers. Check the headlights are working correctly as well as the headlight alignment (Fig.6). Due to the unique ageing process of Xenon HID bulbs, technicians are advised to replace bulbs in pairs to ensure a colour match.
Ring stocks a full and comprehensive range of OE matching quality Xenon HID bulbs. Drivers and technicians are reminded to register the product online to activate the three-year warranty.


