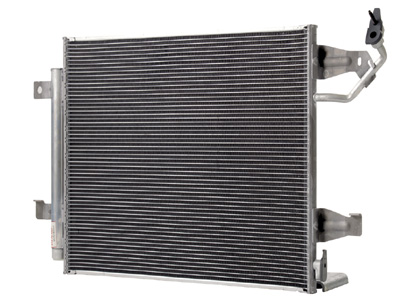
1. Check you’ve selected the correct part number through cross-referencing.
2. Inspect the new part carefully, including the size and fitment of ancillary parts such as caps, switches and sensors before installation.
3. Carefully examine the radiator hoses and connections, and replace any with new OE parts where necessary; failure to do so can cause radiator failure. The most common problem is coolant leakage resulting from defective or worn seals.
4. Thermostats and caps are also susceptible to faults. This is usually due to inherent defects in the radiators, although faults relating to OEM and matching quality replacements are extremely rare.
5. Avoid cheaper alternatives. This may sound like simple advice but research has shown that buying cheaper will cost more in the long run as too often cheaper can mean inferior quality.

6. Be careful to avoid physical damage occurring whilst handling and installing.
7. Don’t forget to inspect any defective radiator mountings (bushes/rubbers). These can easily be repaired before installing the radiator.
8. Coolant antifreeze concentration is also subject to certain regulations as outlined by the VM. Be sure to double-check this each time you fit a new radiator to ensure that the correct concentration is used.
9. Remember that the radiator is the heart of the engine cooling system, in that it releases the heat exchanged from the engine into the air. Because of this make sure you check the performance and operation of the electric cooling fans after the new radiator has been installed.
10. If in doubt, check the VM’s guidelines. All practices and procedures will be available in the technical information that each VM creates for every vehicle they make. Block Exemption Rules state that this information must be available to installers.


