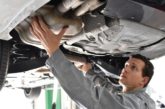
The first step in diagnosing faults should be a visual inspection of specific elements. At this stage, you should estimate the condition of the rubber caps that protect the ball joints and metal-rubber sleeves.
Finding damage to any of these components means that you have to replace the whole control arm.
The next step is to look for the presence of free play in the ball joints. Here, the best method is to examine the chassis by use of a test stand. The test stand plates force the wheel to move in all directions, allowing the mechanic to check the individual elements of the system for the presence of play.
Damage to the joint can be recognised both by the presence of play and any occurrence of creaking noises, while turning wheels or manipulating the suspension. Creaks or cracks in the dust covers are an early sign of wear and usually mean that water has got under the rubber seal, causing corrosion of the ball joint elements.
The visual examination on a test stand can also detect any damage to the metal and rubber sleeves. This is especially true for the hydraulic bearings found in the lower rear control arm on a VW Passat B5. Its specific design allows for relatively large arm movements relative to the body, and an inexperienced mechanic may interpret it as damage to the sleeve.
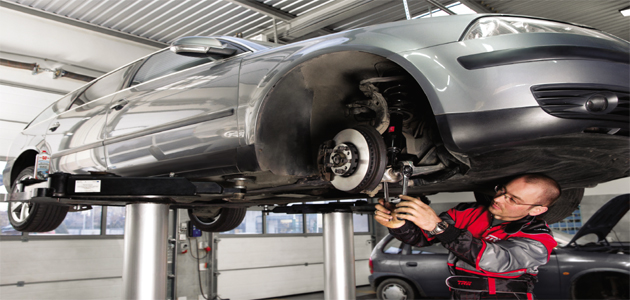
It should be noted that the condition of a multi-link suspension can also be examined without a test stand. The examination is carried out by forcing the movement of individual elements using a lever (e.g. tyre lever). This control should be performed when the suspension is under load(from an inspection pit or with the use of a drive-on lift), and when it is unloaded.
You need to be aware of the strength and direction of the forces acting on individual components. For example, play on the upper arms in the example of the VW Passat B5 is shown most effectively when the car’s weight is on its wheels and the steering wheel is turned.
Another mechanic can then place his hand on the rubber bushings of the arms and feel the presence of any play in the ball joint. The lower front control arm is best examined on a vehicle which is lifted, by applying upward force on the head of the control arm.
Once you find the damaged parts you should be ready to replace them. The first step here is the accurate selection of new parts, and then you should identify the appropriate tools.
Removal/installation
In order to remove the bolt, which secures the upper control arms in the example of the VW Passat, it may be necessary to use a special tool, as this bolt is relatively long and secured tightly in the stub axle. The tool allows for the upper control arm removal without the time-consuming disassembly of the vehicle stub axle.
After disassembling the old parts, you should then move on to the installation of the new ones. First, clean the contact surface of the dust cover. If the dust cover is not cleaned water will drain into the ball joint through the capillary effect, and corrosion will follow soon after.
All nuts and bolts must be tightened at the right torque using new nuts. Over-tightening the bolt can cause real difficulties when the time comes to remove them, as well as causing a weakness in the bolt that can compromise the safety of the car. Bolts that are difficult to reach are more prone to damage, so be sure to check whether they need replacing once removed.
It is very important to install the control arm mounting bolts to the vehicle when the suspension is under the load of the car and its wheels are in a natural position. Tightening them on a raised vehicle, when the suspension is not under load, causes unwanted torsion strain in the metal-rubber elements.
This causes faster wear and damage to newly installed parts, possibly from the point of the assembly. Care must also be taken not to damage the rubber ball joint bushings. After the repair, an examination of the suspension geometry must be performed.
A final check of wheel alignment will find any other issues that could have been missed during the inspection (e.g. a slightly bent control arm), as the correct wheel alignment is not possible with these issues. It also ensures even tyre wear and that the car will behave as designed.