Blue Print’s Fuel Filter Removal Tool (ADK82327) is an OE developed solution that makes replacement of the fuel filter element on vehicles fitted with the JTD type engine a much quicker and easier job and, most importantly, greatly reduces the risk of damage to the intricate and expensive plastic filter housing or fastening ring.
IMPORTANT NOTE
This tool is suitable for use on vehicles that are fitted with a diesel fuel filter element equivalent to Blue Print part number ADK82327. Clamping the plastic housing in a vice and attempting to loosen the filter fastening ring with a large pair of metal-jawed grips is highly likely to result in damage.
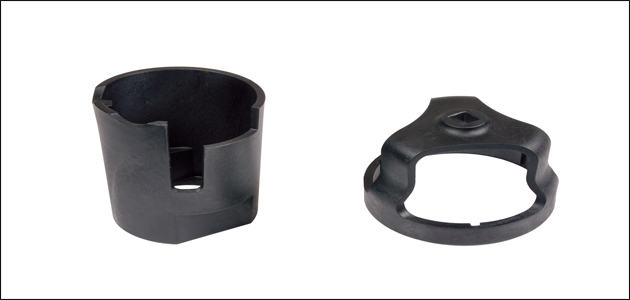
Part ‘A’ (left) and part ‘B’ (right)
STEP 1
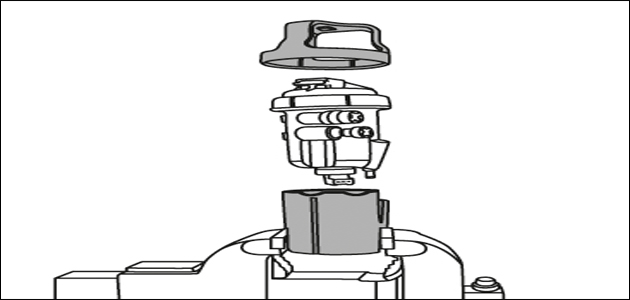
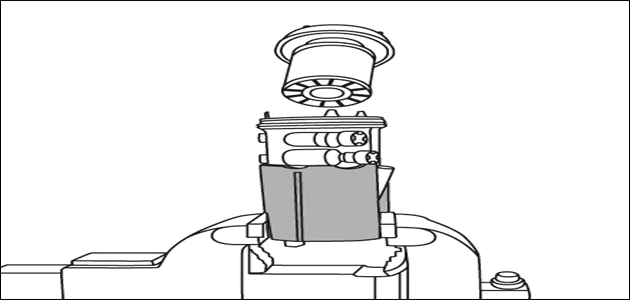
Clamp part ‘A’ into a vice. Remove fuel filter housing from vehicle, taking care to remove all pipes and all electrical connectors. Place the filter housing into part ‘A’ and locate part ‘B’ onto the top of the housing, aligning the six slots of the tool with the filter housing fastening ring.
STEP 2
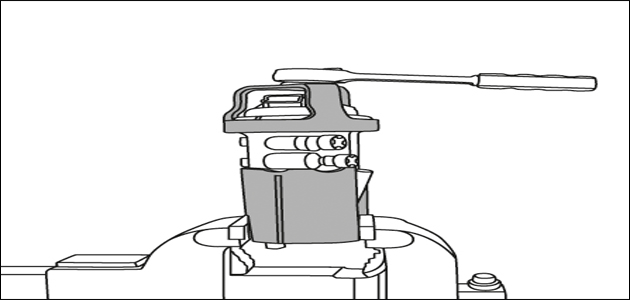
Using a ½” drive ratchet simply undo the fastening ring by turning part ‘B’ anti-clockwise.
STEP 3
Extract the upper section of the filter housing and replace the fuel filter element (ADK82327) taking care not to touch the filter paper on the new element.
STEP 4
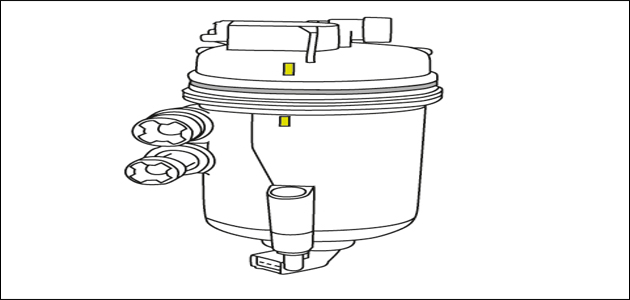
Replace the rubber seal between the two sections of the housing with the one supplied with the new filter. Refit the upper section to the housing by aligning the yellow/green markers.
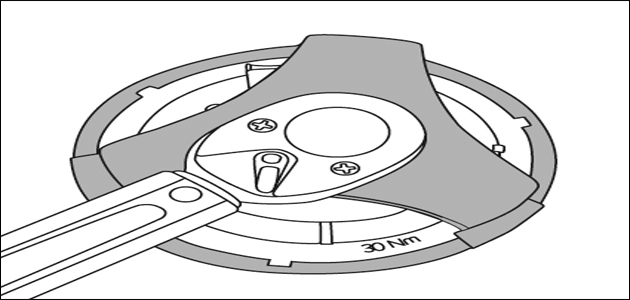
STEP 5
Tighten the fastening ring to 30Nm, then refit the housing to the vehicle and reconnect all fuel pipes and electrical connectors. Start the engine and check for leaks. Note: The fuel filter is ‘self bleeding’.