
Today’s batteries need to be installed correctly or the customer may soon need to return to the garage. Without battery coding, the car’s battery management system won’t work correctly and some vehicle functions will cease. The worst case scenario is that the vehicle may not even start.
In this guide, we’ll use Bosch’s ESI 2.0 software to demonstrate the fitting of the battery. ESI 2.0 is capable of installing several brands of batteries, but the list of battery brands changes by application.
You should fit a battery support unit before starting any work. This retains the car’s electronic memory. Without a support unit, the car’s system may reset to the factory default.
It’s important to follow the entire installation process from start to finish, as the coding section of this process can’t be omitted.
Select the correct battery for the car…

Connect a battery support unit, such as the BAT490, to retain codes and instrument display information. This should remain connected throughout the battery fitting process…

Remove the old battery, ensuring you take off the negative terminal first, followed by the positive one…

Install the correct new battery, ensuring the positive terminal is connected first and the negative second. If there is a vent tube, ensure it is fitted to the new battery…
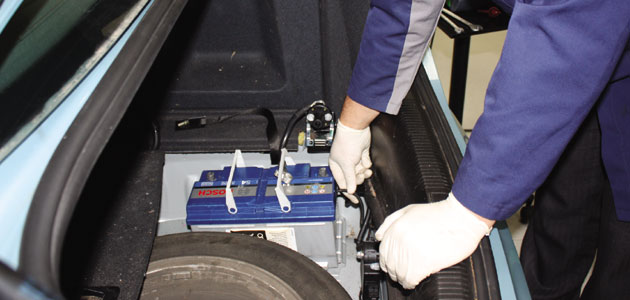
Ensure the battery is correctly located in the tray and clamped into position…

Plug the Bosch KTS unit to the car’s 16 pin DLC (Data Link Connector)…
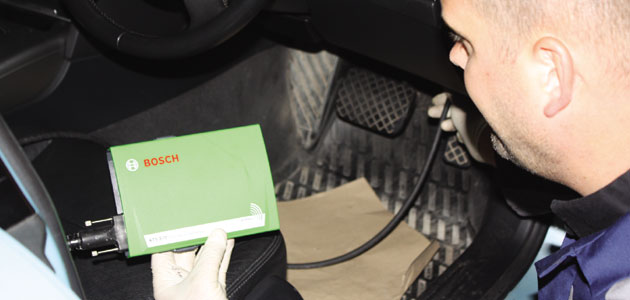
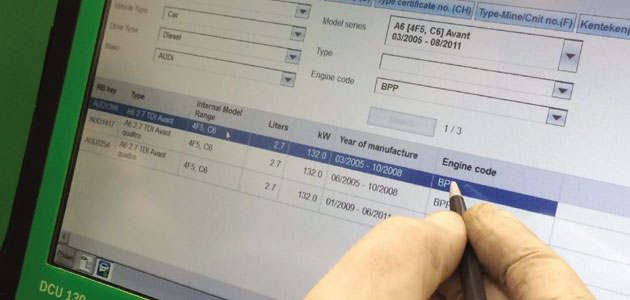
Turn on the KTS unit and select vehicle details manually or via VINlook up…
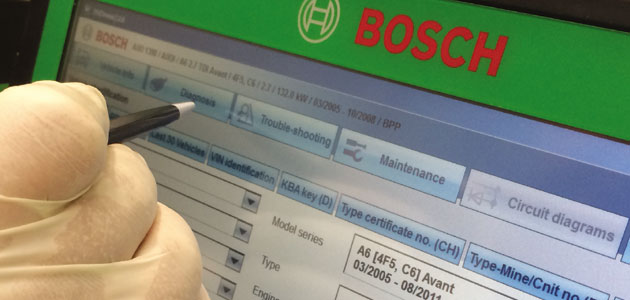
Click on the ‘Diagnosis’ tab and select ‘Energy Management’ from the drop down list…
Select ‘Electric Energy Management System’ in the drop list and press enter…

Check the error memory for fault codes. If no codes present, continue to the next stage, but make a note of any fault codes before clearing them and starting the battery coding process…
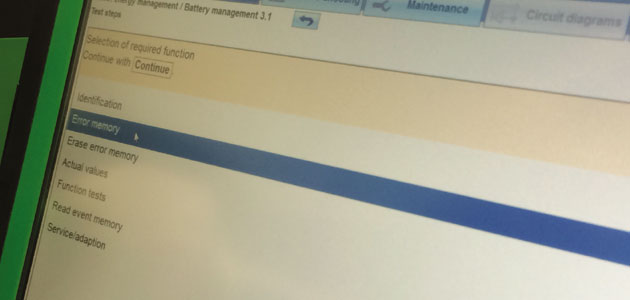
From the list, select ‘Service adaption’…
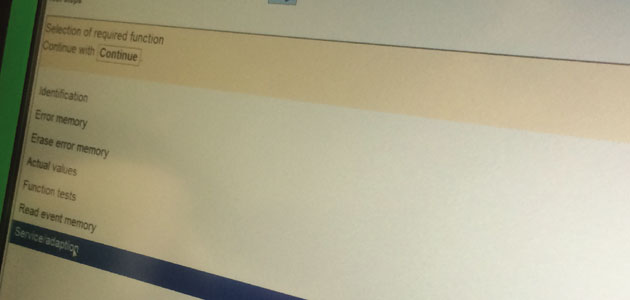
Then select ‘Battery replacement’…
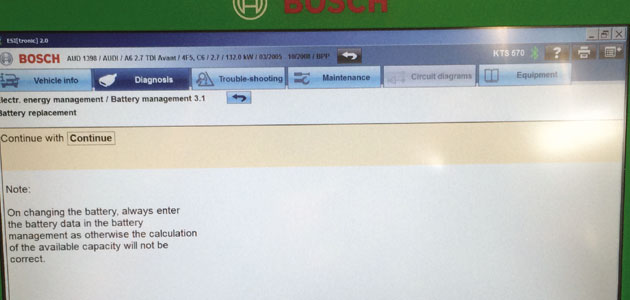
You will then see a note on the screen. Please read this carefully…

Select the correct vehicle details…

Enter the brand of the new battery…
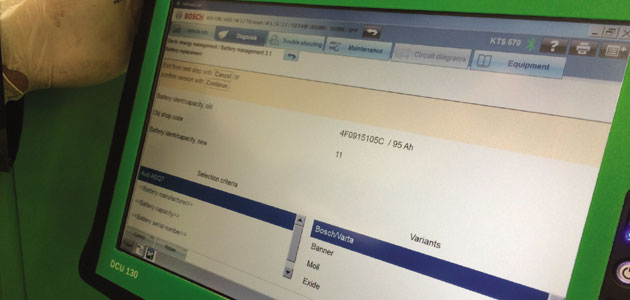
Select the new battery ampere hours…

When prompted, enter the battery serial number. On a Bosch battery, the serial number can be found on the barcode. This is a 13 digit number, but you’ll only need to enter the first 10 digits…

The next screen will display a confirmation of selection criteria. Press continue, then close the programme and remove the battery support unit…

Find more information on Bosch Parts and equipment at www.boschautoparts.co.uk.


