The Volkswagen Sharan 1.9 TDi was first introduced back in 1995 and has proved very popular with families. With 47,000 Sharans and the shared platform of Ford Galaxy at 125,000 and the Seat Alhambra having 28,000 on the road, most independent garages will certainly have worked on these vehicles.
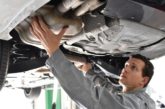
This vehicle had been fitted with a 4-in-1 conversion kit by the garage and the customer had returned it after only two miles due to the excessive gear rattle. A clutch replacement on the Sharan can be a little tricky but with guidance from LuK the whole process will become much easier.
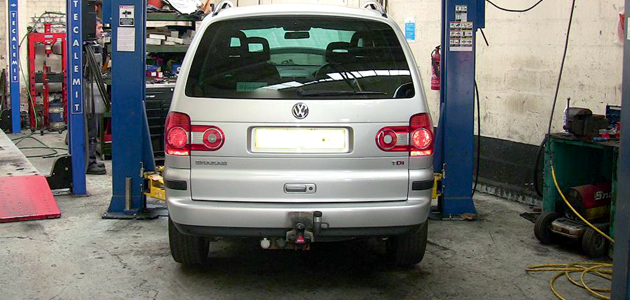
Nothing out of the ordinary is needed to complete the job, the only special tools required are a transmission jack, a long axle stand and an engine cradle. A two-post ramp was used in this example, however a four-post ramp may also be suitable. For safety reasons it is considered best practice to disconnect the battery earth lead before commencing work. The vehicle may be fitted with anti-theft wheel bolts, so make sure you have the key before you start.
Open the bonnet and remove the plastic n/s engine cover. Disconnect the battery terminals and undo the battery clamp. Lift out the battery and disconnect the electrical connectors (see picture below) and the earth point.

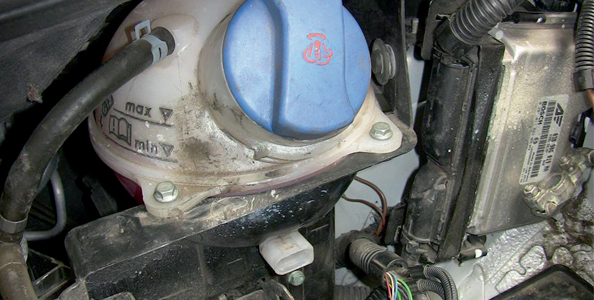
Unbolt the coolant tank support bracket and the bolts securing the tank (see picture below).
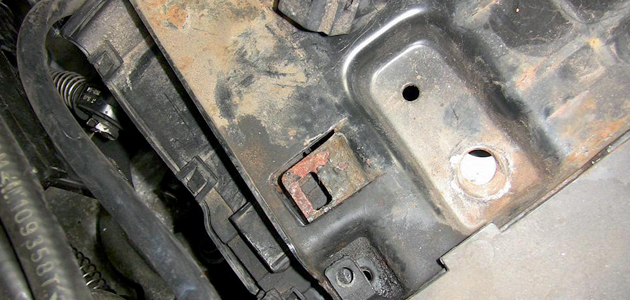
Remove the plastic battery surround, making sure you detach the attached wiring harness and locate the hidden fixing bolt behind the ECU (see picture below). Undo the fuel filter bracket bolts and release.
Undo and release the metal battery undertray and unclip the attached wiring harnesses (see picture below). Disconnect the slave cylinder connection on the gearbox and plug to prevent leakage. Remove the clips on the gearchange cables and lift off the linkages.
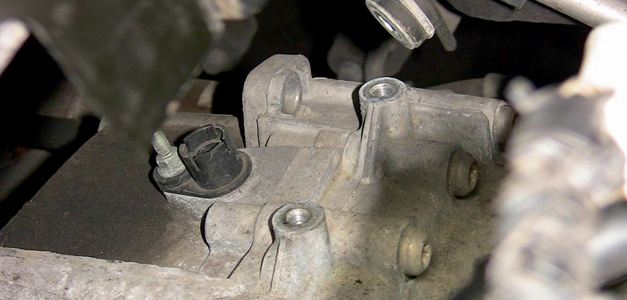
Stow these to one side then undo the three bolts securing the gear linkage bracket (see picture below) and remove it. Undo and remove the upper bell housing bolts. Support the engine with the engine cradle and undo and remove the gearbox mounting.
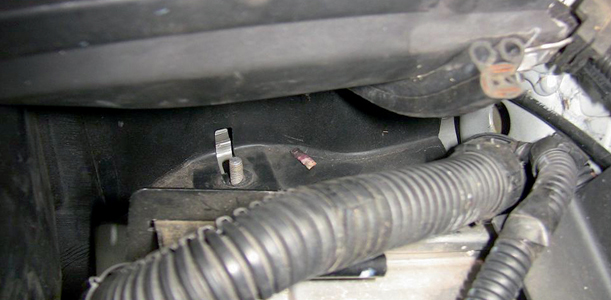
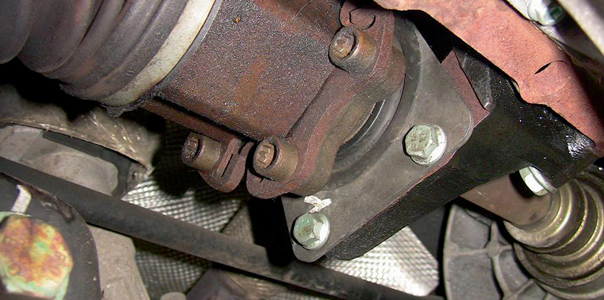
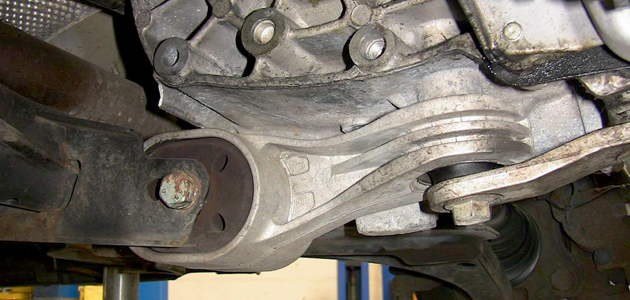
Remove the front road wheels and undo the hub nuts on both sides. Undo and carefully lower the plastic undertray then release and lower both suspension arms. Unbolt and remove the bracket securing the starter motor then remove the electrical connections and stow to one side. Undo and remove the n/s driveshaft bolts to the gearbox and lift out the driveshaft. Undo and remove the o/s driveshaft support (see first image below) and lift out the driveshaft. Undo and remove the rear lower engine steady bracket (see second image below). Release the reverse light switch connector and undo the final bell housing bolts. Using a suitable support you are now able to lower the gearbox to the floor.
With the clutch removed, the solid flywheel was removed easily and the new OE DMF was fitted. Normally you would check the dual mass flywheel (DMF) for signs of heat stress and evidence of grease loss. The DMF should also be tested for freeplay and rock between the primary and secondary masses; LuK tool number 400 0080 10 is specifically designed for this purpose on all LuK manufactured DMF’s. Full instructions and tolerance data for all LuK DMFs are contained on a CD which comes with this special tool.
Clean the first motion shaft splines and any debris from the bell housing (especially important when a release bearing has failed). Remember, if the bearing or sleeve is made of plastic there is no need for lubrication. If both parts are metal then a high melting point grease should be used and not copper-based products.
Put a small dab of grease on the first motion shaft splines and make sure the new driven plate slides freely back and forth. This not only spreads the grease evenly but also makes sure you have the correct kit. Wipe any excess grease off the shaft and driven plate hub. Using a universal alignment tool and checking the driven plate is the correct way round (note “Getriebe Seite” is German for “Gearbox Side”) the clutch can be bolted to the flywheel evenly and sequentially.
Before fitting the gearbox make sure the locating dowels are in place and not damaged. Refit any that have become dislodged and refit the gearbox. Make sure the gearbox bell housing bolts are secured before lowering the jack. Refitting is the reverse of removal.