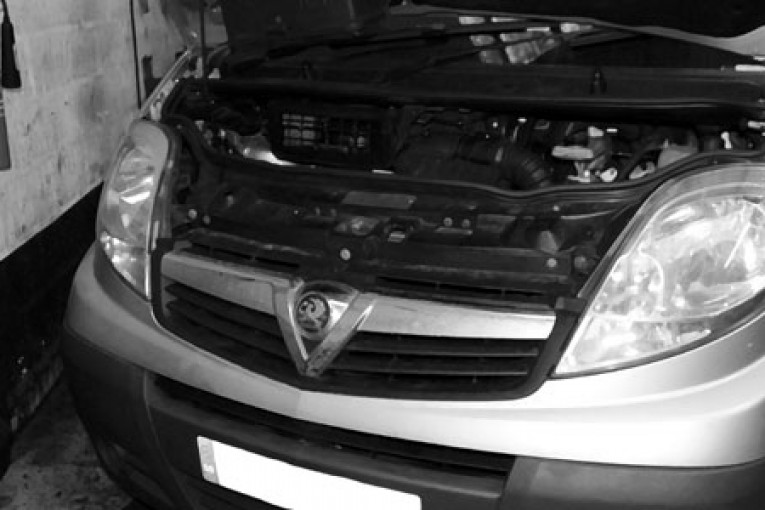
Launched in 2001, the Vauxhall Vivaro is an excellent example of mutual ventures between vehicle manufacturers; the Renault Traffic and Nissan Primastar are quite similar applications. With over 140,000 Vivaro’s on UK roads today, this handy clutch replacement guide from LuK should prove valuable.
It is possible to find two types of gearbox designs that changed around late-2006 and early-2007 on these applications. In this article, we tackled the later version of the Vivaro with the wiring loom positioned at the top of the gearbox, which hides the top bell housing bolts, so this will have to be removed. In this repair, we used a two-post ramp, two transmission jacks and a suspension arm lever. The first stage of the repair is to remove the top gear box mount nut with the vehicle still at ground level. The remainder of the repair can then proceed from underneath. Raise the vehicle and drain the gearbox oil. Remove the nearside front wheel. Inside the wheel arch, release two bolts holding in place the side shield (Fig 1).

Fig 1
Support the gearbox using a transmission jack. Release the power steering pipe, which is positioned on the side of the gearbox, by removing two bolts from the retaining brackets. Remove the bolt holding the earth cable in position and stow safely (Fig 2).
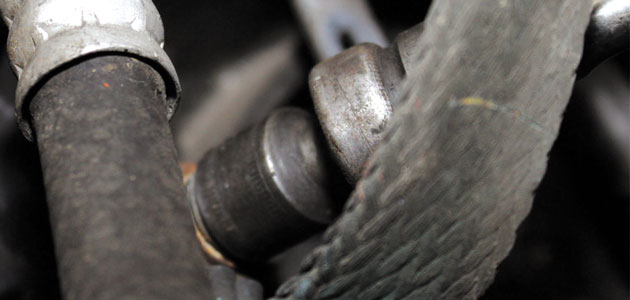
Fig 2
Release the second power steering pipe positioned at the front of the engine, held by two bolts mounted to the gearbox mount and one bolt at the rear of the engine. Remove three bolts that hold in place the gearbox mount: two on the side and one on the top. Then, release the top mount from its position. Disconnect the ABS sensor connectors and release three nuts connecting the lower suspension arm to the ball joint on the near side. Using the suspension arm lever, separate the parts (Fig 3), and swing the suspension leg to the side whilst holding and releasing the driveshaft from the gearbox.
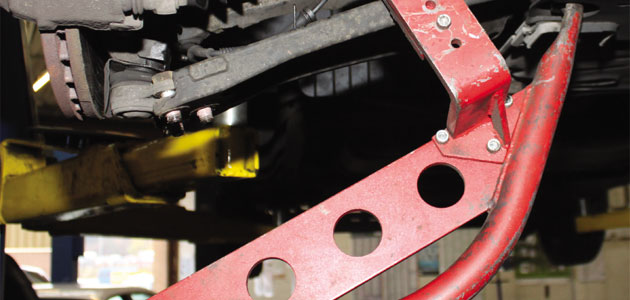
Fig 3
Repeat this procedure for the off-side, taking care when releasing the driveshaft from the gearbox, as it locates through a support bearing.
Bracket removal
The bracket will need to be removed releasing two bolts (Fig 4).
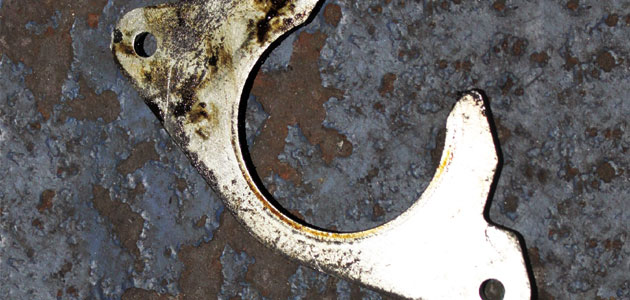
Fig 4
Swing the suspension leg to the side, and the driveshaft and bearing will slide out of its location. We secured the driveshaft in place by using a pair of locking grips to stop it from returning to its original position through the support bracket (Fig 5).
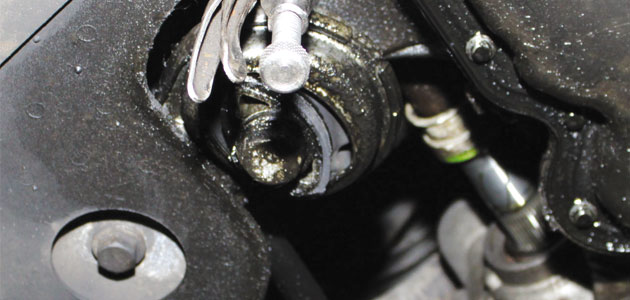
Fig 5
Remove the gear linkage and bracket as one complete assembly by removing three bolts – two situated on the side and one on the top of the gearbox – and stow. Disconnect the reverse light switch (Fig 6).

Fig 6
Remove the plastic wiring loom carrier by removing two bolts – one at the front and one at the rear of the gearbox – then stow the wiring loom using cable ties (Fig 7).
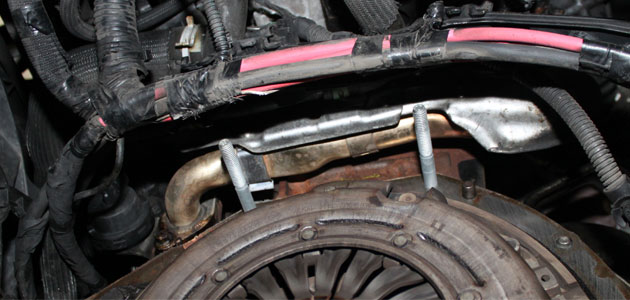
Fig 7
Remove the top two bell housing nuts and the two starter motor bolts, and then release the two bell housing bolts on the rear of the gearbox. Secure the front section power steering pipe using cable ties to ease the removal of the gearbox. We tried to lower the gearbox without doing this, and the pipe can get caught on the bell housing, so the pipe must be stowed to prevent any damage. Support the gearbox with a second transmission jack and cradle.
Lower gearbox to the floor
Remove the four bottom bell housing bolts and carefully lower the gearbox to the floor. Remove the worn clutch cover, drive plate and release bearing. With the clutch removed, check the flywheel for signs of heat stress. Clean the first motion shaft splines and any debris from the bell housing, which is especially important when a release bearing has failed.
Put a small dab of high-melting point grease – not a copper-based product – on the first motion shaft splines, and make sure the new driven plate slides freely back and forth. This not only spreads the grease evenly, but also makes sure you have the correct kit. Wipe any excess grease off the shaft and driven plate hub.
Using a universal alignment tool and checking the driven plate is the correct way round (note “Getriebe Seite” is German for “Gearbox Side”) the clutch can be bolted to the flywheel evenly and sequentially Before fitting the gearbox, make sure the locating dowels are in place and not damaged. Refit any that have become dislodged and refit the gearbox. Make sure the gearbox bell housing bolts are secured, and the gearbox mount is installed before removing the transmission jacks. Refitting of the parts is the reverse of removal.


