Charles Figgins, Technical Marketing Manager at Blue Print, runs through the procedure for replacing the clutch on a fourth generation Nissan Micra, K13 model.
The popular Nissan Micra has been in production since 1982. It has been sold worldwide in considerable numbers since its introduction and is now on its fifth generation – it is still a popular choice of car. The model featured in this article is a fourth generation K13 model, fitted with the 1.2 three-cylinder petrol engine. The example shown in this article was reported to have a slipping clutch, which would require a clutch replacement.
Step-by-step guide
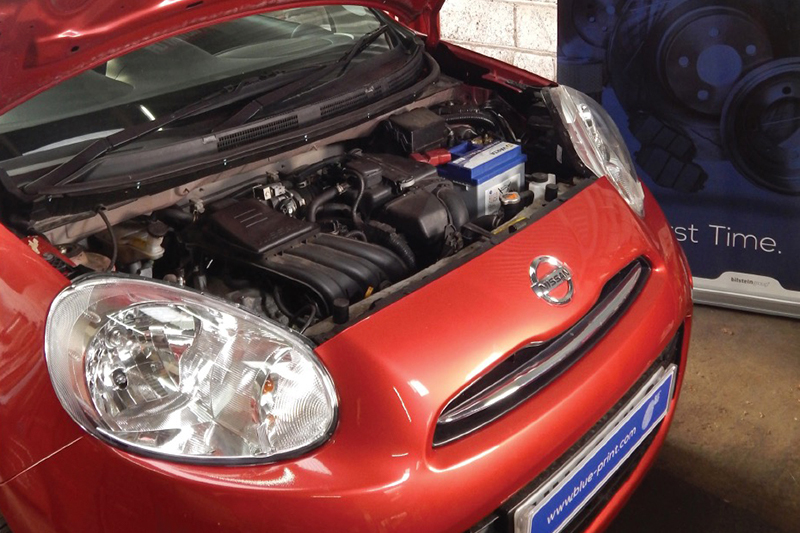
With the vehicle in the workshop, the bonnet was opened, and the battery and air cleaner assembly was removed. This was followed by the battery tray, which is held in place by four bolts, two nuts, and has several retaining clips that hold different parts of the wiring harness in place (Fig 1).
With the battery tray out of the way, the gear selector linkage cables were revealed. They required unclipping and the retaining bracket needed to be unbolted from the transmission. The selector cables were then set aside until they were required to be refitted.
Next, was the removal of the crank sensor. If left in place, there is a high risk it will become damaged against the flywheel during the removal of the transmission. This was followed by the unclipping of the plastic hydraulic pipe, which is connected to the concentric slave cylinder (CSC). The pipe was sealed to prevent any excess fluid from leaking during the removal of the transmission.
Working at the top of the transmission, the upper bell housing bolts were removed; it is important to take note of their original position as they are different lengths. The vehicle was raised to a working height, and both front wheels were removed. This was followed by the hub nut retaining split pins and hub nuts, readying the removal of both driveshafts to allow plenty of room to remove the transmission.
Working on the left side of the vehicle, the front wheel arch liner was removed, revealing the reverse lamp switch situated on the end of the transmission, which was subsequently unplugged. The wiring harness that runs under the transmission mounting was then unclipped and put to one side. There is also an earth cable that required unbolting from the transmission.
The vehicle was raised again, and the transmission oil was drained, followed by the removal of both front, lower-arm ball joints from the hubs; this leaves enough room for the driveshafts to be removed.
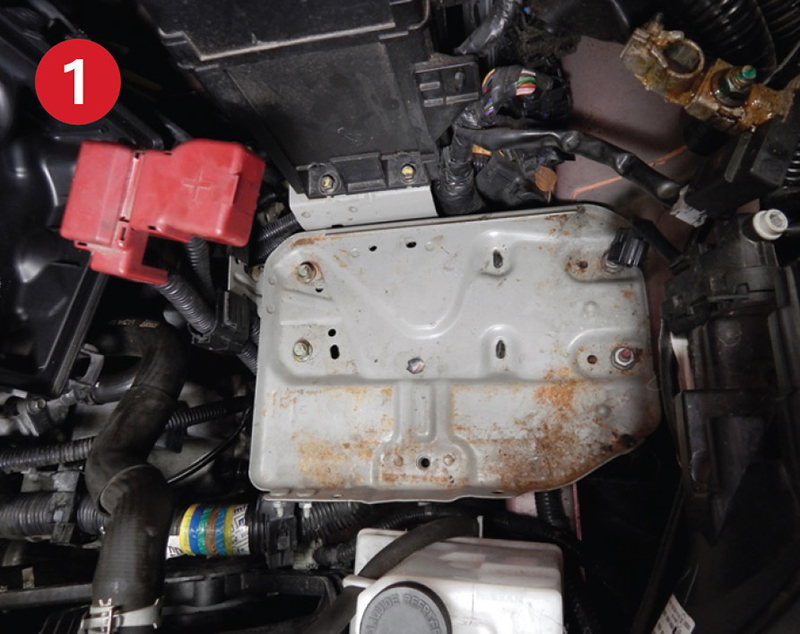
With a suitable pry bar, the driveshafts were levered out to release the retaining clips so that the driveshafts could be removed from the transmission, being careful not to damage the seals (Fig 2).
Next was the removal of the heat shield – which is above the right driveshaft – as this would restrict the removal of the transmission.
Then, the rear steady bar was removed; this is fitted to the transmission and the rear cross member. The engine required support before any other part could be removed. With the engine supported, the transmission mounting was removed, and the lower bell housing bolts were also removed; again, ensure their original position before removing the transmission is noted.
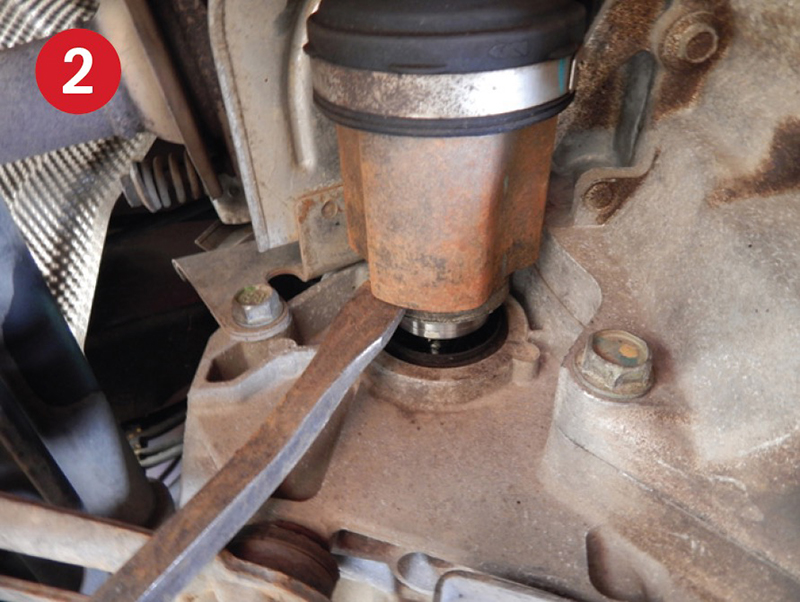
With the transmission removed, the clutch pressure plate and friction disc were removed and inspected. The friction plate material was worn down to its retaining rivets and needed immediate replacement. The flywheel was cleaned and inspected for defects before the parts contained in clutch kit ADN130236 were fitted. The attention then turned to the removal of the old CSC. Once removed, the transmission was cleaned of excess worn clutch material. Then, the input shaft seal was inspected for fluid leaks before fitted the new CSC (Fig 3).
Clutch bleeding procedure
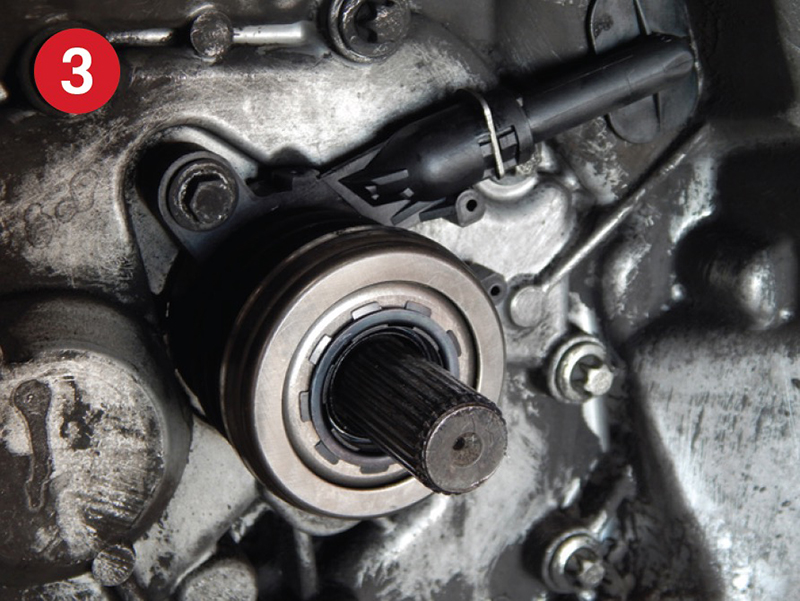
With all the new clutch parts fitted, the transmission was installed in reverse order and filled with the correct grade oil. The last thing to do was to bleed the air from the clutch hydraulic system (Fig 4).
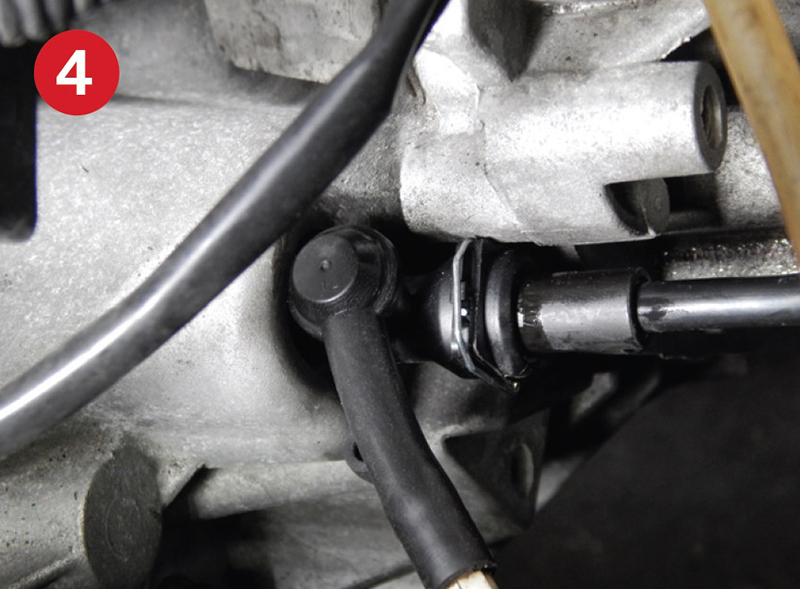
The Blue Print clutch kit comes with a number of useful bulletins, one of which includes the clutch bleeding process, which goes as follows:
1. First, top up the clutch fluid reservoir with new clutch fluid and then connect a transparent hose to the air bleeder of the bleeding connector, which is part of the CSC. Do not use a vacuum or pressure bleeder on this system as this may cause damage to seals within the clutch hydraulic system.
2. Press the retaining clip down into the bleeding connector and maintain the position – this is to release the clutch hydraulic tube.
3. Slide the tube back by approximately 5mm to release the retaining clip. This will allow clutch fluid to flow from the air bleeder. Hold the tube to prevent it from getting disconnected as the clutch fluid tube is under hydraulic pressure.
4. Get an assistant to depress the clutch pedal and hold it. Then, bleed the air from the CSC until no bubbles are observed in the clutch fluid.
5. Push the clutch tube back into its original position. Release the clutch pedal and wait five seconds. Make sure the retaining clip is complete and is in its correct position to retain the clutch tube.
6. Check that the fluid level in the reservoir is within the specified level during and after air bleeding. Check that the clutch pipe is correctly retained, and no chafing can occur.
After successfully bleeding the new CSC, the clutch operation, pedal free play and travel height were all checked. Additionally, the clock and the radio were reset. The clutch operation was then tested. After that, a road test was carried out. With the new clutch fitted and the CSC bled, the new clutch was operating correctly.


