For this month’s Belt Focus, REPXPERT Alistair Mason runs through how to replace the timing belt and water pump on a 2004 Peugeot 407, fitted with a 2.0 HDI engine that has covered more than 125,000 miles.
For this specific vehicle, the manufacturer’s recommended change interval is every 144,000 miles or 10 years, and the water pump replacement is also advised at the same time.
Helpfully, the INA timing belt and water pump kit contains all the components required for a complete replacement; all of original equipment (OE) specification and quality.
With a book time of 4.6 hours, minimal investment required for special tools, and by following the full fitting instructions and bulletins available on Schaeffler’s REPXPERT information website, this is a great repair for any independent workshop.
When it comes to maintenance work for this component category, it’s always advisable to follow the ‘4T’ guidelines:
1. Temperature – Replace and tension the timing belt at an ambient temperature
2. Tools – Use the correct engine timing tools
3. Tension – The correct timing belt tension is critical on today’s engines
4. Torque – Torque all bolts to the vehicle manufacturer’s specifications
Equipment used:
- Vehicle lift (two post is preferred)
- Engine support
- Crank and camshaft locking tools
- Coolant drain pan
- Cooling system vacuum bleeder
Timing belt and water pump removal
With the vehicle placed on the lift, raise it to waist height, remove the O/S/F wheel and wheel arch liner, then raise the vehicle to gain access to the underside and mount an engine support on the front sub-frame and support the engine on the O/S. Remove the auxiliary drive belt (Fig 1) and inspect for wear and cracks, although it is always good practice to replace the auxiliary belt when replacing the timing belt. Now lower the vehicle to gain access to the engine bay.

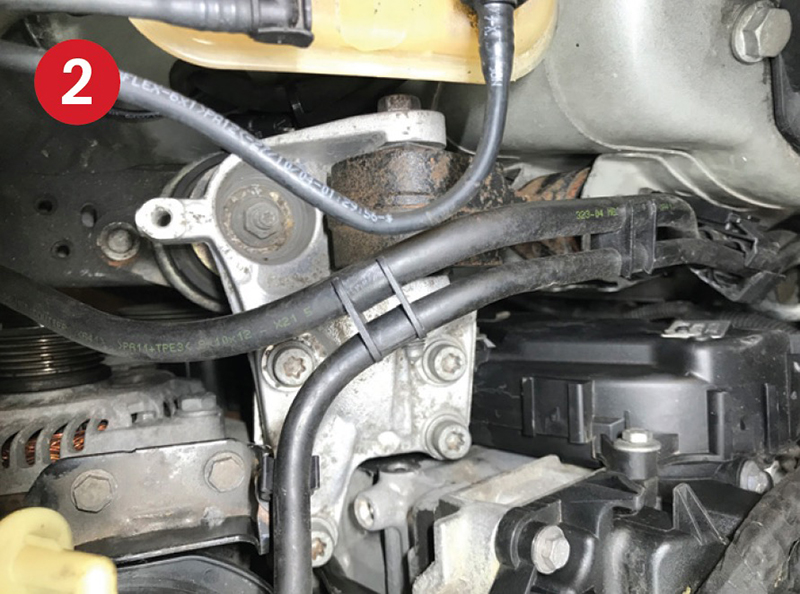
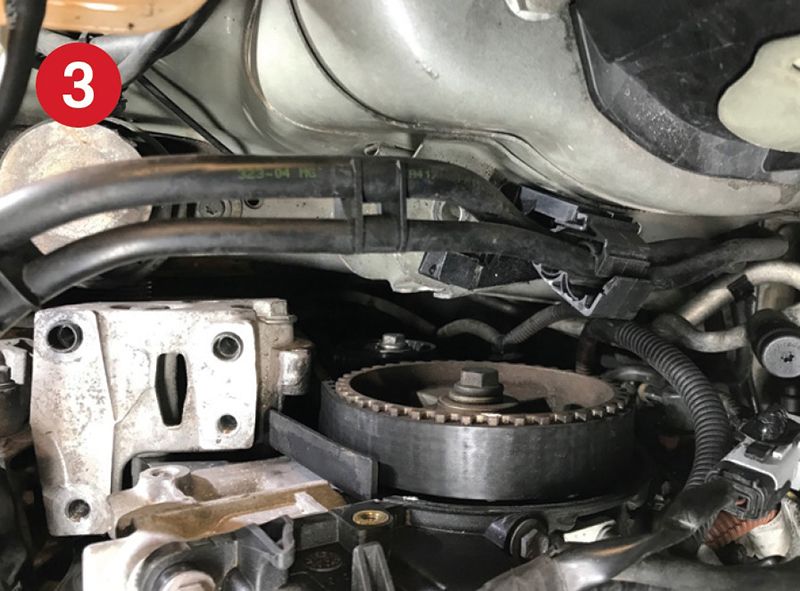
Remove the engine cover, followed by the O/S engine mounting (Fig 2) and then the rubber mounting bolted to the chassis leg – the top section of the timing belt cover retained with four bolts can now be detached (Fig 3).
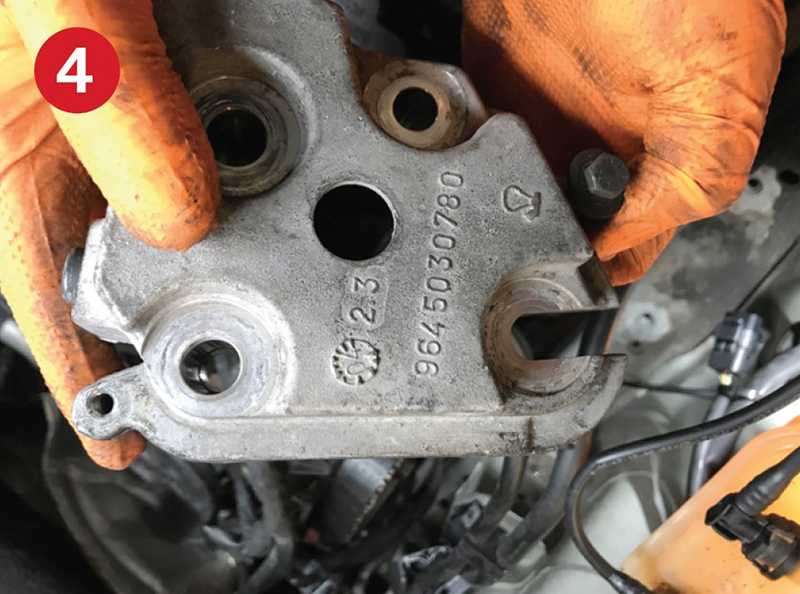
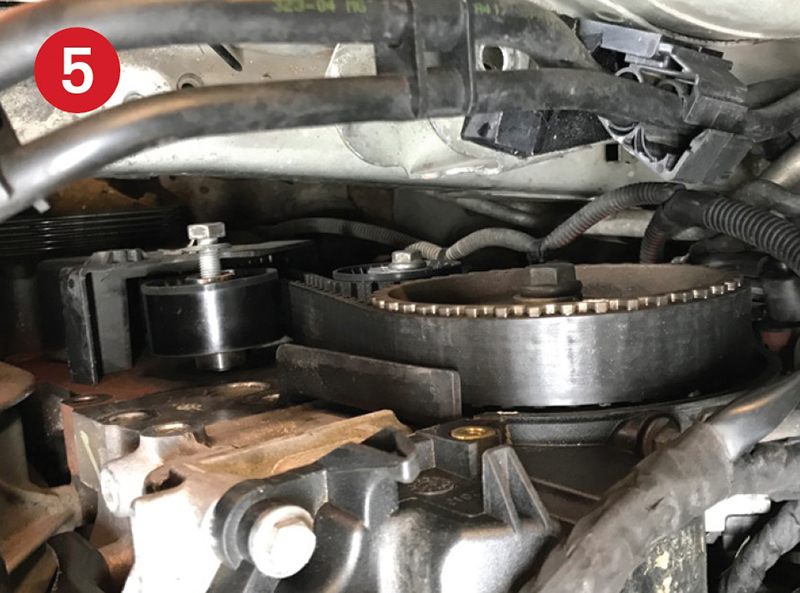
Remove the inner section of the engine mounting bolted to the engine block – Note: the bottom bolt holds the idler pulley in position, so only slacken this bolt and then slide the mounting off (Fig 4 and 5).
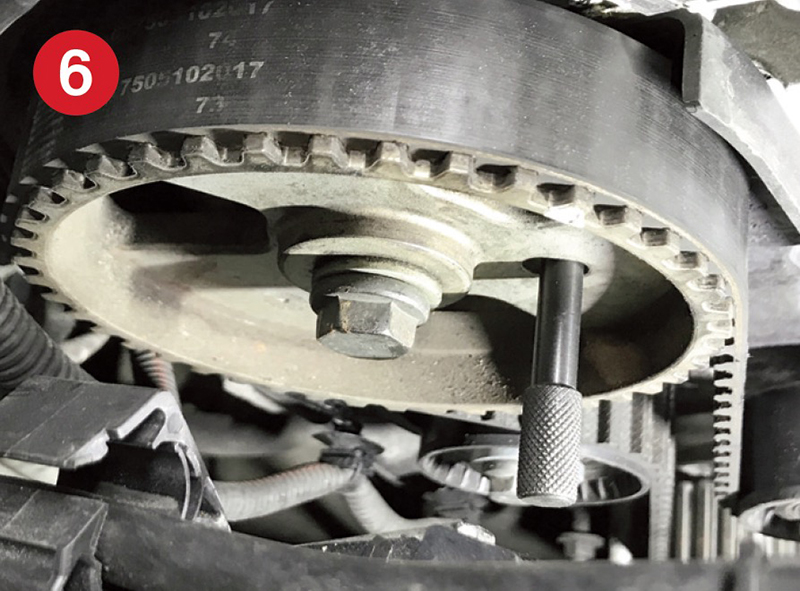
Now insert the crankshaft and camshaft locking tools by rotating the engine in a clockwise direction using a socket and bar on the bottom pulley bolt, until the camshaft locking pin can be inserted (Fig 6), then insert the slightly more difficult crankshaft locking pin that is located behind the starter motor.
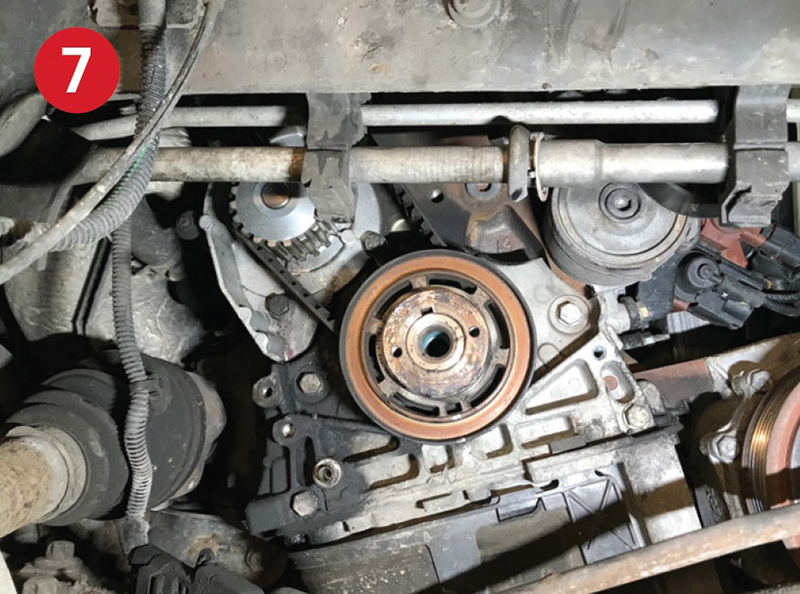
When the crankshaft is locked, remove the bottom pulley bolt and inspect the rubber section for any cracks or deterioration and replace if required, then remove the lower timing belt cover and crank sensor (Fig 7).
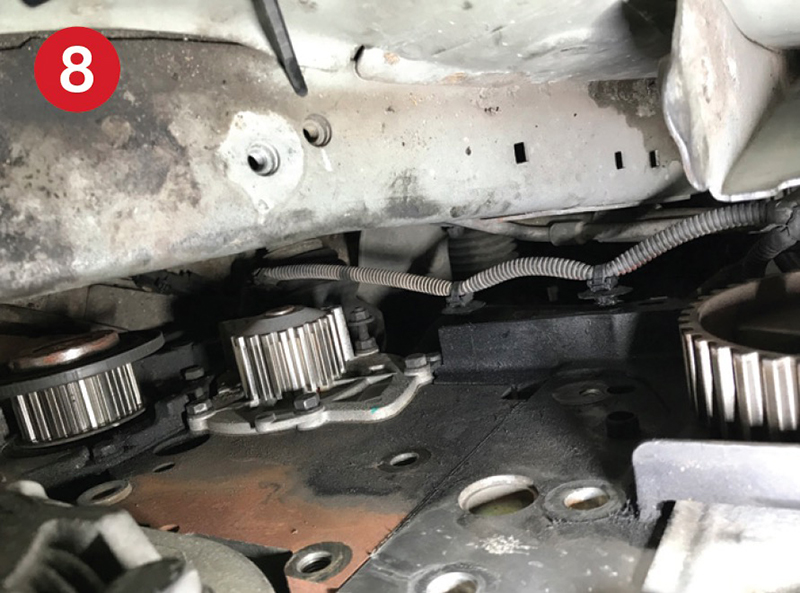
Slacken the timing belt tensioner and ease the tension off of the timing belt, so the belt can be removed, followed by the tensioner and idler (Fig 8). With the timing belt removed, check for any leaks that may contaminate the new timing belt system and rectify as required. Place a coolant drain pan under the water pump area, remove the pump and clean off the old gasket.
Timing belt and water pump installation
Before installing the new water pump, ensure the mounting surfaces are clean and dry, then mount the gasket – Note: a light smear of grease may help retain the gasket position, but gasket sealer is not required on modern water pumps and can contaminate the water pump seals. Locate the water pump, insert and tighten the bolts in an even manner and torque to the manufacturer’s specification.
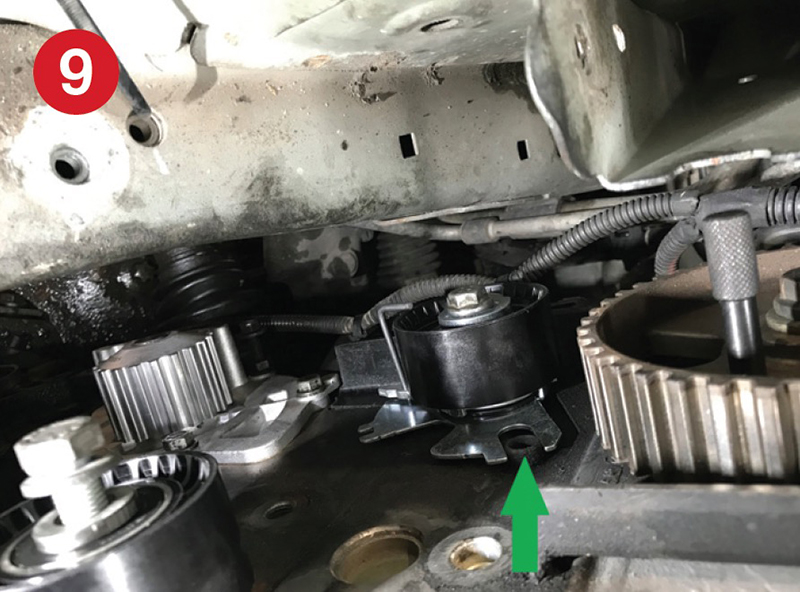
Mount the new tensioner, ensuring the back plate locates on the dowel (Fig 9) and lightly nip the tensioner bolt so that it can be adjusted once the belt is fitted, then fit the idler pulley, remembering to leave this bolt slack so that the mounting bracket can slide on. Fit the timing belt from the crankshaft sprocket, to the water pump, idler pulley, camshaft sprocket and finally, slide it onto the tensioner, then reattach the engine mounting bracket and torque the bolts.
Tension the timing belt by turning the tensioner anti-clockwise with an Allen key until the pointer aligns with the cut out and tighten the tensioner bolt. Remove the crankshaft and camshaft locking tools and rotate the engine four complete revolutions in a clockwise direction, then refit the crankshaft and camshaft locking tools and check the pointer is still in the correct position on the tensioner. After confirming the timing and tension is correct, remove the locking tools and torque the tensioner bolt to the manufacturer’s specification. Refit all components in reverse order of removal.
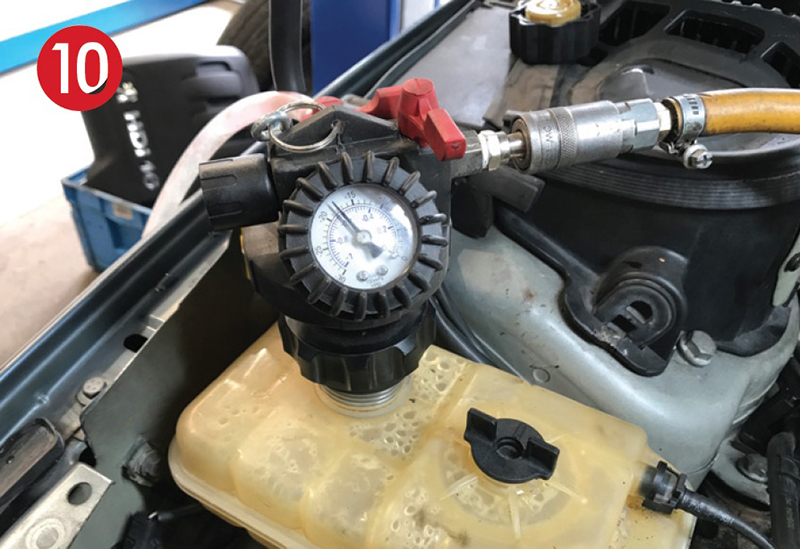
Fill the cooling system with new coolant, ensuring it is of the correct specification and concentration. Vacuum filling/bleeding is one of the best ways to replenish the system (Fig 10) as it is quick, avoids air locks and lubricates the new water pump on initial startup.
Once the cooling system has been filled, run the vehicle with the heater on to confirm coolant circulation, and top up the coolant if required. Always road test the vehicle to ensure the completion of a quality repair.


