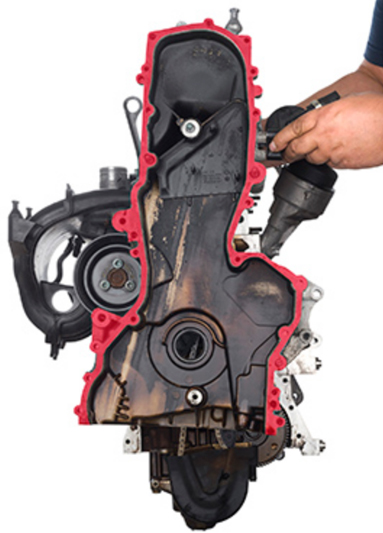
The experts at ContiTech have provided a step-by-step guide for a timing chain replacement on a 1.2l VW Polo. The labour time for this procedure is just under three hours.
When the timing chain is replaced, serious mistakes are often made. Timing chains can lengthen as their service life increases, affecting the cylinder charge, gas exchange processes and, consequently, emissions performance. In this case, the timing chain must be replaced. To ensure correct functioning, the tensioning and guide elements as well as the gears in the timing chain drive must be replaced.
When the timing chain is changed, the V-ribbed belt should be replaced as well. The V-ribbed belt must therefore be replaced at the same time so as to prevent subsequent failures incurring unnecessary costs. If, however, the old V-ribbed belt is to be re-installed, mark the direction of travel before removal.
Fitters require the following special tools for the replacement:
- Lock ring tool for crankshaft OE (T 10121)
- Retaining tool for camshaft OE (T 10120)
- Arrester OE (T 10172)
Preparatory work:
Identify the vehicle using the engine code.
Disconnect the vehicle’s battery. Do not turn the crankshaft or camshaft when the timing chain has been removed. Turn the engine in the normal direction of rotation (clockwise), unless specified otherwise.
Turn the engine only at the crankshaft sprocket and not at other sprockets. Only perform testing and adjustment tasks when the engine is cold. Do not allow the V-ribbed belts to come into contact with damaging materials such as engine oil or coolant.
Comply with all vehicle manufacturers’ tightening torques.
Remove:
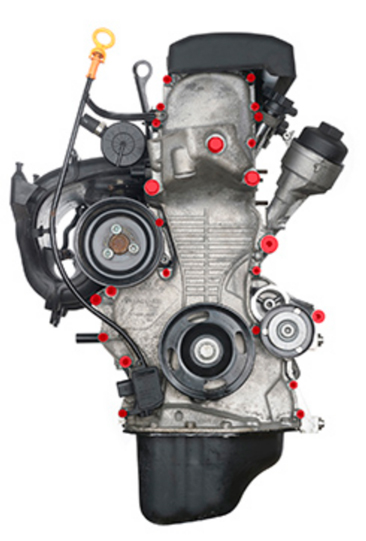
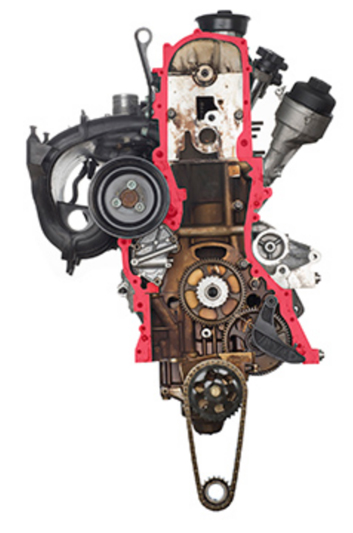
Air filter, A/C compressor (lines can remain connected), generator, engine compartment underguard, engine cover and V-ribbed belt(s). Front right wheel-house liner. Support the engine or suspend it from a retaining device. Remove the engine mount. Crankshaft belt pulley, oil pan and timing case cover.
Removal:
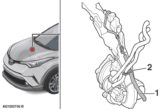
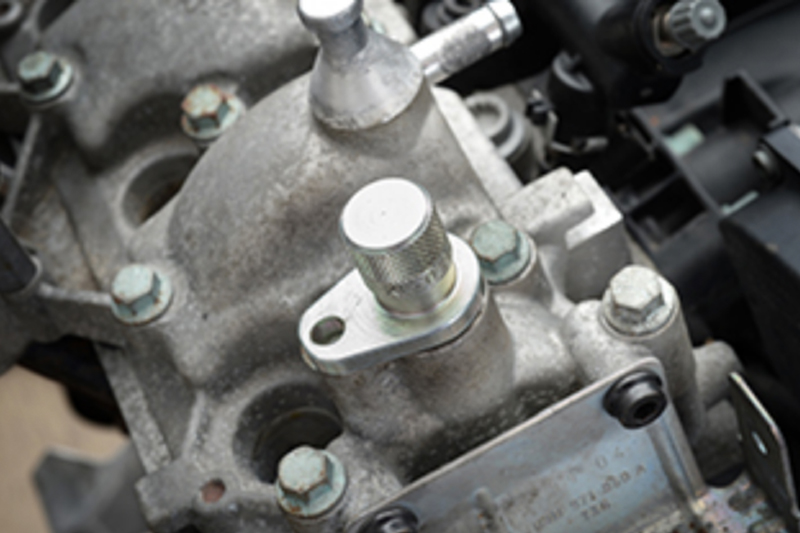
1. Set the timings to the TDC marking of the first cylinder. To do this, remove the Hall effect sensor G40 (see below) on the top rear cylinder head cover and turn the crankshaft in the direction of rotation until the marking (keyway) on the camshaft is at the top (see below).
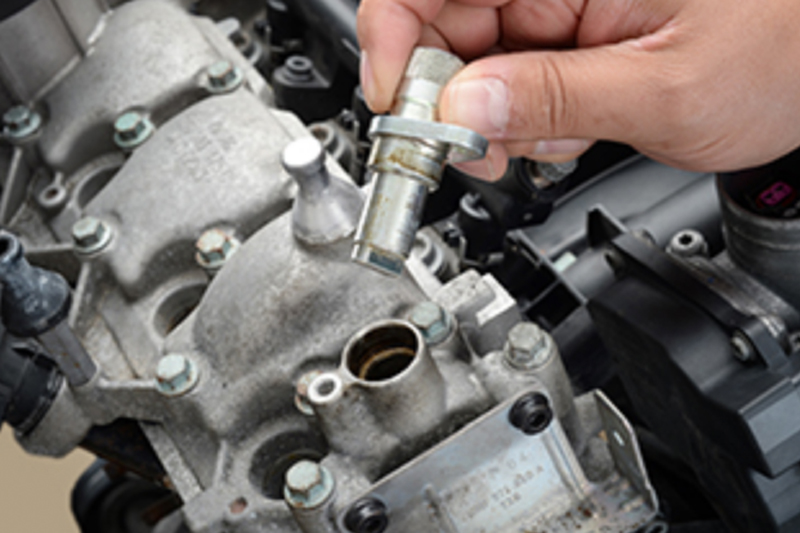
2. Insert camshaft retaining tool OE (T10120) into the opening in the camshaft for the Hall effect sensor G40 until the tool latches into place (see below).
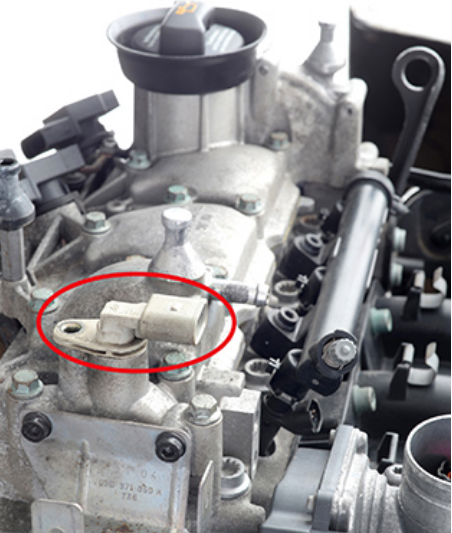
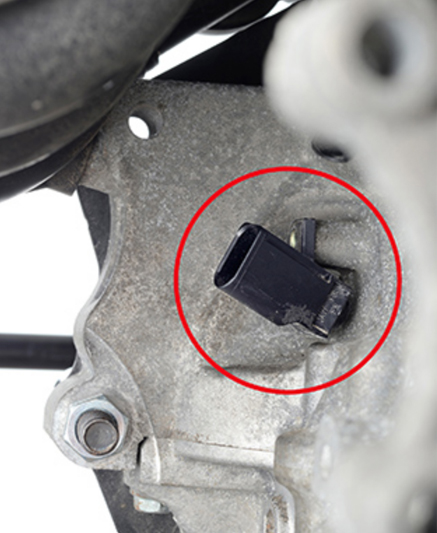
3. Remove engine speed sensor G28 below the air duct on the transmission flange (see below).
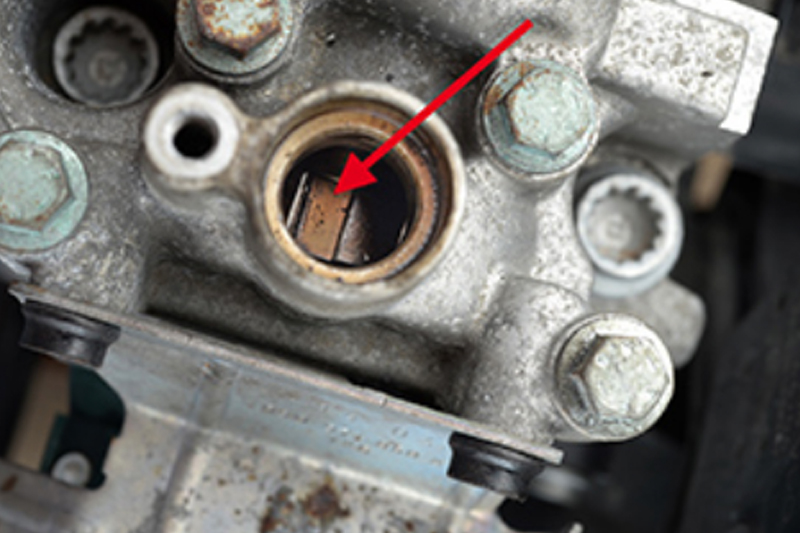
Insert the lock ring tool for crankshaft OE (T 10021) (see below).
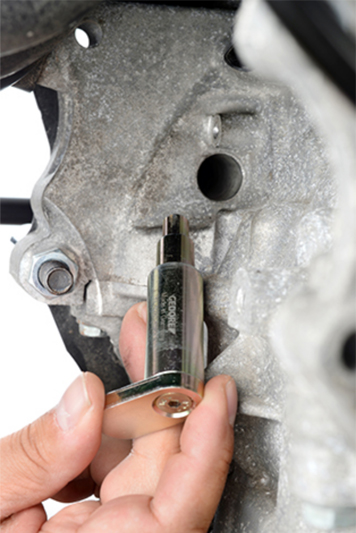
The journal of the lock ring tool must be inserted flush with the hole in the flywheel (see below).
 If the lock ring tool can not be inserted into the flywheel, remove camshaft retaining tool OE (T10120) from the camshaft, turn the engine 360° on the crankshaft in the direction of engine rotation and repeat steps 1–3.
Insert camshaft retaining tool OE (T10120) into the opening in the camshaft for the Hall effect sensor G40 until the tool latches into place.
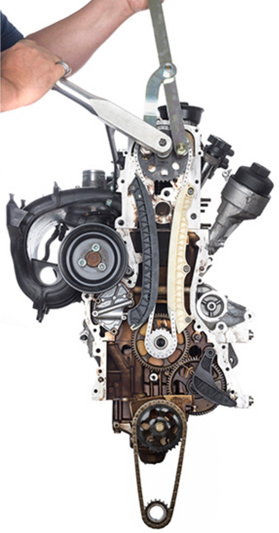
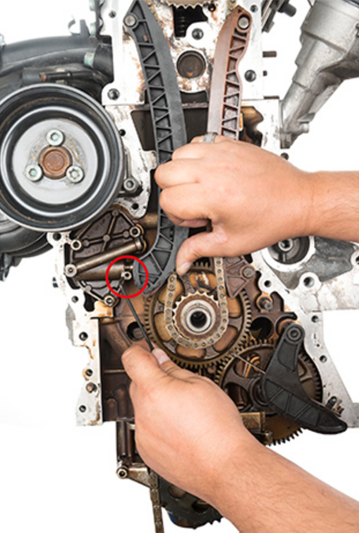
Loosen the camshaft sprocket clamping bolt using the arrester (see below).
Disconnect the camshaft sprocket from the camshaft. The camshaft sprocket must be free to rotate. Turn the engine on the crankshaft in the direction of engine rotation until the lock ring tool for crankshaft OE (T 10021) can be inserted. The journal of the lock ring tool must be inserted flush with the hole in the flywheel. The timings will now be set correctly.
5. Carefully clean the sealing surfaces on the engine and the case cover (see below).
6. Loosen the chain for the oil pump. Lever out the leaf spring above the tensioner with a screwdriver, then remove the chain along with the sprocket and let them hang down (see below).
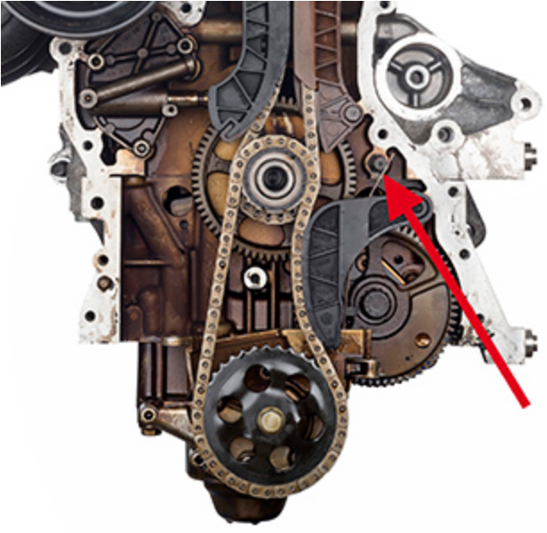
7. Loosen the timing chain. Use your finger to press the tensioner blade against the clamping element (see below) until the clamping element can be removed with a 3 mm hexagon socket wrench (see below).
8. Loosen the camshaft sprocket bolt using the arrester.
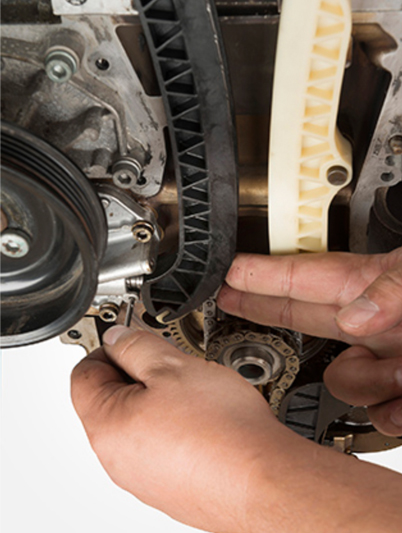
9. Pull the tensioner blade and slide rail away from the fixing bolts.
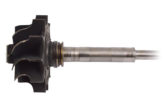
10. Remove the camshaft sprocket bolt and pull out the timing chain together with the camshaft sprocket.
Installation:
1. Clean the engine thoroughly. Check the remaining components, such as the crankshaft sprocket, for damage.
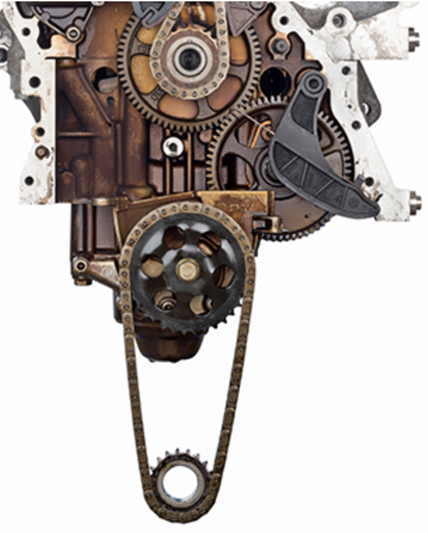
2. Install the new chain tensioner and tighten the bolts to 9 Nm.
3. Position the chain on the crankshaft sprocket and the new camshaft sprocket, fit it to the camshaft with a new bolt and tighten to 20 Nm + 90°. Use an arrester!
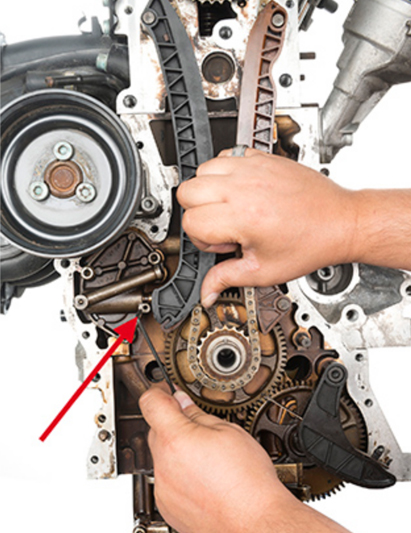
4. Install a new slide rail and tensioner blade.
5. Use your thumb to press the tensioner blade toward the tensioner and remove the locking tool from the chain tensioner (see below).
6. Place the oil pump chain on the oil pump sprocket and then on the crankshaft together with the new small sprocket supplied.
7. Press the chain tensioner for the oil pump chain against the chain and apply tension to the tensioner leaf spring again.
8. Apply sealant D 174 003 A2 to the timing case cover and install it. Tighten the bolts to 10 Nm.
9. Clean the sealing surface of the oil pan and install with silicone sealant D 176 404 A2. Tighten the oil pan bolts to 15 Nm.
10. Install the crankshaft belt pulley and tighten to 90 Nm + 90° with a new, oiled bolt. Use an arrester!
11. Remove camshaft retaining tool OE (T10120) from the opening in the camshaft for the Hall effect sensor, and remove crankshaft lock ring tool OE (T 10021) from the transmission flange (engine speed sensor G28).
12. Turn the crankshaft two revolutions in the direction of engine rotation and place the engine back at TDC position as in steps 1–3 of the removal process.
13. Assemble and complete in the reverse of the order used in disassembly.
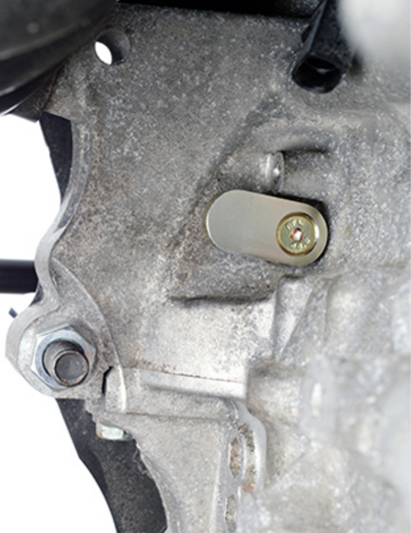
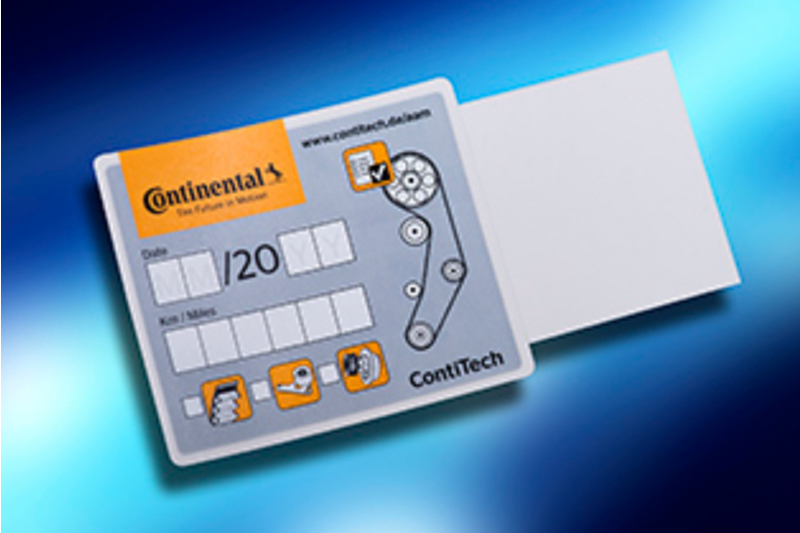
14. Record the replacement of the original ContiTech timing chain on the sticker provided and affix it in the engine compartment (see below).
Test-run the engine or take a test drive.