STEP 1:
Firstly, connect the PassThru device to the vehicle – this is done by using the 16-pin diagnostic socket. Next, connect the device to the laptop by using the USB lead.

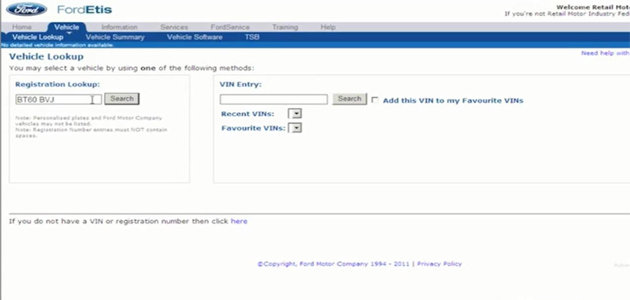
STEP 2:
Now locate the manufacturer’s technical website – in this example we’ll be using the FordEtis technical website. The first time you visit the site you’ll need to create a login and password. Next we need to identify the vehicle being connected. This can be done by using the vehicle registration or the chassis number.
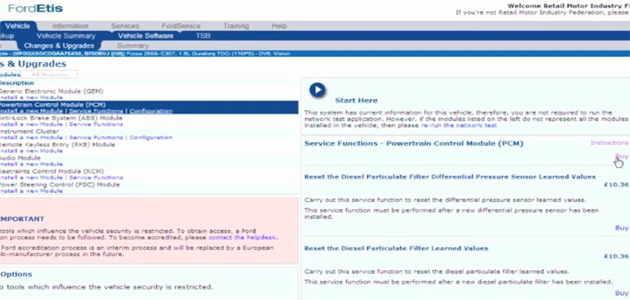
STEP 3:
Once you’ve identified the vehicle, the next step is to connect to the car. The identity of the vehicle will then be confirmed by the PassThru device. Follow the on-screen instructions and the system will then complete the network tests. When these are done you can select from the ‘changes and upgrades’ menu by selecting the module and choosing which task you’d like to be carried out.
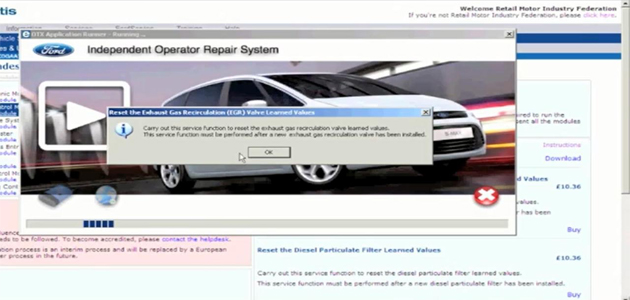
STEP 4:
Next you need to purchase the software – you can do this by paying with your credit card. Once you’ve paid you can then download and install the software to the vehicle. Now the manufacturer’s site will connect to the vehicle and the software will begin installing.
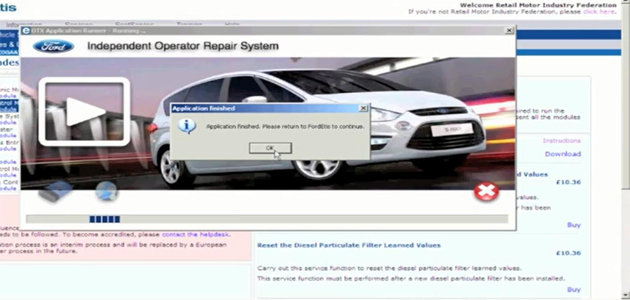
STEP 5:
Follow the on-screen instructions. The installation process will happen automatically. Once the software installation has been completed, start the vehicle.
STEP 6:
Finally take the car on a road test to ensure the software information has been installed successfully.

Access to VM technical data directly from the manufacturer is still a big issue for independent technicians. To access the manufacturer’s server you must use a PassThru system, such as a J2534 device. This procedure – focusing on one key VM – is outlined below.
An instruction video, produced by the RMI, can also be found at: www.facebook.com/photo.php?v=609052114752