STEP 1:
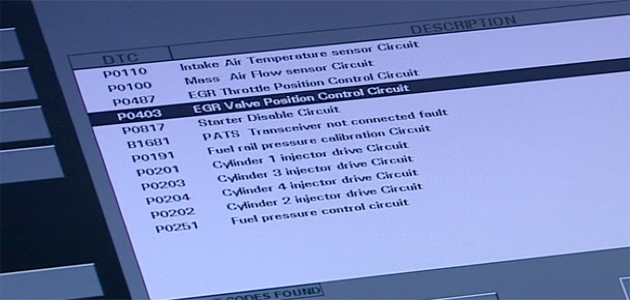
Ascertain why the old unit failed. You don’t want the same problem to recur and damage the new unit. You can find help in our fault finder, or at the back of the current BTN catalogue.
STEP 2:
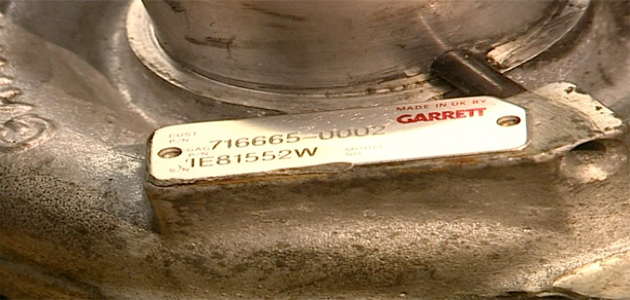
Ensure you are replacing like-for-like. The part number should be shown on the old turbo’s dataplate. If you have difficulty reading the part number, BTN can help you find the right unit from the Vehicle Identification Number. Use the online search facility at www.btnturbo.com/parts/ or phone the company directly.
STEP 3:
Check for cleanliness. The smallest particles of dirt can do irrevocable damage to a turbocharger so check the engine intake/exhaust and aftercooler systems for cleanliness and obstructions, carefully removing oil, pieces of gasket, dust, dirt and other debris. Replace the air filter.
STEP 4:
Check that the oil inlet and oil drain flanges are clean and free from obstruction, internal carbon and sludge, removing them to clean if necessary. If in doubt, replace with new.
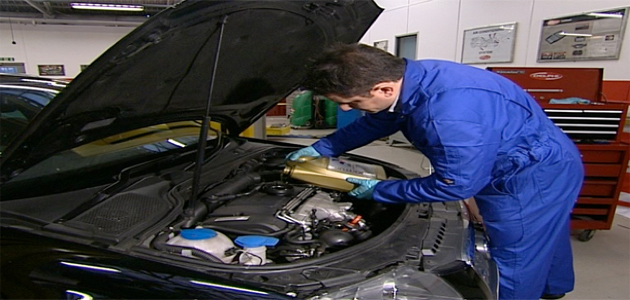
STEP 5:
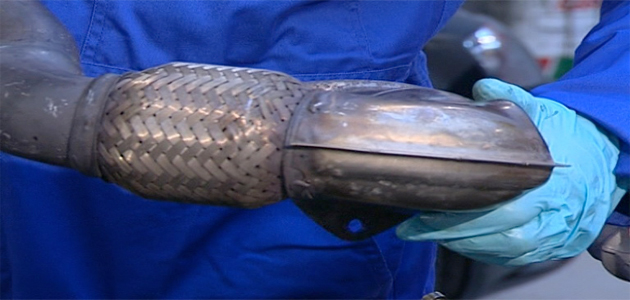
Replace the oil and filter, including the prime filter, ensuring that only OEM recommended parts and specified oil are used. Check the exhaust mounting flange is flat and free from cracks and carbon debris, and the studs are in good condition.
STEP 6:
Check that the manifold casting is not cracked on the outside or breaking up internally. If in doubt, replace with new.

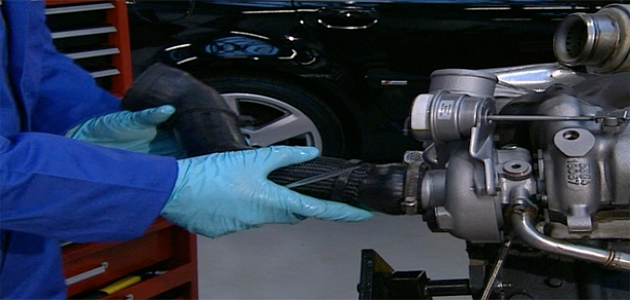
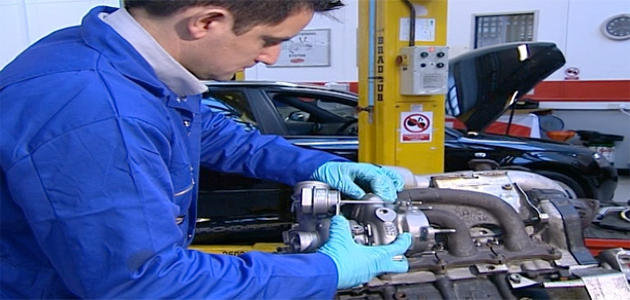
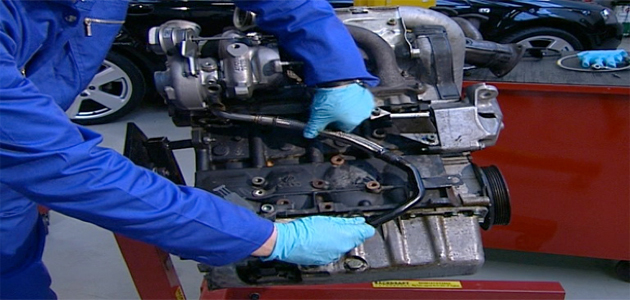
STEP 7:
Mount the turbocharger on the exhaust flange, checking that the turbine inlet gasket fits correctly to give a gas tight seal.
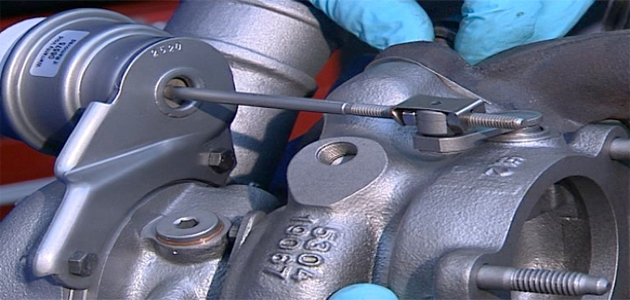
STEP 8:
Align the end housings with all other connections and ensure that all fastenings are tightened to the specified torque. Check that any ‘O’ rings are not trapped when orientating the compressor cover as this may lead to a leakage.
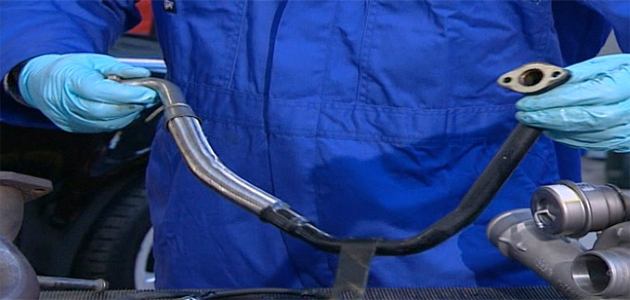
STEP 9:
Connect the oil drain pipe, using the gaskets supplied. Do not use any liquid gasket product on turbocharger connections. BTN supplies a gasket set with every turbocharger.
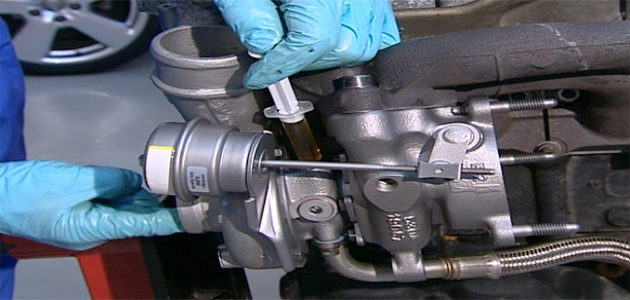
STEP 10:
Fill the turbocharger oil feed hole with clean engine oil and rotate the rotor by hand.
STEP 11:
Connect all external fittings to the turbocharger. On older engines, pull out the fuel stop and crank on the starter to develop oil pressure. On modern engines, start and idle for two minutes, checking that the oil warning light has gone out and that all air, gas, and oil connections are tight and free from leakage, using soapy water to help detect gas leaks. Tighten any fastenings as appropriate.