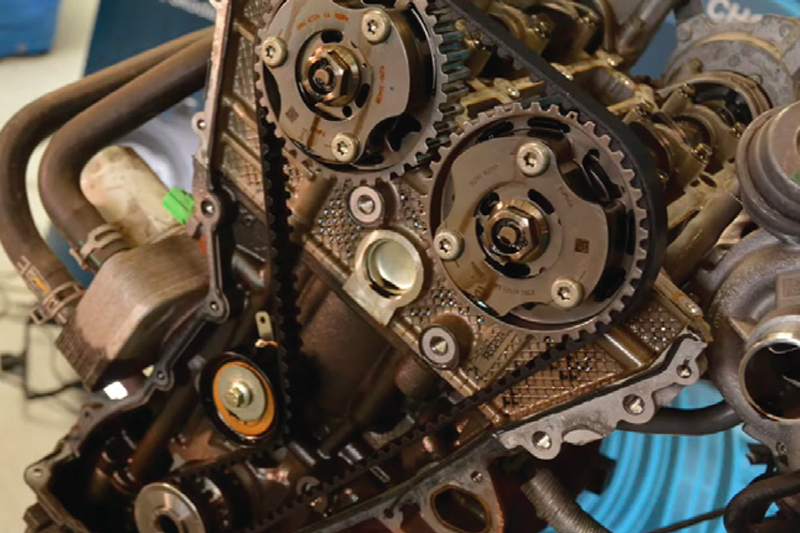
Belt manufacturer Dayco addresses some of the wider issues of the timing belt replacement on Ford’s 1.0 litre EcoBoost “Fox” engines.
Although with the correct locking tools, the belt and tensioner replacement and timing reset on this engine are not particularly complicated in themselves, several associated steps need to be understood and applied correctly, to ensure a full and thorough repair.
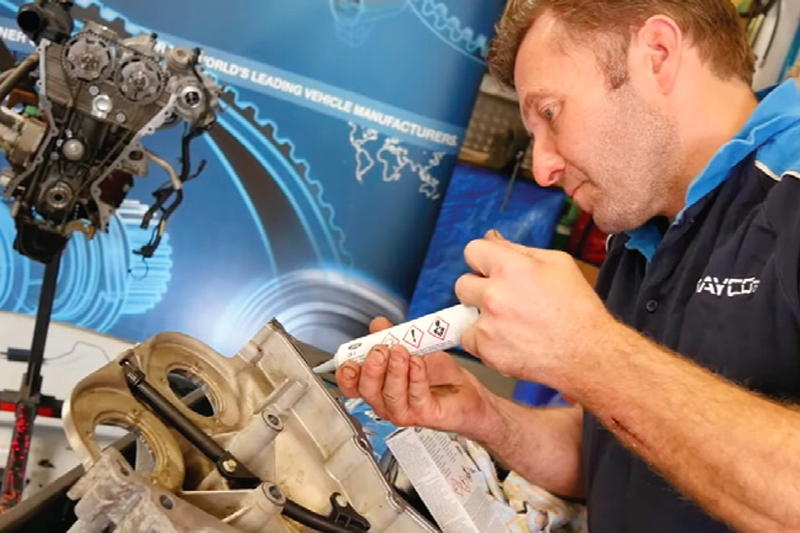
This begins with the sealant that must be used on the timing belt cover and the sump, to ensure there is no leakage when the engine is refitted and refilled with oil. It is strongly recommended that this is sourced through a Ford dealer, as its specification is crucial. As it only has a 10 minute window before it starts to become hard and unmanageable, it’s important for technicians to have all the tools and the cover bolts laid out and ready before applying the sealant. However, further preparation is necessary before the application stage.
Getting started
First, it is advised to replace the crankshaft oil seal before refitting the timing belt cover, but easier to fit the new one once the cover is secured in place. Second, replacing the water pump is another best practice procedure and as two of the seven bolts that secure it are incorporated into the timing belt cover, it’s also an obvious thing to do.
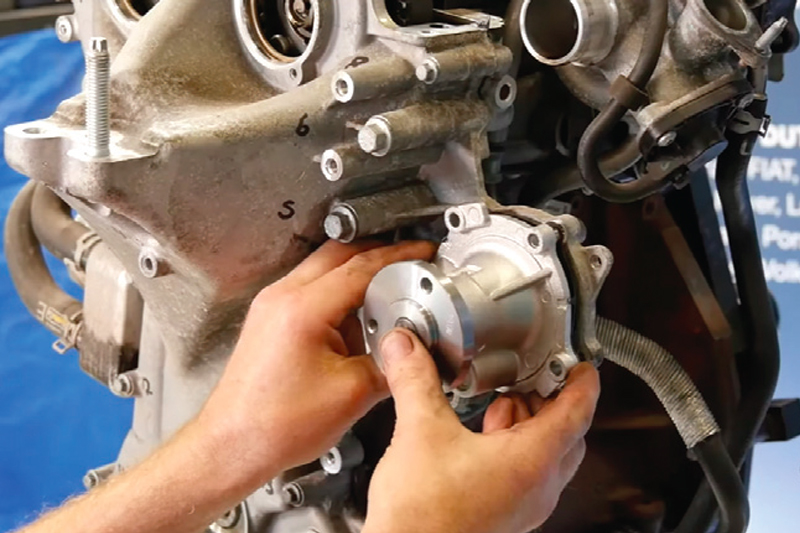
As the pump comes in a Dayco timing belt and water pump kit (the KBIOWP020 or KBIOWP030 dependent on the engine variant), it’s also an easy option for workshops when ordering the parts. Proper installation of the water pump is equally important. So, cleaning the mating surfaces and flushing out the old coolant, as well as priming the new pump, must not be overlooked and, to seal correctly, it only needs the new gasket supplied with the kit – no sealant should be used.
To ensure that the sealant applied to the timing belt cover is in the correct quantity and on the right surfaces, and that the specified tightening sequence and torque values are followed, technicians must refer to a reputable source of service and repair data, such as that supplied by Autodata or HaynesPro. Likewise for the refitting of the sump.
Up next
Two crucial steps remain on this side of the timing belt installation, one is to fit a new friction washer, which is a part that was not fitted when the engine was originally built and only comes into play when a timing belt replacement is carried out. The second is using the correct torque value and process for tightening the replacement crankshaft pulley bolt.
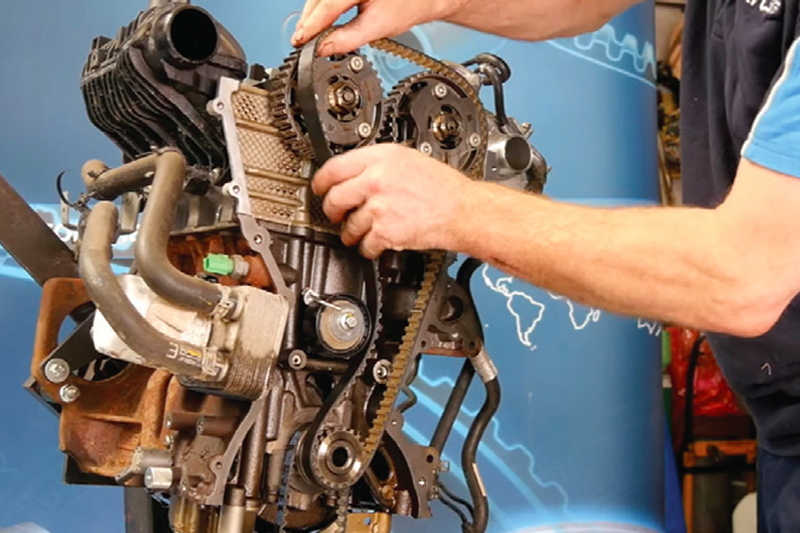
Although fitting the friction washer is straightforward, providing the mating surfaces have been cleaned with brake and clutch dust remover, installing the new pulley bolt and applying the correct torque, without the pulley slipping, is less so.

The correct torque for the bolt is 300 Nm plus 90°, so a torque multiplier will need to be used for the final tightening, but before that value is applied, the bolt first needs to be tightened to 25 and then 75Nm. However, as there is not a keyway in the pulley/crankshaft, to prevent it from slipping during the tightening procedure, a locking tool (supplied with the timing locking kit) must be inserted through a hole in the pulley, into the matching hole in the timing belt cover.


