Despite the issue being well documented, oil starvation continues to be at the heart of remanufacturer Carwood’s no-fault-found warranty returns. Like any turbo failure, it’s important to determine why it failed, and fix it, before a new one is fitted. Otherwise, the replacement unit will fail too.
What is oil starvation?
With modern vehicles demanding the power output of larger engines, but with the economy of smaller ones, today’s turbochargers operate at over 300,000 revs per minute and close on a 1,000°C temperatures. This puts a huge strain on the engine oil, the turbo’s lifeblood. So, if its supply is restricted, even momentarily, it can cause catastrophic damage to the bearing systems, destroying a turbo within a matter of seconds, and in severe cases, the engine.
What causes oil starvation?
Insufficient oil can be caused by many factors, including:
- Low oil levels.
- Incorrect grade or degraded, high-mileage, contaminated oil.
- Short frequent journeys or repeated hot engine shutdowns causing carbon build up – this can block oil galleries.
- Hard acceleration from cold starts not allowing sufficient oil to circulate.
- Carbon deposits or other contaminants in the oil supply lines.
- A bent or kinked oil feed or pipe.
- A damaged, clogged or poor-quality oil filter.
- Failure to prime the replacement turbo with oil during installation and before start-up.
- Engine left idle for sustained periods, particularly in colder weather.
- Incorrect or worn oil gaskets.
What are the signs of oil starvation?
There are a number of tale-tale signs, some more obvious than others:
- Oil warning light illuminated.
- Reduced fuel economy.
- Poor engine performance – unable to achieve full boost pressure.
- Engine overheating from increased metal-to-metal contact.
- Different or excessive noise from turbo.
- Black exhaust smoke.
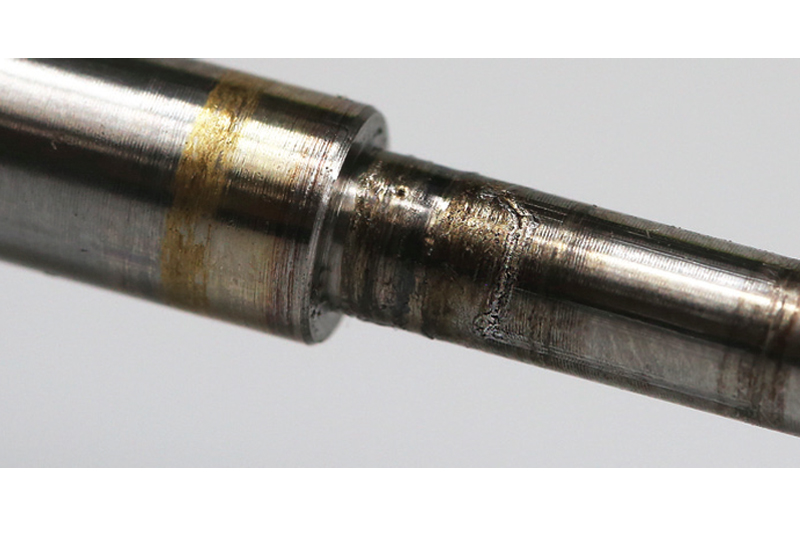
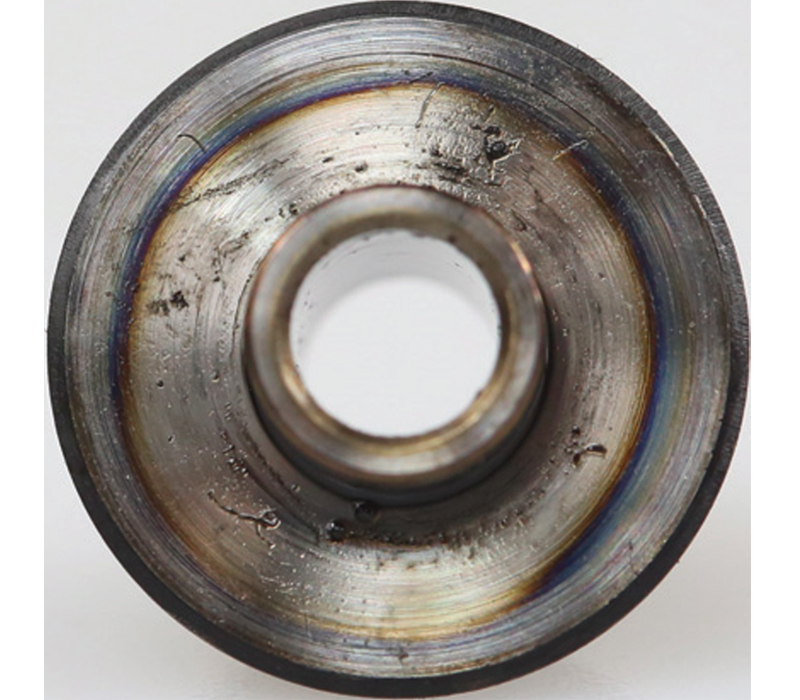
Blue discolouration of the shaft journal surface as a result of increased friction and heat. - Blue discolouration of the shaft journal surface as a result of increased friction and heat.
- Wear to the inside of the journal bearings causing the shaft to become out of balance – as result the wheels may contact and rub against their housing bores.
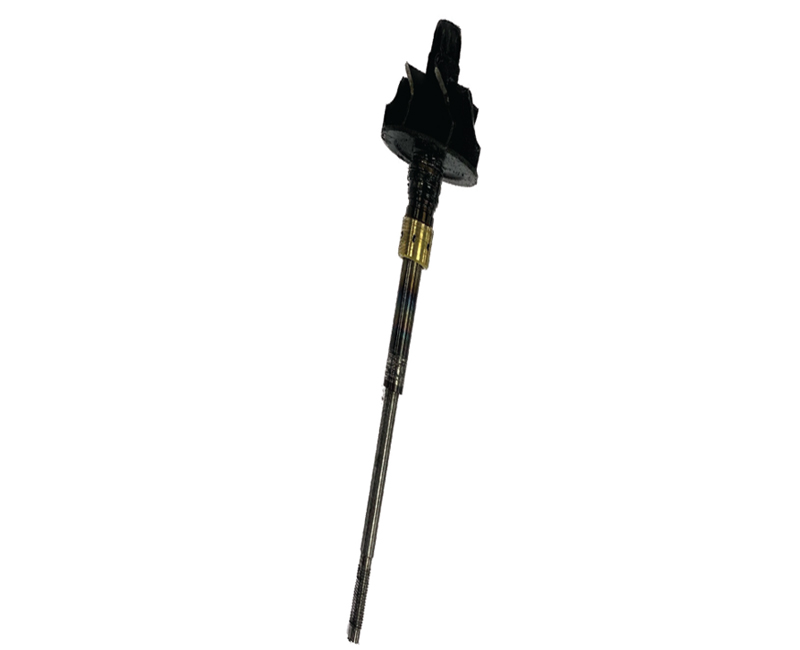
- Broken/snapped shaft due to prolonged excessive temperatures.
- Loose or missing compressor wheel nut following shaft seizure.
- Excessive wear to the thrust bearing due to friction between bearing and collar.
- Discolouration of and scoring to the thrust collar due to excessive heat and friction.
- Transfer of bearing material onto the shaft.
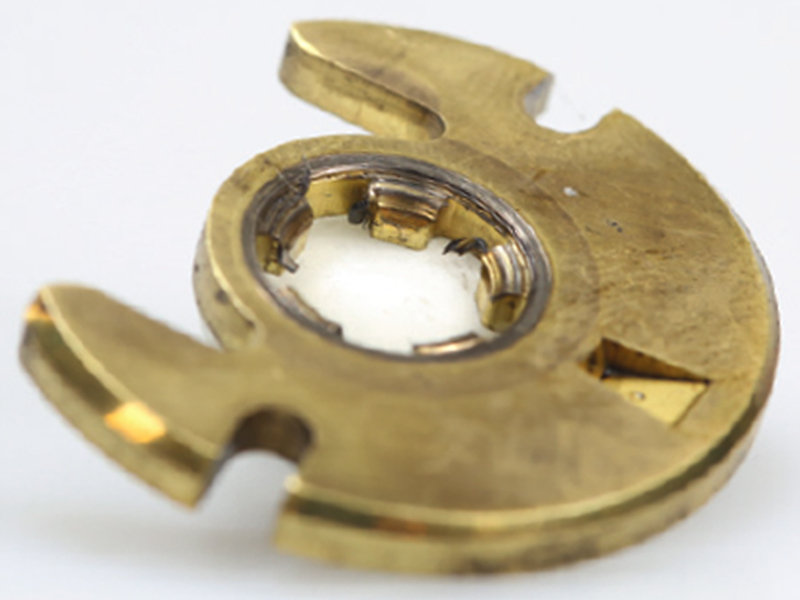
Scoring and wear to thrust bearing
How to resolve oil starvation?
If oil starvation is diagnosed, perform the following remedial actions:
- Check and clean the entire oil supply system – this may require the removal of the sump, oil pump and internal oil feed lines. Replace components where required.
- Fit new VM-spec filters, gaskets and oil supply pipes.
- Flush and change the engine oil with the correct grade and quantity recommended.
- Conduct an oil pressure test to identify any issues and check it’s supplying full pressure.
How to prevent oil starvation?
By adopting some simple, best-practice measures in your work, the risk of oil starvation can be minimised in the first place:
- Check that the entire air induction system is clean and object free, especially in high-mileage vehicles.
- Inspect all pipework for signs of wear and tear – clean and/or replace as necessary.
- Always fit new oil feed and return pipes when replacing a turbo.
- Never bend or use excessive force when fitting a new feed or return pipe, and torque tighten at both ends, as per VM guidelines, to prevent leaks.
Thrust collar discolouration and scoring due to heat and friction - Ensure that the oil is at the optimum level – too little can starve the turbo of oil, but too much can cause a build-up within the bearing housing.
- Always use fresh oil and new OE-quality oil and air filters, as specified by the vehicle or engine manufacturer.
- Only ever use new, OE-quality gaskets, seals and fitting kits.
- Prime the replacement turbo with the correct grade oil before fitting.
- When starting a vehicle for the first time after fitting a turbo, crank the engine in one second bursts, at least 10 times, or if practical, for 10 seconds continuously, without starting. This will lubricate the bearings and shaft at a low enough rpm to prevent seizure or damage.
- Once started, allow the engine to idle at tick over for a few minutes before revving or accelerating to enable full oil pressure build-up which will eliminate any air or hydraulic locks.
- Never use using silicone on oil gaskets – it can easily become detached and block oil passages.
For a right first time service, and fewer comebacks, always diagnose and fix what caused the original unit to fail – or you risk the replacement turbo failing too! Whilst this may add additional expense to customer’s bill, it is far more cost and time-effective in the long run, for you and the vehicle owner.


