NGK, the ignition and sensor specialist, presents how the glow plug replacement process can vary depending on the vehicle model and how it has been driven.
On vehicles used mainly for long motorway journeys, glow plugs historically last longer over a given mileage than a vehicle which is used for short runs. Not only are they being energised more often upon starting, but the system may switch on in cold conditions during vehicle use depending on the engine temperature.
Many diesel engines can start with one or two glow plugs inoperative. This may mean the vehicle owner doesn’t seek a repair until colder conditions cause a greater starting problem. A little-known fact is that some vehicles interrogate the glow system prior to DPF regeneration. If a problem with the glow system is detected, the regen is not carried out.
Glow plugs can be tested in situ with a handheld Ohm meter to check continuity of the heating coil, or a clamp meter can be used to check current flow. A broken coil signifies age-related failure or over voltage.
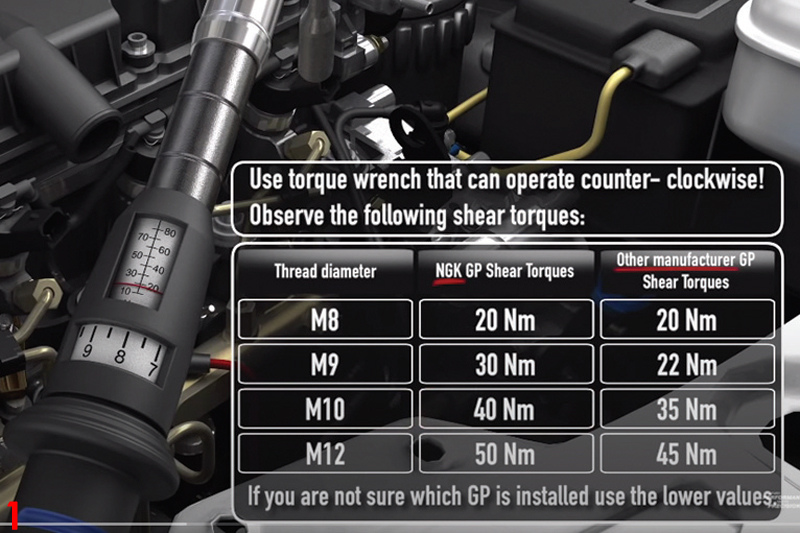
As glow plugs are often installed in engines for many thousands of miles, some vehicles are more prone than others in presenting removal problems. To assist in avoiding glow plug breakage, use a torque wrench that can operate anti-clockwise and set to the shear value.
For NGK product, the shear values are: M8 20Nm, M9 30Nm, M10 40Nm and M12 50Nm. If from another manufacturer (or if unknown), then use values of 20, 22, 35 and 45Nm respectively (Fig 1/main image).
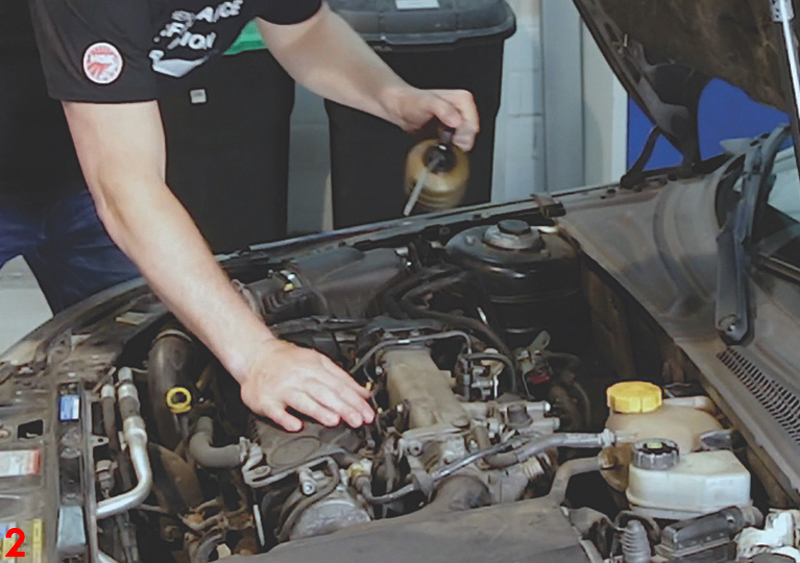
Upon removal difficulty, if time permits, apply penetrating oil around the glow plug, then a squirt of engine oil – continue to use the vehicle and tackle the job another day – to allow the oil to penetrate (Fig 2). Remove the glow plug whist the engine is still hot, using obvious precautions to protect your hands.
Closely examine the glow plug and heater tube surface. A slightly ‘shiny’ appearance indicates the heater tube has been caked by carbon and ‘scuff/swirl’ marks are where the plug has been unscrewed through the carbon.
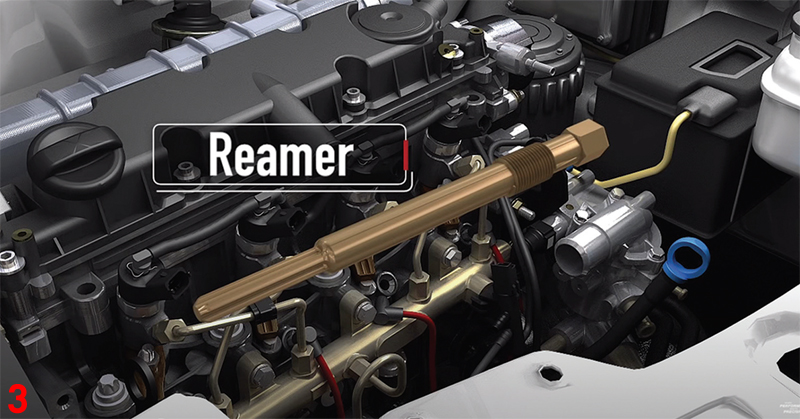
Carbon can be the root cause of a problem, acting as a heat soak, causing hard starting and premature heating coil failure. A proprietary glow plug reamer set should be used with silicone free grease to remove the carbon (Fig 3). A melted or broken heater tube tip is a sign of over voltage (fault with the control system), or abnormal combustion (this can be the result of incorrect injection timing, flow rate or excessive lubricating oil entering the combustion chamber). A swollen heater tube tip can also be a sign of over voltage.
To avoid damage to a new glow plug, follow the installation advice on the NGK packaging. Always install on to the taper seat by hand. If resistance is felt, stop and investigate why. NGK glow plugs do not require the application of anti-seize grease. Screwing a glow plug into accumulated carbon can cause heater tube breakage. Do not over tighten the glow plug (or the terminal if the electrical connection is secured via a nut).


