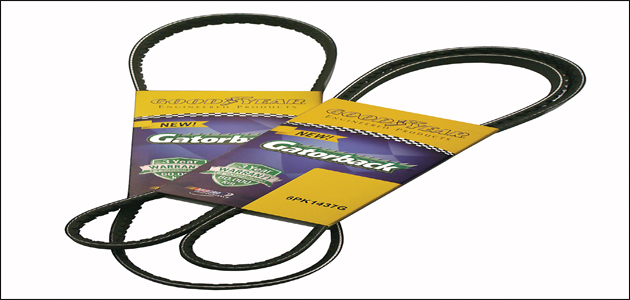
For some mechanics, installing a serpentine belt can seem to take forever, however the following tips should make the procedure a great deal easier.
What to do
a) Try routing the belt around the grooved pulleys that have  flanges first – this will help keep the belt in place during installation. Examples of grooved pulleys with flanges include power steering pulleys, A/C compressor and routing idlers.
b) Next, wrap the belt around the grooved pulleys without flanges, like the crankshaft and some alternator decouplers.
c) Once the belt is routed around each of the grooved pulleys, route it around the flat pulleys. Start with the flat pulley with the most amount of wrap (often the tensioner pulley), and move to those with the least amount of wrap.
d) Using the appropriate tool, lift the tensioner to its installation position and slide the belt over the last pulley.
e) Make sure the belt drive is clear, then start the engine and let it run for five seconds. Shut off the engine and check that the belt is properly seated in each pulley and that it is not misaligned.
Don’t forget: These are considered very general tips and don’t necessarily apply to every application. Always refer to the under bonnet sticker, service manual, or belt packing sleeve for proper routing information. If no information is available, be sure to sketch a simple diagram prior to belt removal.


