Charles Figgins, Technical Consultant for Blue Print, guides you through the process of changing rear pads and discs on the Hyundai i40, should you encounter an EPB failure during the MOT test.
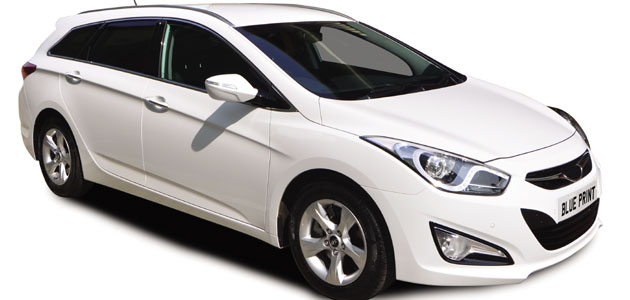
The Hyundai i40 saloon and tourer estate are a clear measure of how serious a player Hyundai is these days. Designed specifically for the European market, the i40, with its keen pricing, good looks, great quality and spot on selection of engines and trim levels, aims to take on the Ford Mondeo at its own game and win. The i40 uses an electromechanical parking brake system, similar to other manufacturers such as Volkswagen, Renault, Volvo, Ford and BMW.
1. Carry out a braking system health check with regards to fluid level and condition, leaks, and check the operation of the parking and foot brakes.
Note: it is advisable to connect a battery support unit as the parking brake motors draw a lot of current (approximately 14-20A) when in use.
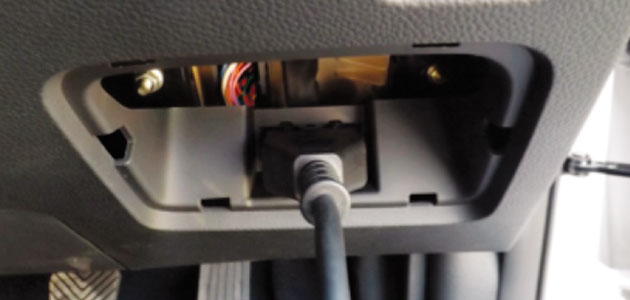
With the ignition on, plug a G-Scan into the 16P diagnostic socket and check for fault codes in the EPB and ABS systems.
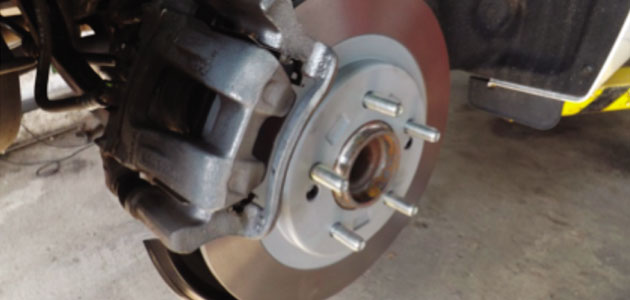
2. With the vehicle raised, remove the rear wheels and check the condition of the brake hoses, parking brake motor cable and connections, and the rear brake pads and discs. The minimum disc thickness is 8.4mm and the minimum rear brake pad thickness is 2.0mm – as highlighted in AutoVista.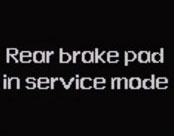
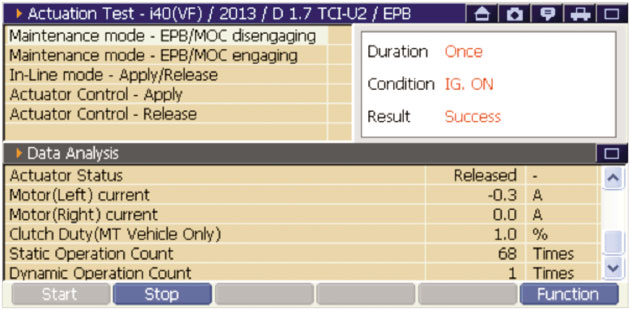
3. Perform the EPB motor wind back procedure using the G-Scan; this function is in ‘Vehicle S/W Management and Actuation test’.
Note: if you’re performing an actuation test, you can view the ‘Actuation Test’ and ‘Data Analysis’ simultaneously, which is very useful for seeing the motor’s current, just in case you have a sticking caliper slide. Once in service mode a dash message appears; leave the ignition on.
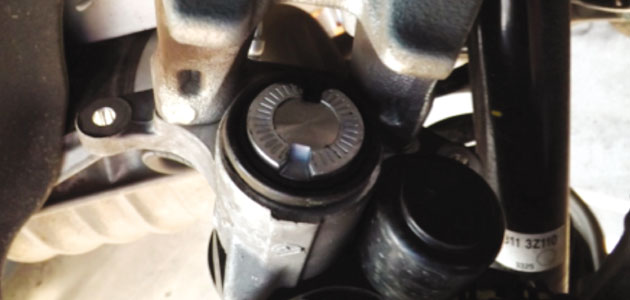
4. Remove the two 12mm headed bolts on the brake caliper and remove the caliper, carefully putting it to one side, without putting excessive stress on the brake hose and motor wiring.
5. There is no need to wind back the piston; it can just be pushed back.
6. Remove the old rear brake pads and retaining plates.
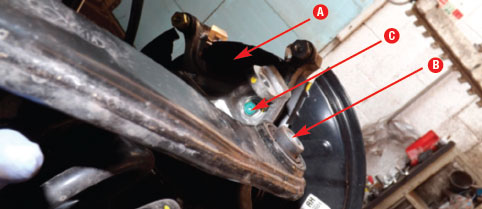
7. In order to remove the caliper carrier (A), first remove a suspension link bolt (B) – this will enable you to remove the two caliper carrier bolts (C).
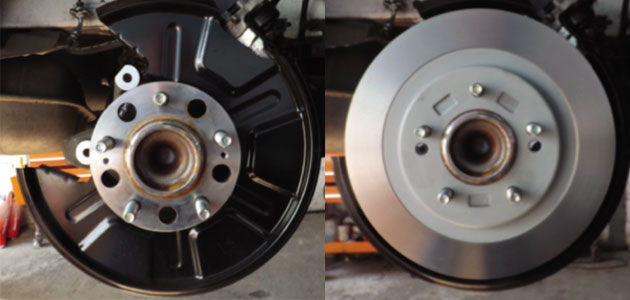
8. Remove the rear brake disc retaining screws and then the old brake disc. Clean the mating surfaces and degrease (where necessary) the new brake disc before fitting.
9. Refit the caliper carrier bolts, the suspension link bolt, and then fit the new brake pads and retaining plates. Once this is done, refit the brake caliper.
10. Finally, rewind the EPB motors and check the operation of the parking and foot brakes, which includes checking for fluid leaks. Then re-check for fault codes in the EPB and ABS systems, refit the wheels and torque wheel nuts to 88-108 Nm (highlighted in AutoVista) and road test.