PMM has joined forces with Laser Tools, to provide a step-by-step guide detailing how, by selecting the right tool, a job can go from being complicated to quick and easy.
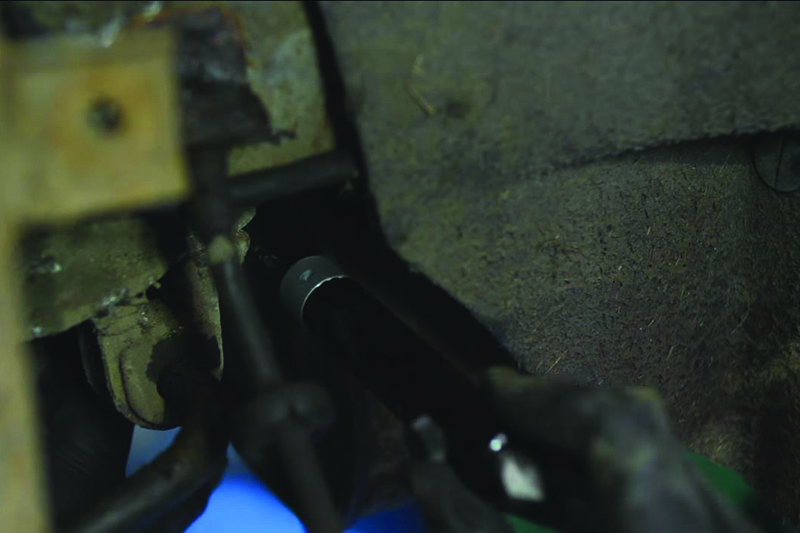
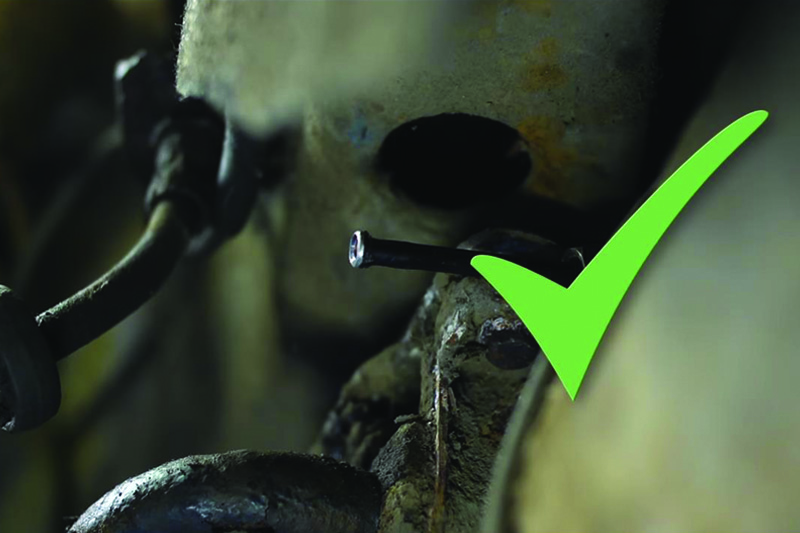
When replacing a brake flexible hose, it is commonplace for the connecting steel pipe to break off. To remedy this, it is possible to make up a replacement copper pipe and attach this to the existing steel pipe.
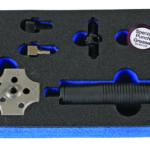
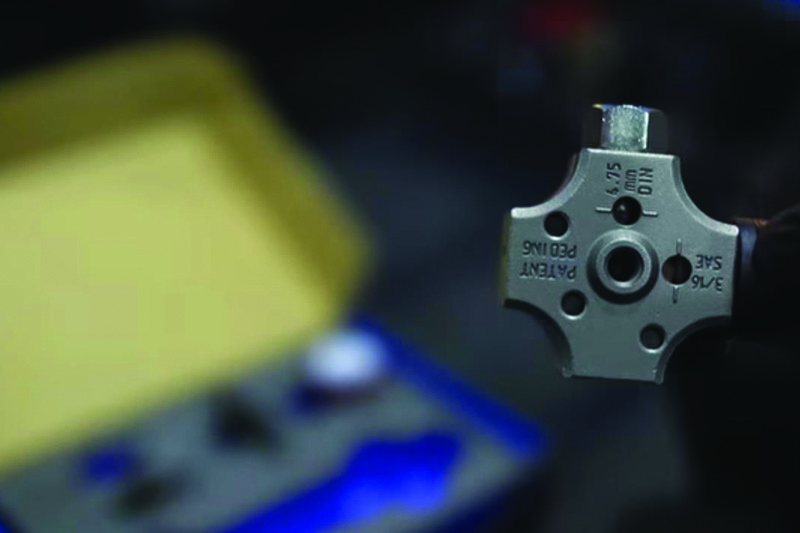
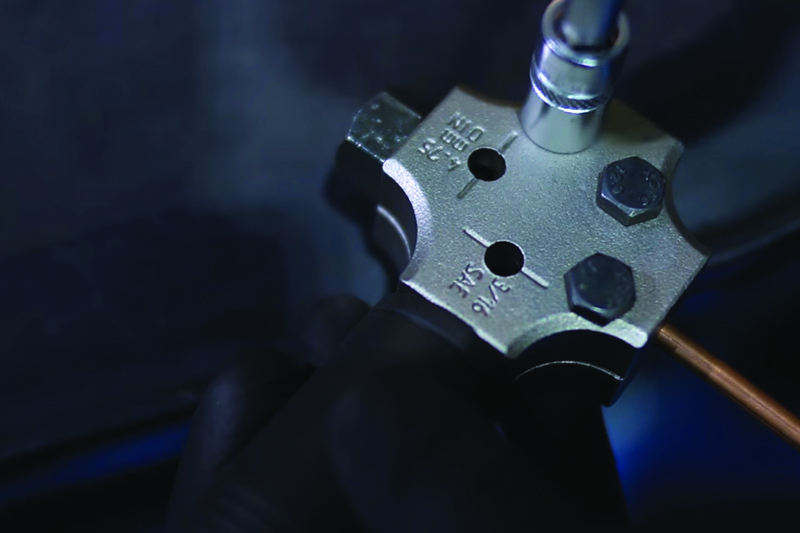
In order to carry out such a repair, the Brake Pipe Flaring Tool (6728) should be used. Suited for the two most common brake pipe sizes, 4.75mm and 3/16″ diameters, the tool can produce both DIN single flares and SAE double flares.
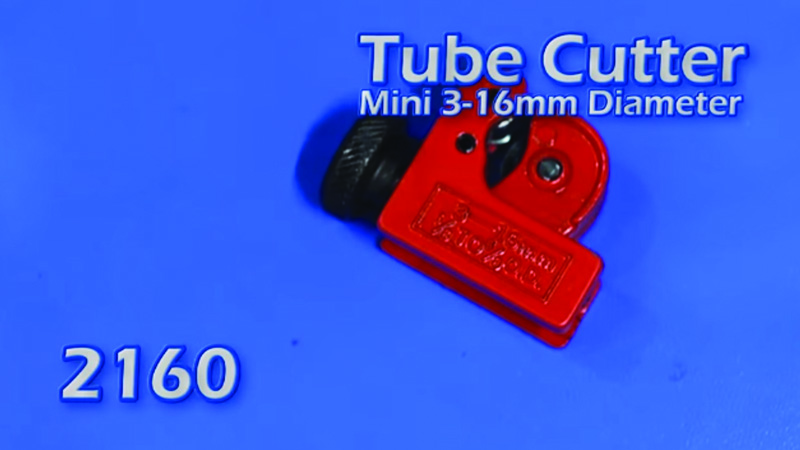
STEP 1: Go to the existing straight section of the steel pipe and cut off the damaged portion. A tube cutter (2160) will help with this job.
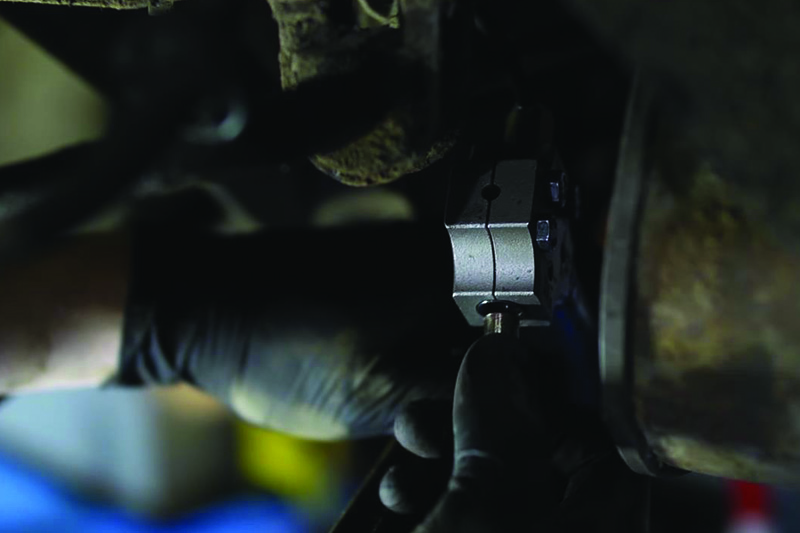
STEP 2: In this example, a 4.75mm pipe will be used. Fit the pipe stop plug into the tool and then slide the pipe in until it stops.
STEP 3: Tighten the three clamping bolts to ensure that the pipe is secure. Once this is done, the pipe stop plug can be removed.
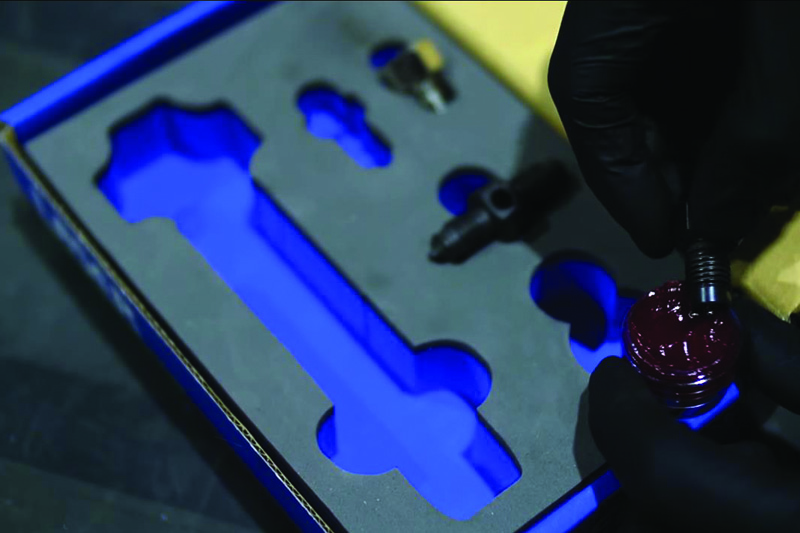
STEP 4: Choose the DIN convex punch, since a DIN single flare is needed for the copper pipe repair section. Lubricate the punch and its threads using the special grease that comes with the tool.
STEP 5: When ready, screw the punch in. Continue to screw in the punch with a spanner or a socket until the hexagonal top of the punch sits flush with the tool.
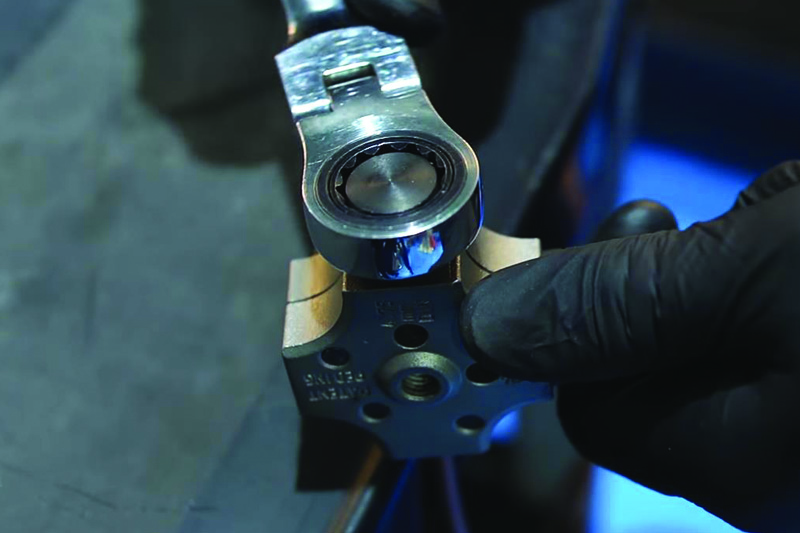
STEP 6: Withdraw the punch, slacken off the clamp bolts and then release the pipe. The result is a perfect DIN convex single flare.

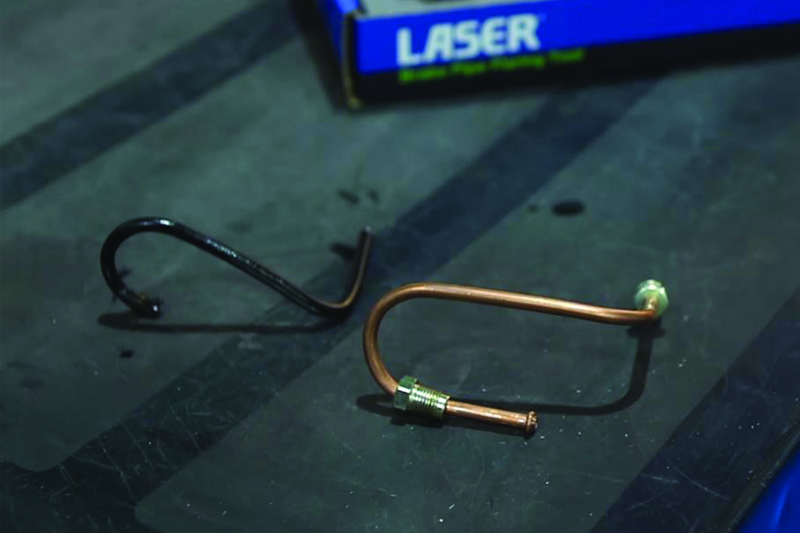
STEP 7: The pipe needs to be shaped, followed by the addition of tube nuts, and with a second flare the tube section will be complete.
STEP 8: Now, using the pipe deburring tool (5411), prepare and deburr the end of the steel pipe on the car. Once prepared, slide on the union.
STEP 9: With the pipe stop plug fitted to the tool, slide it onto the steel pipe until it stops. Again, tighten the three clamp bolts and then remove the pipe stop plug.
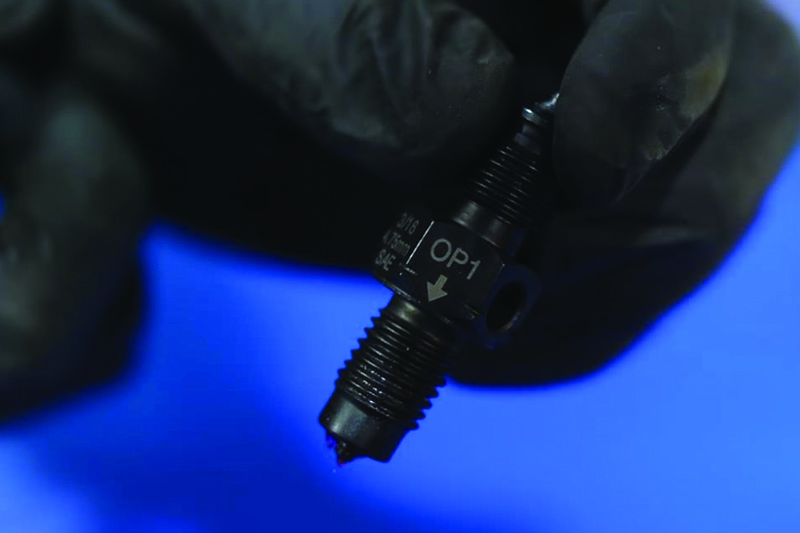
STEP 10: For this next part of the job, a double flare will be produced, which is a two-stage operation. Select the double-ended punch, and repeat the lubrication process using the grease provided for the end marked ‘OP1’. Pay attention to the direction of the arrow. Then fit this to the tool.
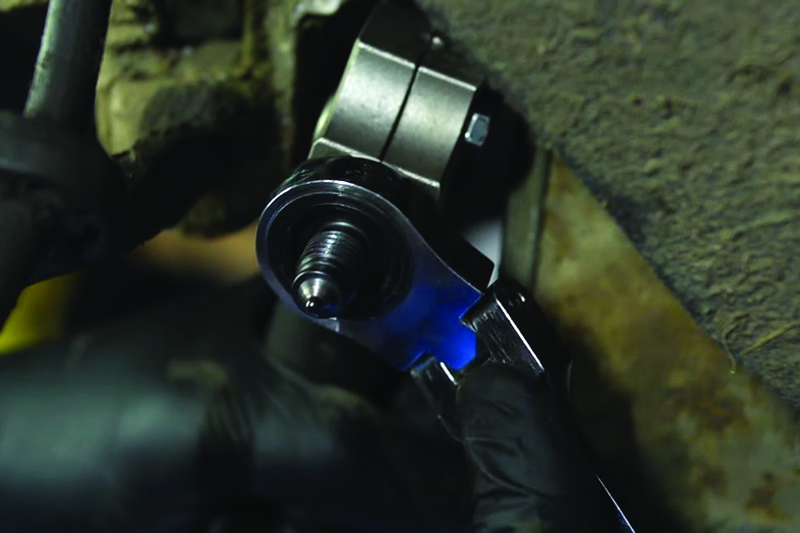
STEP 11: Once more, screw in the punch with a socket or spanner until the hex of the punch is flush with the tool, then release.
STEP 12: It is now time for the second operation on this double flare. Turn the punch around so that the opposite end is facing into the tool and screw it in. Repeat the tightening process. Then remove the punch and release the clamp bolts, to reveal a perfect double flare.
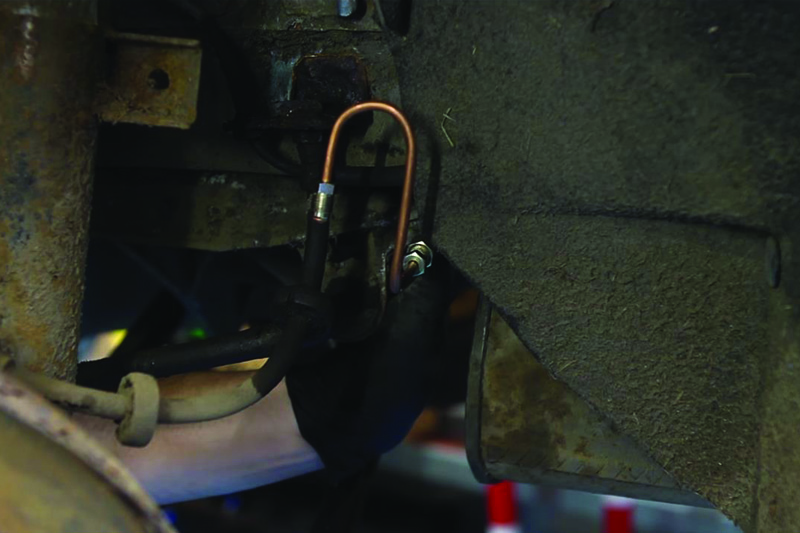
STEP 13: Now the repair section can be fitted to the steel brake pipe, which means the original job of fitting the flexible hose can finally begin.
Video: