Ignition specialist NGK provides a few pointers on how to properly install Lambda sensors.
When it comes to Lambda sensors, the longevity of the component rests on two aspects: the first is the quality of the part, and the second, is the quality of the installation.
The former is very much up to the decision of the technician. Which supplier should they use? NGK is certainly one option, and using its experience supplying VMs across the globe it claims to be able to offer the right sensor for each vehicle application. It is always best practice to go with a bespoke original equipment (OE) quality Lambda sensor, rather than anything that is labelled as a ‘universal sensor’.
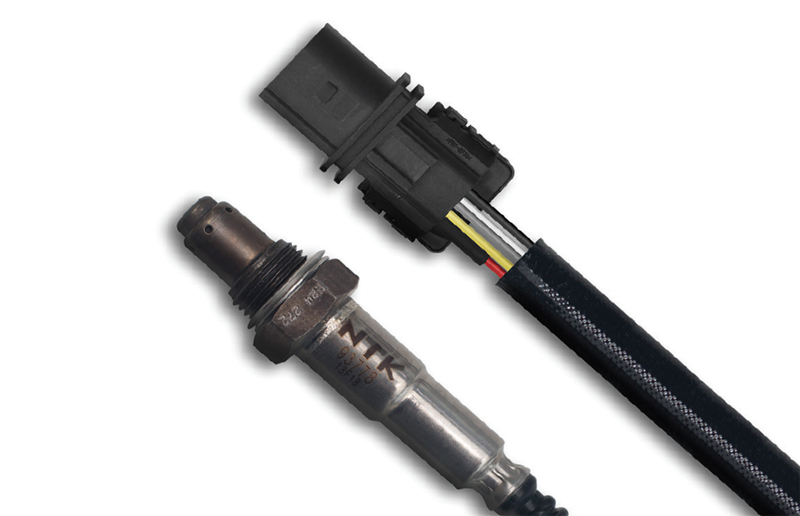
NGK enhanced its NTK sensors’ offering with the addition of 20 wide-band Lambda sensors in November 2018. Commonly referred to as ‘5-wire’ Lambda sensors, they supplemented its existing range of 64 NTK OE 5-wire sensors. Their introduction significantly increased the company’s UK range coverage – particularly for VAG models – and means that NGK now has 5-wire sensors available for almost every vehicle manufacturer that utilises this technology.
Installation tips
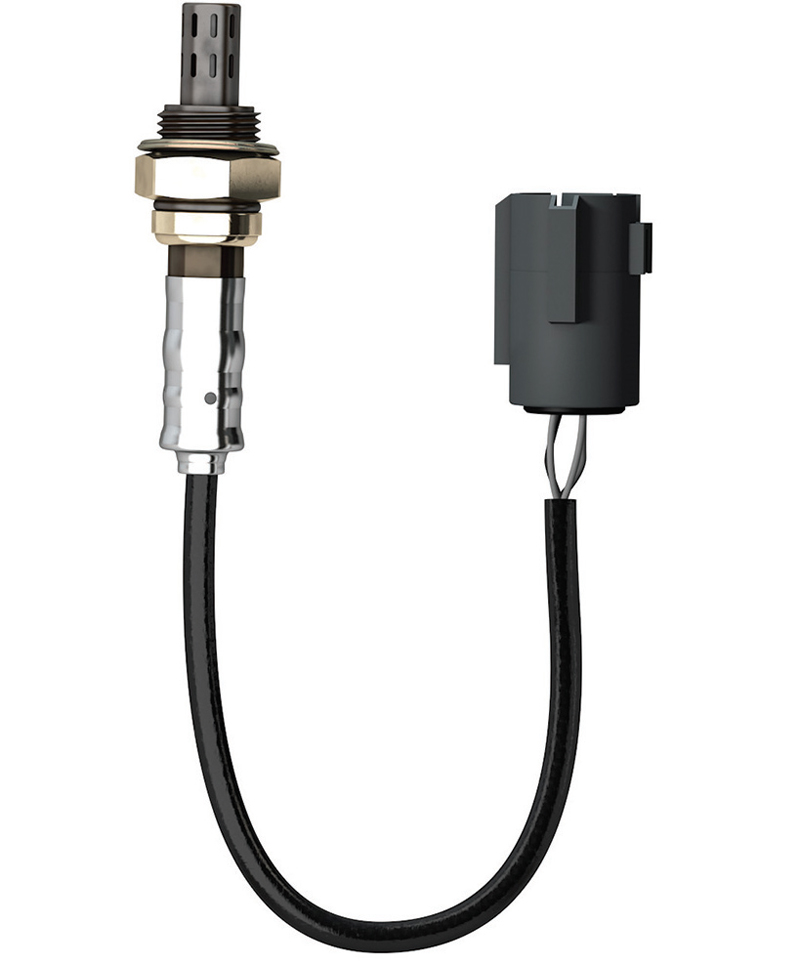
To successfully carry out a Lambda sensor installation, it is important to understand that these sensors are very vehicle specific. This means it is essential that the replacement item has the same specification as the original factory-fitted part.
Differences in the wiring configuration may not be easily identified, therefore selection of the correct part is vital. Part of the EOBD (European On-Board Diagnostics) function is to monitor the performance of both the fuel regulating and catalyst monitoring diagnostic sensor. Fitting a sensor that does not match the specification of the original part could result in poor running, record of a fault code or cause the MIL (malfunction indicator lamp) to illuminate, telling the driver that there is a problem in the system.
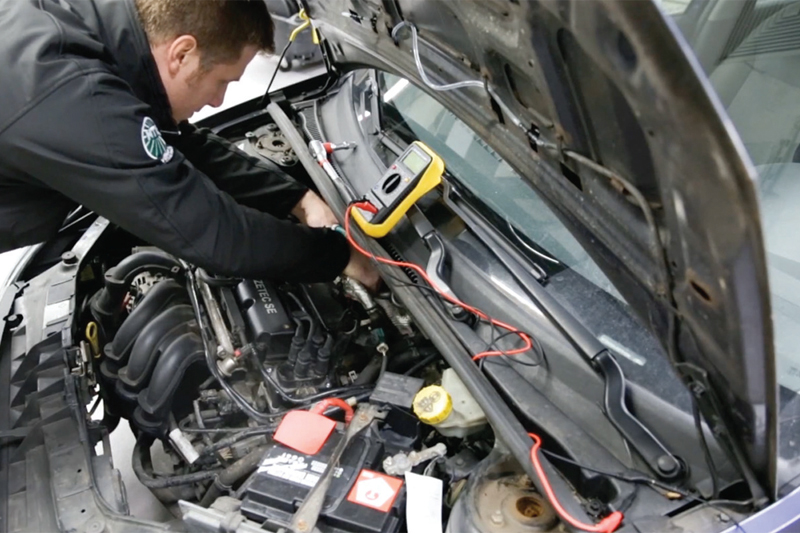
Sensors live in a harsh environment and corrosion of the exhaust and sensor is inevitable. This can make removal difficult and so it is essential that suitable tools are employed, such as a tube spanner, to prevent personal injury or damage to the sensor.
Before installing the new sensor, ensure that the threads are clean and in good condition. All NTK sensors have a factory applied anti-seize compound on the threads. This grease is sensor friendly, and care should be taken if alternative greases are used to make sure that they contain no sensor damaging ingredients.
Tighten the sensor to the recommended torque to ensure correct sealing, a good earth via the exhaust (if applicable) and not to over stress the metal shell. Before connecting the multi-plug, check the vehicle side connector for damage, oil contamination and corrosion.


