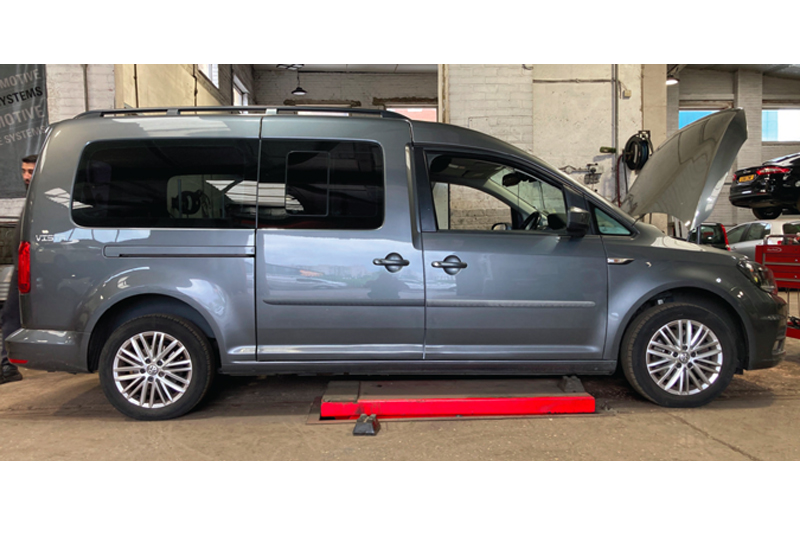
Schaeffler LuK’s Alistair Mason is replacing the clutch assembly in a 2017 Volkswagen Caddy 2.0 TDI that has covered more than 101,000 miles. The vehicle has been booked into the workshop with clutch slip, which had been pre-diagnosed and confirmed with a short road test at the time of booking.
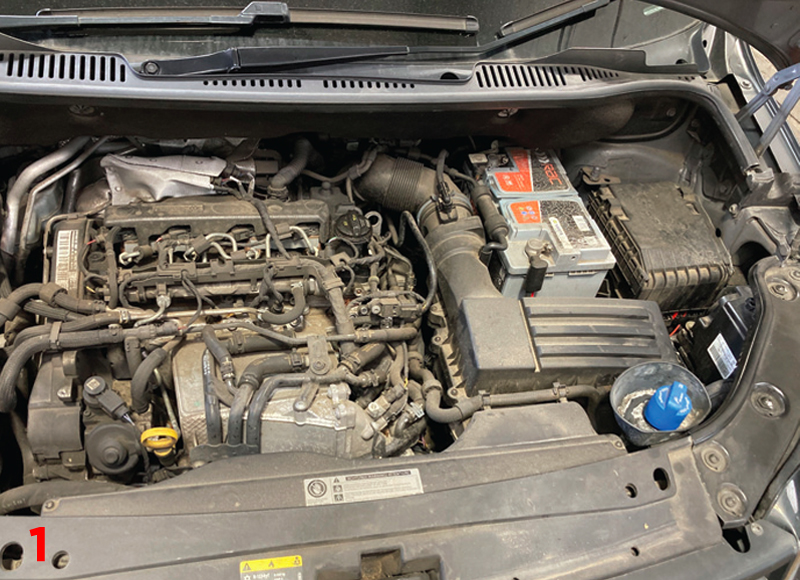
With the vehicle placed on the lift, open the bonnet and remove the engine cover (Fig.1), which reveals an engine bay full of emission control systems, such as EGR and Adblue, but with the removal of the airbox assembly, battery and battery carrier, access to the gearbox is pretty good (Fig.2).
Disconnect the gear change cables from the selector arms, remove the cable bracket bolts and stow the cables in the bulkhead area, so they are out of the way, then remove the gear selector arm/weight, which allows the gearbox mounting brace to be removed.
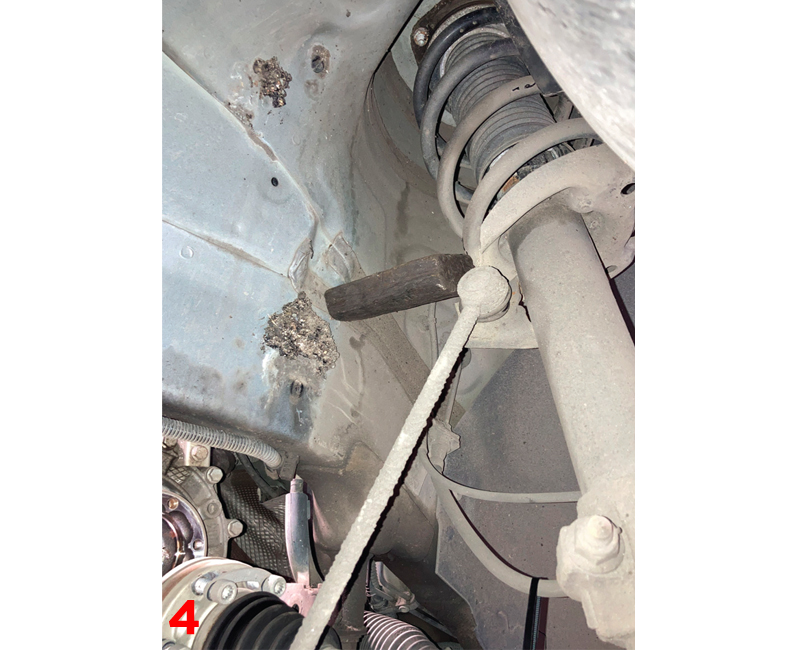
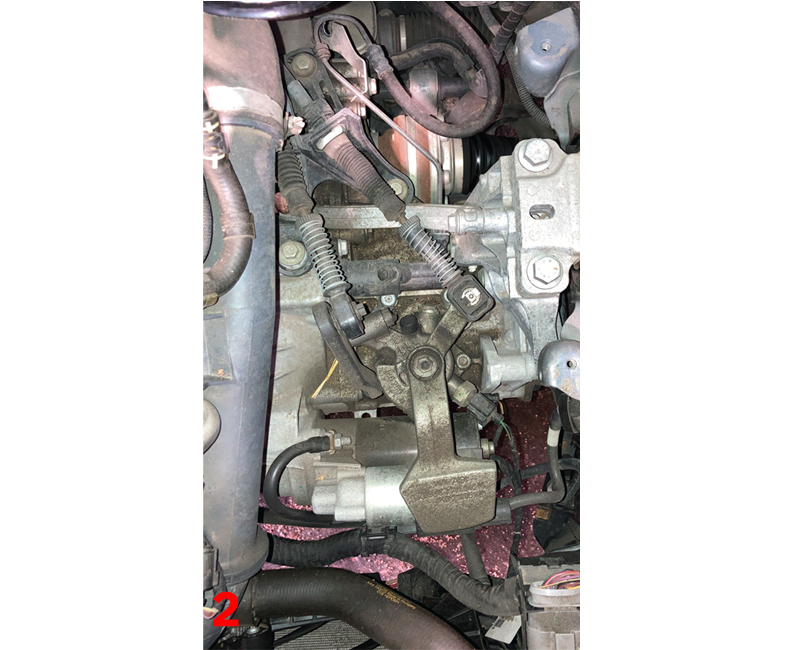
Disconnect the reverse light switch multiplug, followed by the wiring for the starter motor, then remove the two slave cylinder retaining bolts and ease the slave cylinder out of the bellhousing. This can now be stowed away from the gearbox without disconnecting the hydraulic system and provides good access to remove the upper bellhousing bolts. Raise the vehicle lift to waist height and remove the N/S/F wheel and wheel arch liner, unbolt the N/S/F inner CV joint from the gearbox flange, disconnect the N/S/F bottom ball joint (Fig.3) and ease the strut assembly out. This can be held out of the way by placing a block between the strut and the inner wing (Fig.4), which saves having to remove the driveshaft from the hub.
Remove the lower gearbox pendulum mount and then the O/S driveshaft heat shield, unbolt the O/S inner CV joint and secure the driveshaft away from the gearbox and remove the O/S drive flange from the gearbox by unscrewing the centre allen bolt.
Support the engine using a suitable engine support, remove the lower bellhousing bolts, but leave an easily accessible bolt to support the gearbox. Remove the upper gearbox mounting and lower the engine and gearbox slightly to aid gearbox removal. Support the gearbox using a transmission jack, remove the final bellhousing bolt and then carefully ease the gearbox away from the engine. Once the input shaft is clear of the clutch assembly, lower the transmission jack and remove the gearbox from the vehicle.
Clutch replacement
With the gearbox disconnected, remove the six clutch pressure plate bolts and the clutch assembly. At this point the clutch fault in this repair was evident, as the clutch plate lining had reached the end of its service life as it had worn down to the metal retaining rivets. As this vehicle is fitted with a solid flywheel, remove the clutch dust using clutch and brake dust cleaner, remove the glaze from the flywheel surface using an emory cloth and clean again with a clutch and brake dust cleaner.
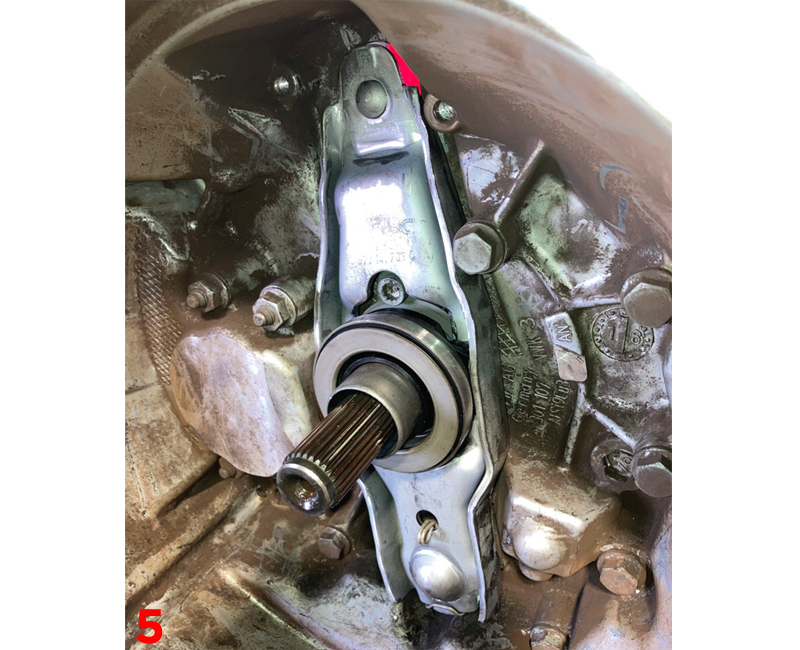
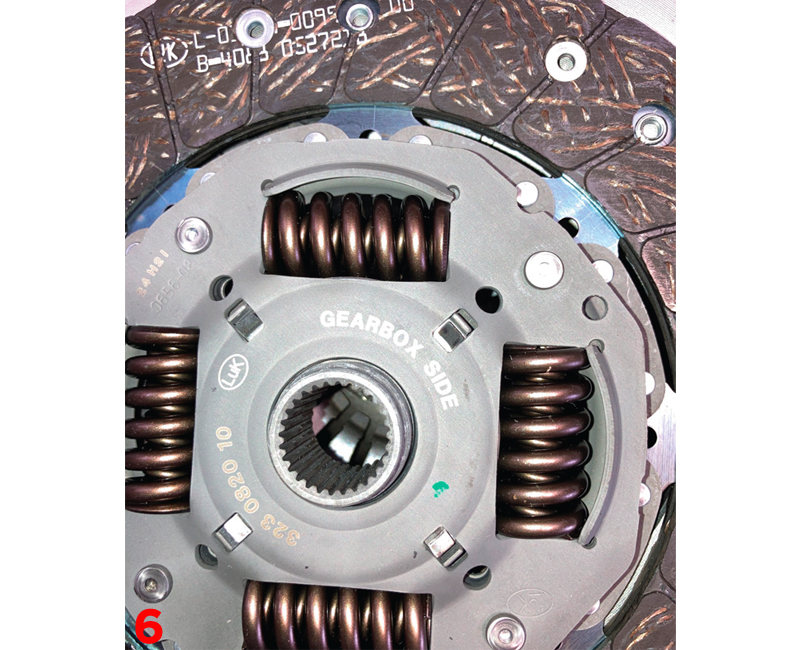
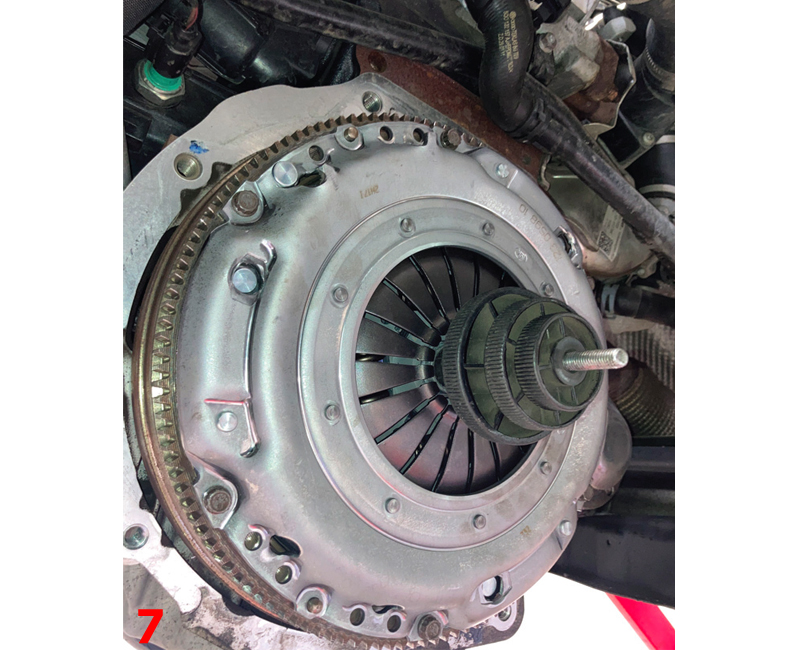
Focusing on the gearbox, remove the release bearing and fork assembly, then check the guide tube and pivot points for wear. In this instance, we replaced the guide tube, pivot point and release arm, as wear was evident (Fig.5). Clean the bellhousing area removing the old clutch dust using a clutch and brake dust cleaner, then apply a light smear of high melting point grease to the splines on the input shaft and mount the new clutch plate onto the shaft, which will confirm the clutch plate is correct, as well as evenly distributing the grease. Remove the clutch plate and wipe away any excess grease, then, using a clutch alignment tool, mount the new clutch onto the flywheel ensuring the clutch plate is faced correctly, indicated by “gearbox side” (Fig.6). Insert and tighten the six clutch bolts in an even and sequential process and then torque to the manufacturer’s specification.
Before gearbox installation, ensure the engine to gearbox alignment dowels are positioned correctly and that all items that could foul the gearbox are out of the way.
Gearbox installation
With the gearbox positioned on the transmission jack, bring the gearbox close to the engine. Spend a little time aligning the gearbox to the engine and then ease the gearbox input shaft into the clutch plate, push the gearbox onto the alignment dowels and secure in position with a couple of easily accessible bellhousing bolts. Bring the engine and gearbox into position and fit the gearbox mounting and tighten in position.
Installation is in reverse order of removal, torque required bolts to the manufacturer’s specification and these values are available on Schaeffler’s REPXPERT workshop portal.
After the battery lead has been reconnected, reset all electrical consumers and carry out a full road test to ensure that the repair has been successfully completed.


