This month, Schaeffler REPXPERT Alistair Mason replaced the clutch on a Vauxhall Meriva after the customer reported that the clutch was ‘slipping’. A short road test confirmed the diagnosis, and a clutch replacement was advised.
The Meriva is a popular small MPV, which is based on the Corsa, but stretched upwards to create a very roomy interior. Like other Vauxhalls, components are bolted to the subframe, which has to be lowered, so these tips from LuK should help to speed the job along.
Step-by-step procedure
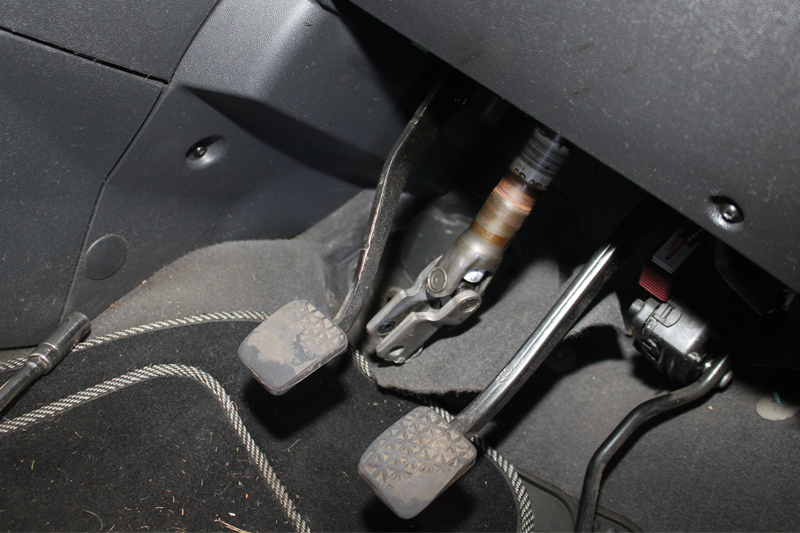
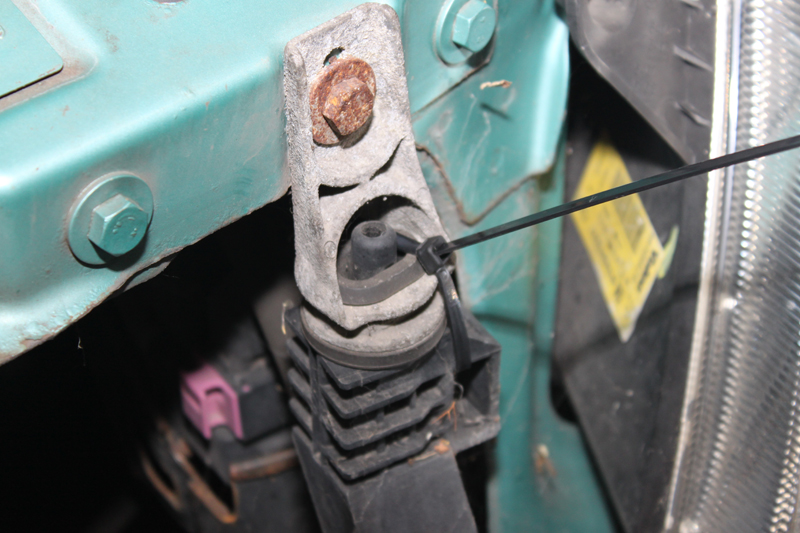
Firstly, inside the car, disconnect the steering column universal joint (see below) from the steering rack so it can be lowered with the subframe, and cable-tie the radiator to the bonnet locking platform bracket (see below), as it’s normally supported by the soon-to-be- lowered subframe.
Unbolt the gear linkage from the top of the gearbox (see below), and remove the pin from the gear linkage pin.
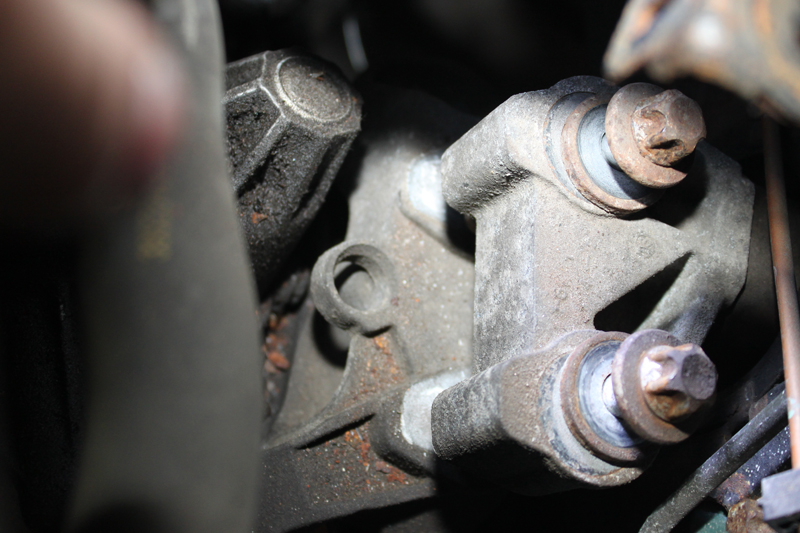
Next, remove the starter motor to the bell housing bolt and the upper bell housing bolts. Unbolt the two gearbox mount bolts (see below), allowing the power-unit to sit on the front and rear engine tie rods, and disconnect the reverse light multiplug. Slacken the LH wheel nuts and driveshaft nut. After removing the split pin, raise the vehicle on the ramp.
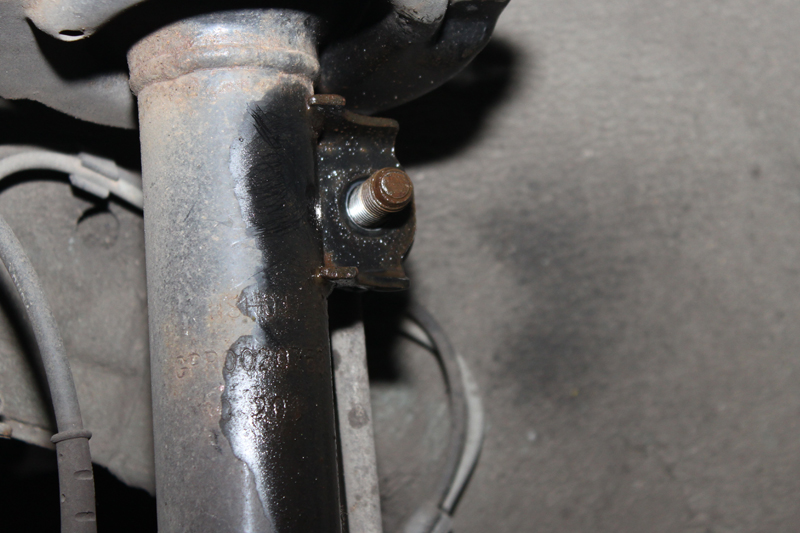
Undo and remove the LH anti-roll bar link rod to strut nut (see below), and then loosen the lower edge of the RH wheel arch liner.
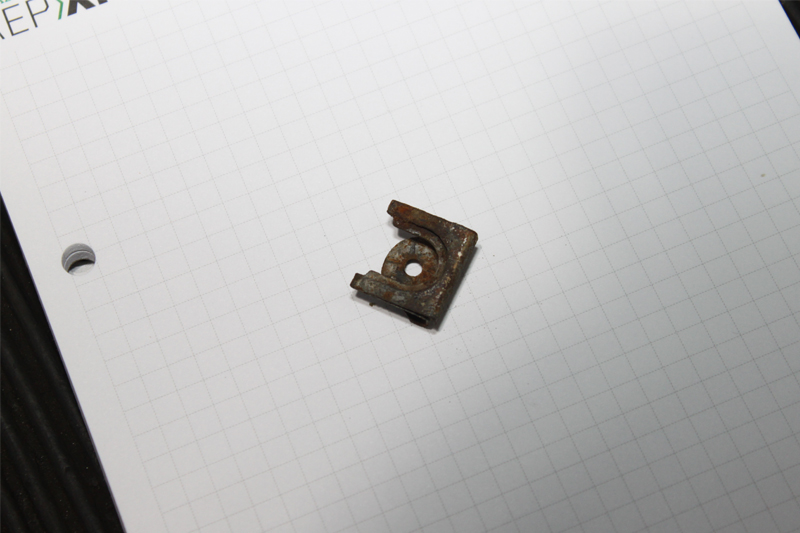
Remove the LH lower ball joint bolt. From underneath, remove the small clip (see below) from the second gear mechanism arm pin and push the arm up to release it.
Disconnect the concentric slave cylinder (CSC) pipe and follow the instructions in the new CSC box. Locate and discard the sealing cap (see below), and then, if possible, blank the hose.

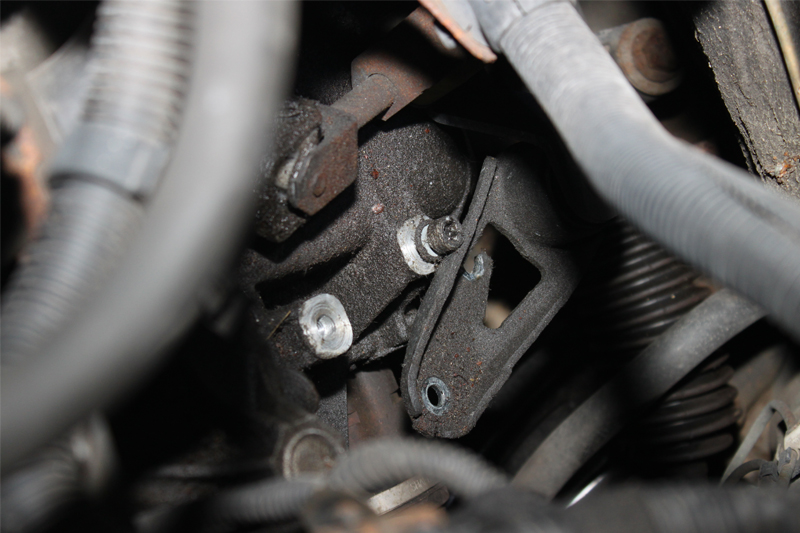
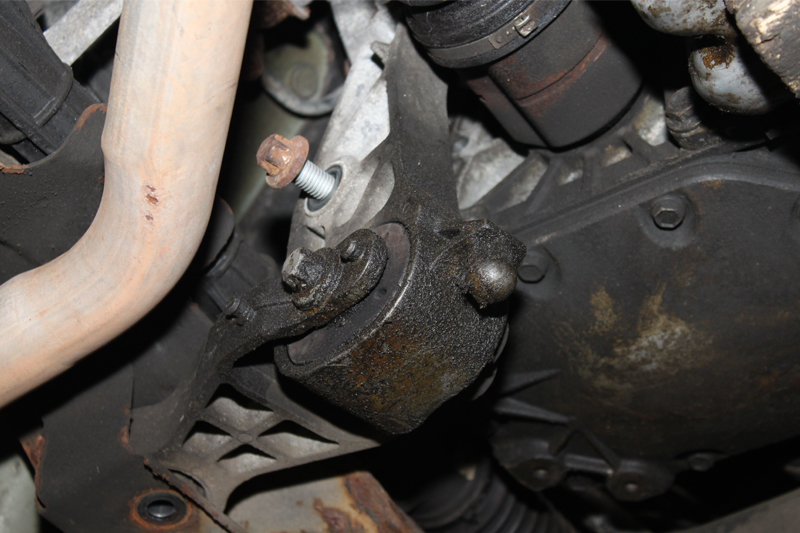
Support the engine, remove the rear tie bar bracket bolts (see below) and disconnect the oxygen sensor multiplug.
Next, unscrew the two bolts securing the front engine tie rod bracket and allow it to hang. Support the subframe on a transmission jack, and undo three of the four subframe bolts, leaving the front RH bolt loose, but engaged. Separate the LH lower ball joint and lower the subframe supported on the jack. Secure the LH MacPherson strut away from the body with a wooden block (see below) and remove the LH driveshaft.
Lower the transmission jack supporting the engine, and remove the remaining bell housing bolts. Withdraw the gearbox onto the lowered subframe whilst disconnecting the RH driveshaft, and then lower it safely to the floor or bench. With the gearbox removed, the bell housing can be cleaned and the CSC replaced. Note, the new version does not require the top hat seal, and the new CSC should never be compressed prior to fitting because it can lead to leak problems.
Always use the correct length and headed screws, and then tighten them all evenly with a torque wrench to ensure even clamping on the backplate. After fitting the new adapter that doesn’t need the top hat seal, attention can turn to the clutch.
Unbolt the old clutch, noting the direction of the driven plate. Withdraw the clutch parallel to the flywheel, as peeling the clutch cover back can damage one of the flywheel dowels, preventing the new clutch from fitting.
If fitting a new clutch cover on the dowels proves difficult, try fitting the old clutch to see if the dowels were damaged on removal. After cleaning up the flywheel and rectifying any oil leaks, the new clutch can be fitted.
Lubricate the input shaft splines with a small amount of grease, then slide the driven plate back and forth a few times, before rotating and repeating until the grease is evenly distributed. Use a clean cloth to remove any excess, as clutches and grease don’t mix. Centralise the drive plate, and then the cover can be bolted up evenly and sequentially.
Check the gearbox dowels are in place and carefully refit the gearbox. Replace all the parts removed, whilst not forgetting to connect the steering column to the steering rack.


