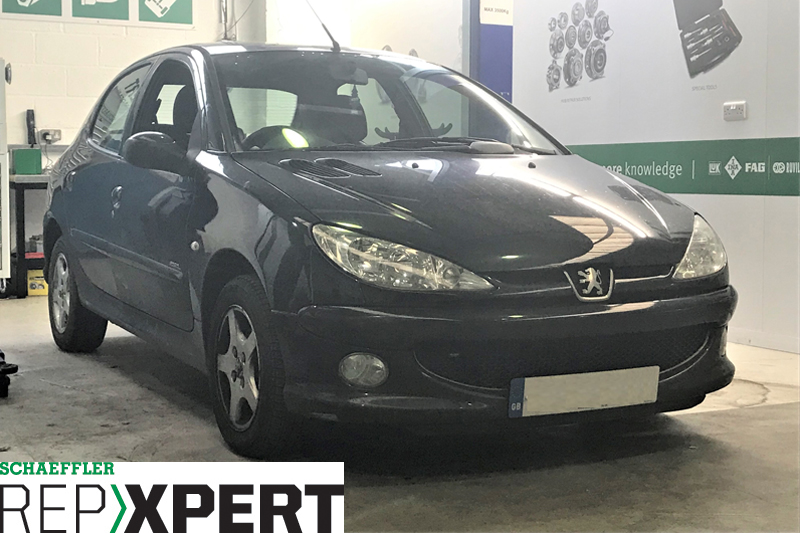
REPXPERT Alistair Mason inspected a 2005 1.1L petrol Peugeot 206, which had covered more than 75,000 miles. It was difficult to get the vehicle into gear, as the clutch was not fully disengaging and there was a ‘scraping’ noise emanating from the bell housing area, so a gearbox removal was advised and authorised.
For this repair, Alistair needed a two-post vehicle lift, transmission jack, engine support and clutch alignment tool. A gearbox removal should be a straightforward task for an independent technician.
Step-by-step procedure
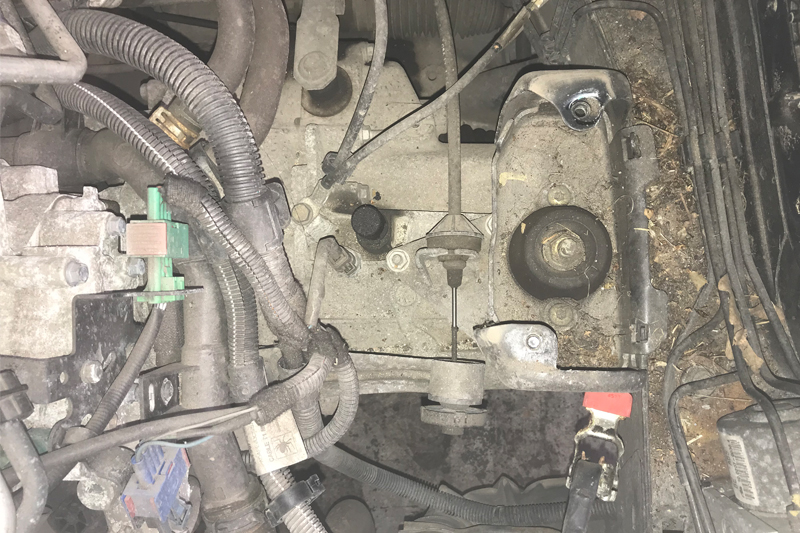
With the vehicle placed on the ramp, open the bonnet and remove the air filter/box assembly, the battery and carrier, which gives good access to the top of the gearbox and bell housing area (see below).
Detach the multiplug from the reverse light switch, remove the earth lead connection from the top of the gearbox, and disconnect the clutch cable from the gearbox by pulling the cable forwards and unhooking from the arm. Next, undo the upper bell housing bolts and top starter motor bolt, then, at the rear of the gearbox, disconnect the three gear change linkage rods.
Before raising the vehicle lift to gain access to the underside, slacken the hub nuts for both front driveshafts.
Next, raise the lift and drain the gearbox oil, release both bottom ball joints from the front hub assemblies, pull the hub assemblies outwards and remove the outer CV joints. On the O/S/F driveshaft, the centre bearing also needs to be released, before removing both driveshafts from the vehicle and storing them safely.
Remove the starter motor retaining bolts and the engine speed sensor from the front of the bell housing and lower bell housing bolts, leaving two easily-accessible bolts to retain the gearbox until it can be removed.
With two transmission jacks, support both the engine and the gearbox. Use a ladder to reach the topside of the engine, and then remove the gearbox mounting. Lower the engine and gearbox assembly slightly, remove the final bell housing bolts, ease the gearbox away from the engine, and, once clear, lower the gearbox with the transmission jack and store safely.
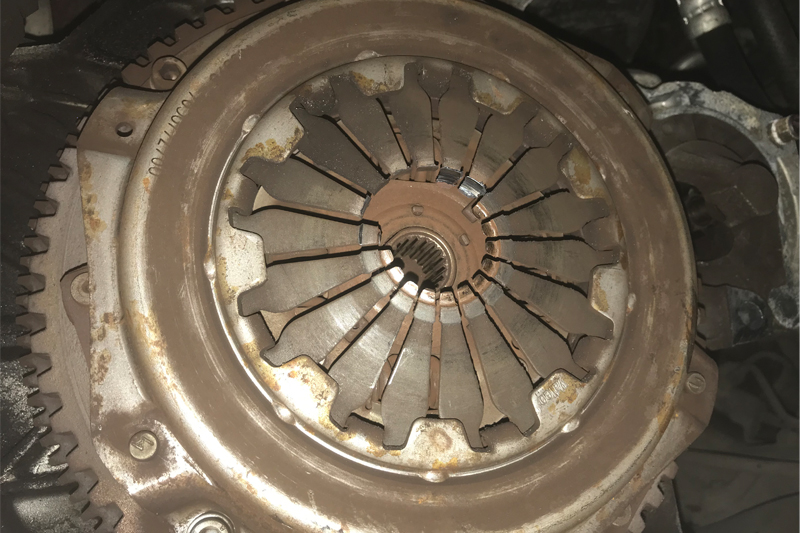
On this occasion, with the gearbox removed, the fault was easily identified: some of the clutch diaphragm fingers had been ground away and snapped off (see below).
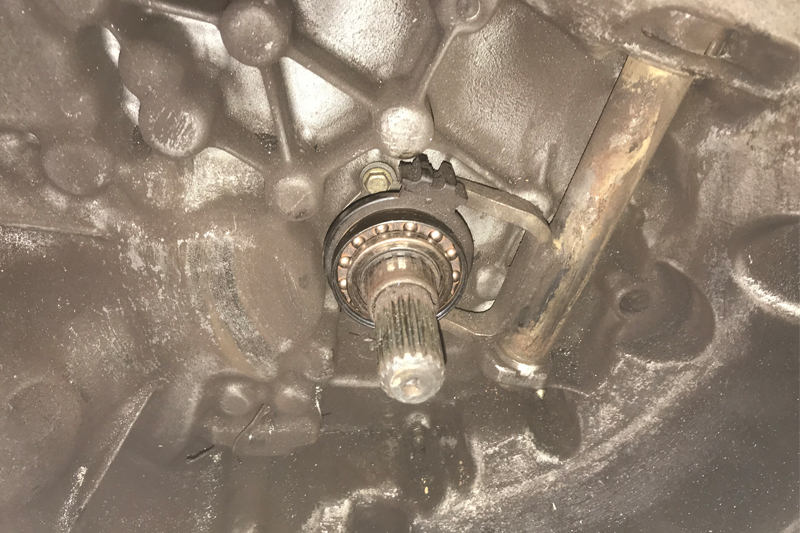
The release bearing was also inspected and was deemed unserviceable, as it had damage to the contact area and no lubrication in the bearing (see below).
There could be a few reasons for this fault:
- The bearing coming into constant contact with the clutch, causing the bearing to get hot and seize, which can eminate from the driver resting their foot on the clutch pedal.
- The release system’s alignment is not correct; the release fork lever bushes are worn and the release fork is twisted/bent.
- The release bearing guide tube is worn, not allowing the release bearing to return correctly.
Clutch replacement is needed
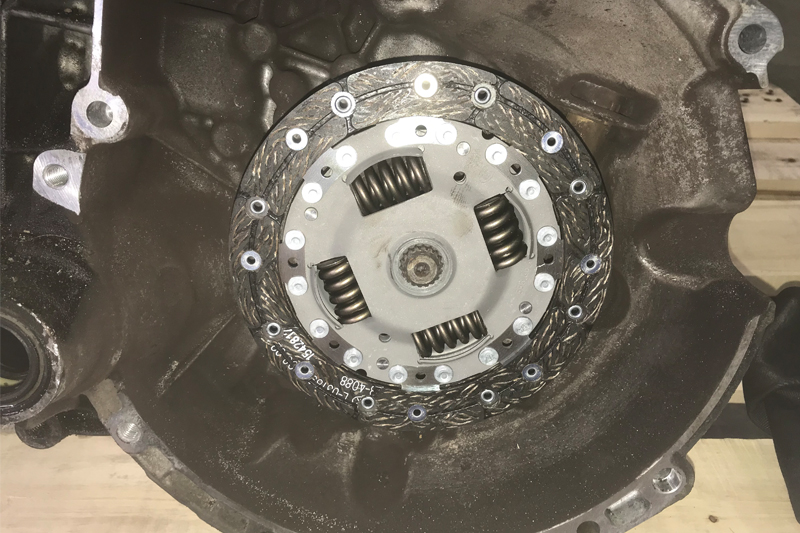
Remove the old clutch, and remove the glaze from the flywheel by using Emory cloth and clean it with brake and clutch dust cleaner. Next, mount the new clutch plate onto the gearbox input shaft to ensure correct fitment (see below).
Next, using a clutch alignment tool, mount the new clutch assembly onto the flywheel (see below).
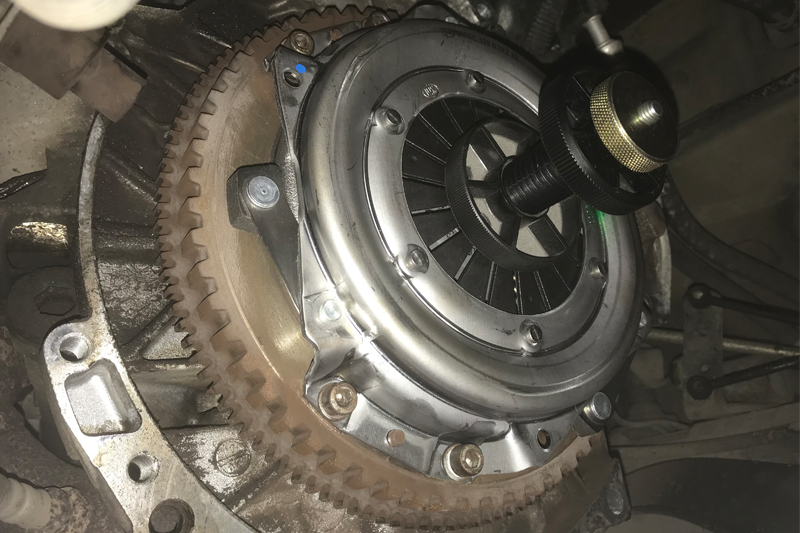
Next, ensure the clutch plate is facing the correct way, indicated by ‘Gearbox Side’ (or ‘Getriebe Seite’), then tighten the bolts evenly and sequentially, and finally, torque to the manufacturer’s specification.
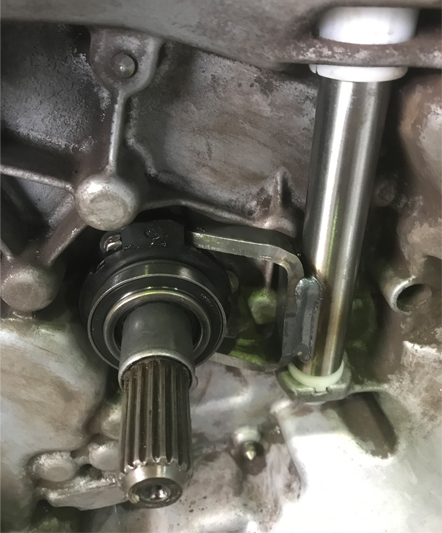
The next task is to examine the release system. On this job, the release bearing was replaced, as it is part of the clutch kit. On closer inspection of the release fork, excessive wear was evident in the nylon bushes, as was slight wear on the fork itself. Therefore, the release fork and bushes were replaced, as was the release bearing guide tube (see below).
Apply a light smear of high melting point grease to the gearbox input shaft splines and wipe off any excess – in the areas where metal is running on nylon, no lubrication is required. Ensure both engine to gearbox alignment dowels are installed in the engine.
Ensure the clutch cable is operating smoothly, but be aware that it is always best practice to change it. In this instance, the self-adjusting clutch cable was replaced.
Using the transmission jack, ease the gearbox into position, locate the gearbox input shaft into the clutch plate, and then ease it onto the alignment dowels. Once in position, secure it with a bell housing bolt.
Installation is in reverse order of removal. Torque all bolts to the manufacturer’s specification and refill the gearbox with the correct quantity and specification of gearbox oil. Once the battery lead has been connected, reset all electrical systems. Finally, carry out a full road test to ensure a quality repair.