
Car manufacturers are constantly striving for weight-reduced cars, paired with highly efficient engines. As this technology advances, it is essential that the motor repair industry evolves with it.
While all mechanics will know how to change a disc brake, it is often the simplest things – such as cleaning – that are overlooked because of time pressures. Here we’ll explain the effective steps that you can take to ensure your customer doesn’t come back with any complaints.
Repairing brakes & removing rust
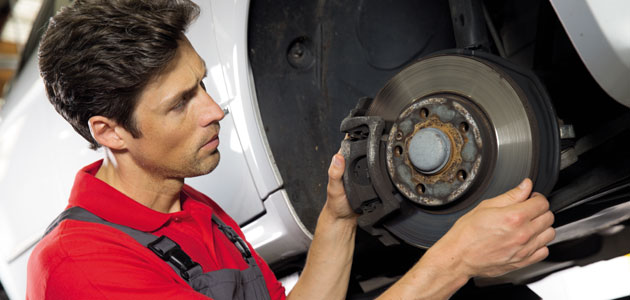
Before starting the brake repair process it’s important to look for signs of uneven wear on the brake discs, as well as checking all components surrounding the axle and examining the hydraulic system for any broken parts. Any defective parts should be replaced in accordance to vehicle, system and brake manufacturers’ guidelines. Attention must be made to remove the brake fluid reservoir cap prior to carrying out brake pad/disc replacement.
When dismantled, it’s imperative to remove any rust or residue from the contact surfaces and caliper bracket. Build-up of dirt and rust, for example, can cause brake judder, leading to a vibration through the brake pedal or steering wheel. If this is the case, use a wire brush or emery paper to remove any rust or excessive pollutants from the contact surfaces and hub. When the rust has been removed, use a brake cleaner to clean the surface and check the cleaned hub with a measuring stand for any possible lateral run-out deviations.
Take care not to damage the guide shafts of the caliper bracket when undertaking the cleaning process.
Greasing the surface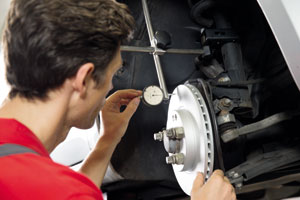 Grease the newly cleaned guide surface with a non-conductive, heat-resistant and solids-free agent, such as Mintex CERA TEC Advanced Lubricant. Don’t use copper paste on the surface of the brake, as it can affect the vehicle’s ABS system.
Fitting the new brake disc & moving the brake piston
Fit the new brake disc onto the wheel hub and secure the newly fitted disc with the wheel studs or nuts. Use a DTI gauge to check for lateral run-out; a run-out of .00.7mm below the maximum radius is recommended.
The brake piston must be moved back using the correct adjusting tools at the start of any brake replacement job and you should also pay attention to any brake fluid that may spill out of the brake fluid reservoir while moving the piston back. Also be sure to pay attention to the different versions of the caliper and brake systems, as well as manufacturer-specific requirements and special tools.
Aftercare
To optimise braking performance, Mintex recommends that the new brakes require approximately 200 miles to become fully conditioned. Hard or aggressive braking must be avoided during this period, as it can affect the overall performance of the new brake system.


