Delphi Technologies has supplied this step-by-step EGR Valve replacement guide courtesy of its Masters of Motion hub for independent garage technicians.
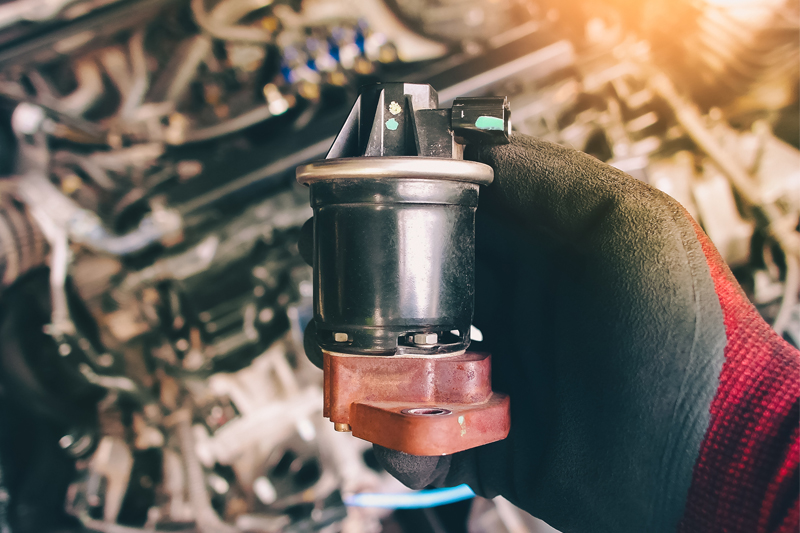
The Exhaust Gas Recirculation (EGR) valve recirculates precise quantities of exhaust gas to the engine intake system for increased engine efficiency, reduced fuel consumption and lower NOx emissions.
The EGR valve has two primary settings: open and closed, although the position can vary anywhere in between.
During engine start-up, the EGR valve is closed and gradually opens at idle and at low speeds. As more torque and power is required, the EGR valve closes to allow more oxygen to enter the cylinder.
The single biggest cause of EGR valve failure is the build-up of carbon particles from the exhaust gases along the EGR and intake system passages. With time, this can clog tubes, exhaust gas channels and eventually the valve’s plunger mechanism, causing it to either stick open or closed.
Failures can also be caused by a rupture or leak in the valve diaphragm.
Step-by-step guide
Matt from Delphi takes us through the process of changing an EGR valve on a Nissan Micra at Delphi’s in-house training workshop in Warwick.
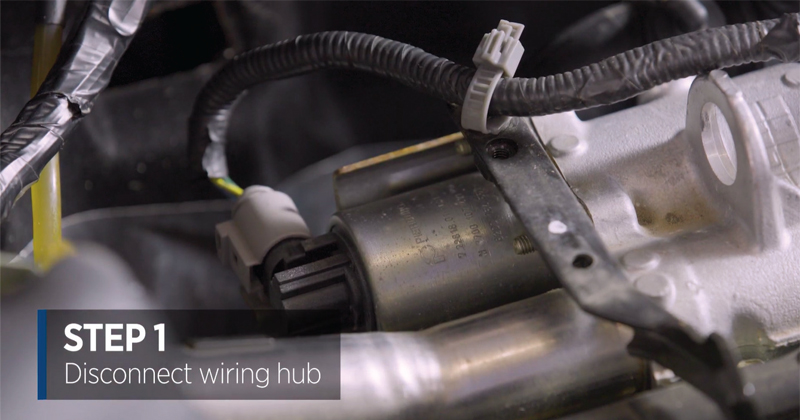
- Locate the EGR valve and disconnect the electrical wiring.
Loosen the cable on the valve and remove the electrical connections, checking for signs of damage.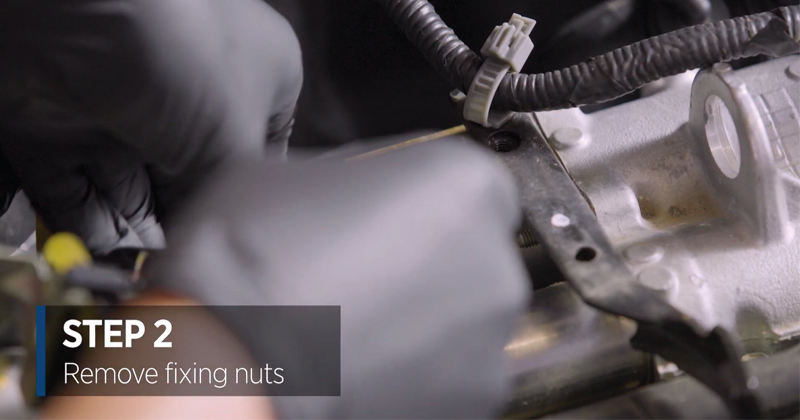
- Remove the fixing nuts.
Three 10mm fixing nuts need to be removed. Once loosened with a socket, technicians are advised to spin the nuts by-hand, taking care not to drop them.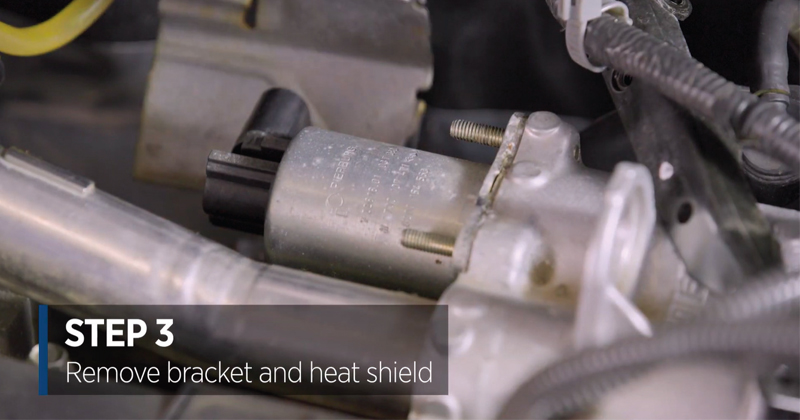
- Remove the bracket and heat shield.
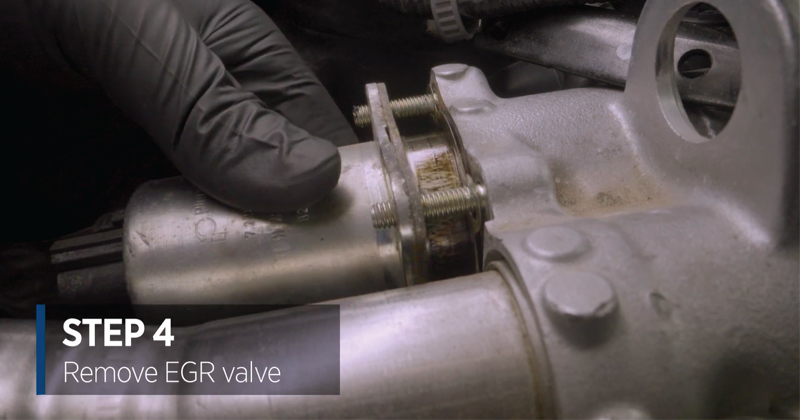
- Remove the EGR valve.
Check the valve for damage, corrosion or carbon build-up.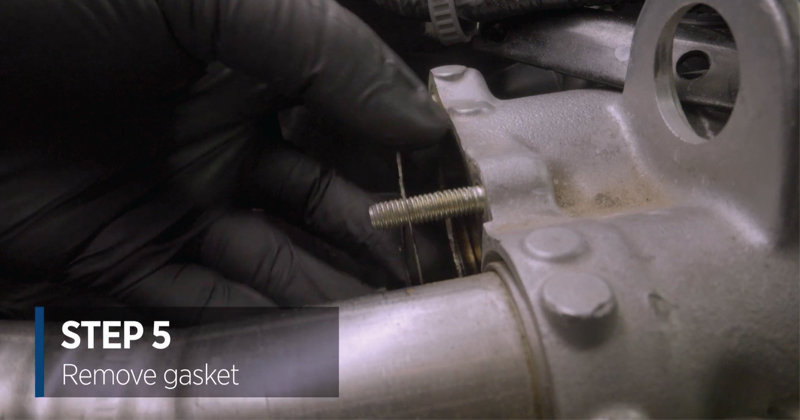
- Remove the old gasket.
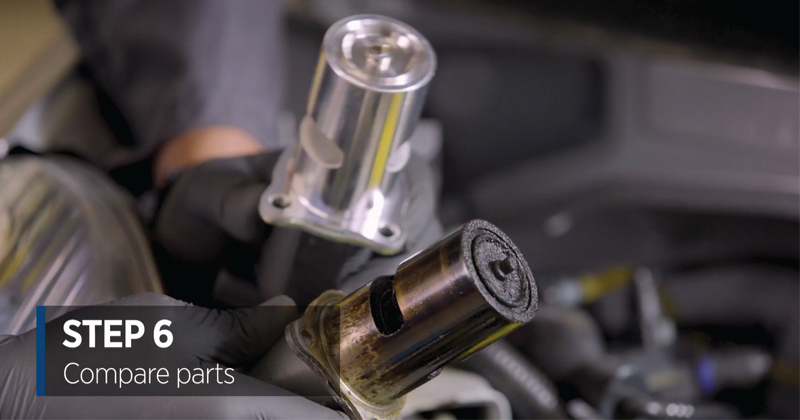
- Compare the old part with its replacement.
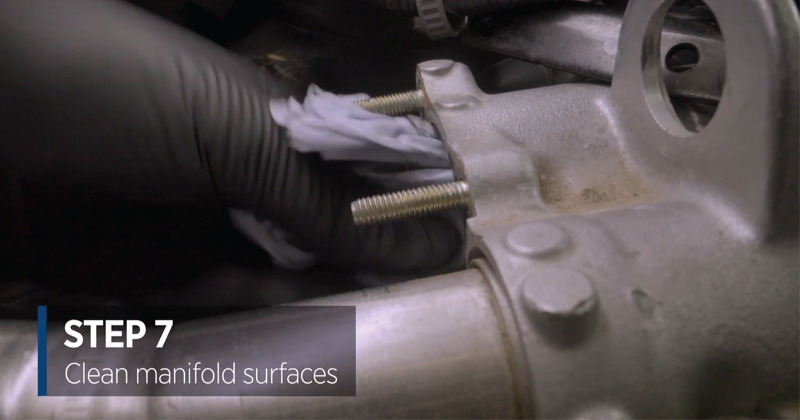
- Clean the manifold surfaces.
Clean the EGR valve mounting surface thoroughly and remove any loose carbon from the EGR supply port.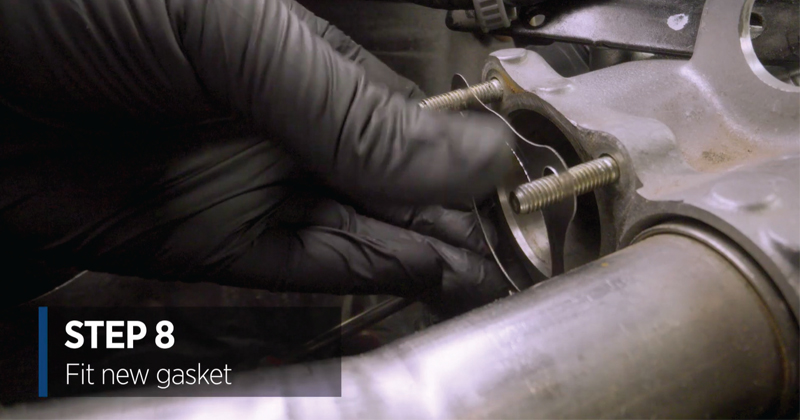
- Fit the new gasket.
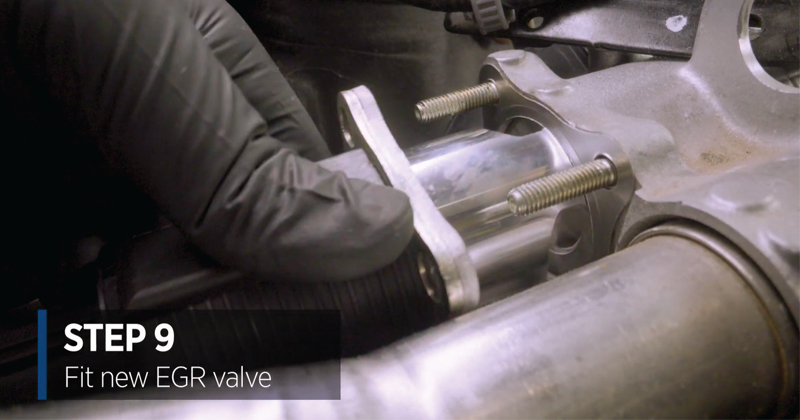
- Fit the new EGR valve.
The valve should be orientated so the electrical plug connection faces to the rear of the car.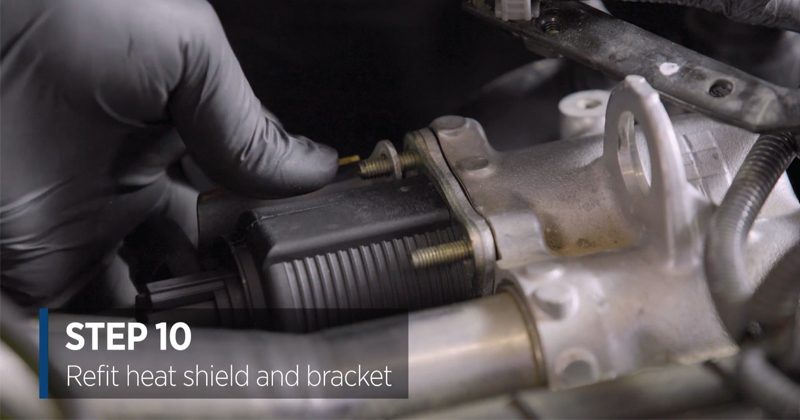
- Refit the heat shield and bracket.
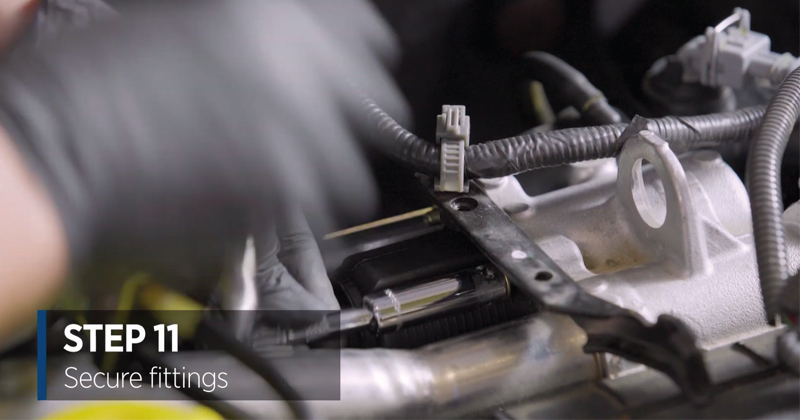
- Secure the EGR valve and heat shield bracket with the original fittings.
Tighten all fasteners to the recommended torque settings.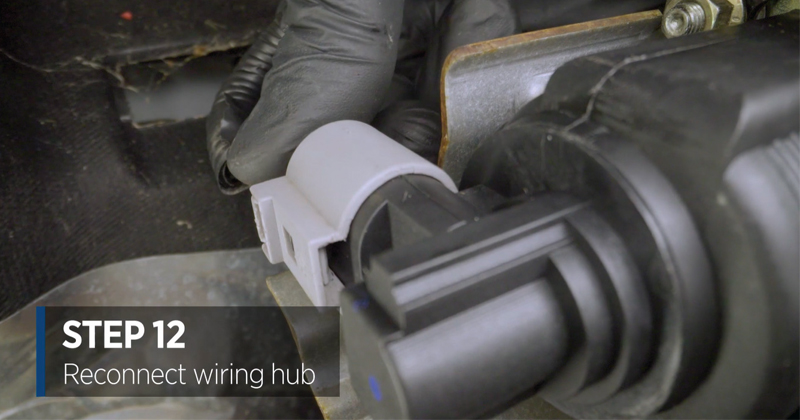
- Reconnect the wiring hub.
This guide is one of around 30 ‘How To’ videos covering a range of workshop jobs including ADAS calibration, diesel injection, engine management and more.


