
Delphi Technologies has supplied this step-by-step ABS sensor replacement guide courtesy of its Masters of Motion hub for independent garage technicians.
The ABS sensor, sometimes referred to as the wheel speed sensor, monitors the wheel’s speed and rotation to prevent the brakes from locking. The wheel speed data is used to determine when to activate the ABS and how much pressure it should safely apply to stop the vehicle without locking up the brakes. The wheel speed information is also provided to other systems (engine, transmission, navigation, and chassis control systems) via data lines by the ABS control unit.
Due to its position, the ABS sensor is susceptible to dirt and damage. Common failures include breaks in the wiring/sensor winding due to excessive vibration, internal short circuits, increased wheel bearing clearance, and damage during the replacement of other braking components.
Step-by-step guide
Matt from Delphi takes readers through the process of changing an ABS sensor on a Citroen C4 at Delphi’s in-house training workshop in Warwick.
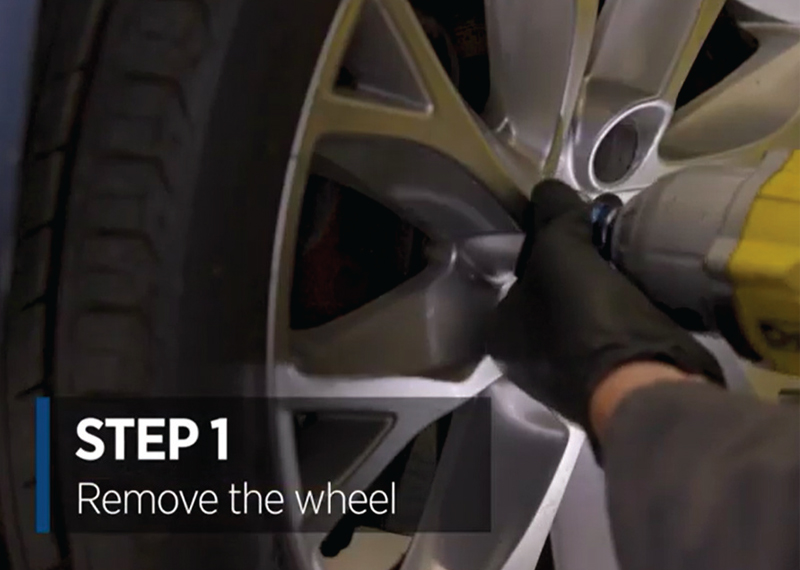
Step 1: Remove the wheel.

Step 2: Remove the arch liner clip to allow access to the ABS sensor connector.
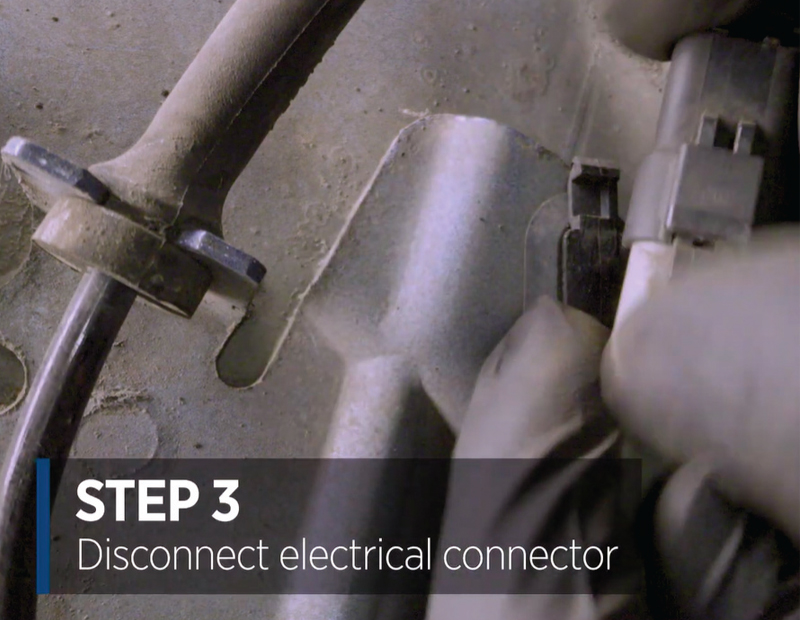
Step 3: Disconnect the ABS sensor.
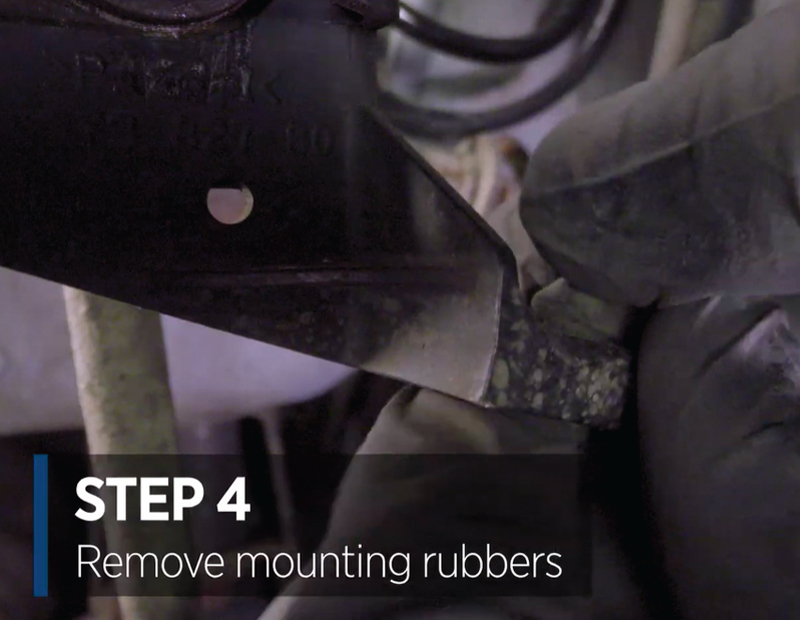
Step 4: Remove the mounting rubbers.
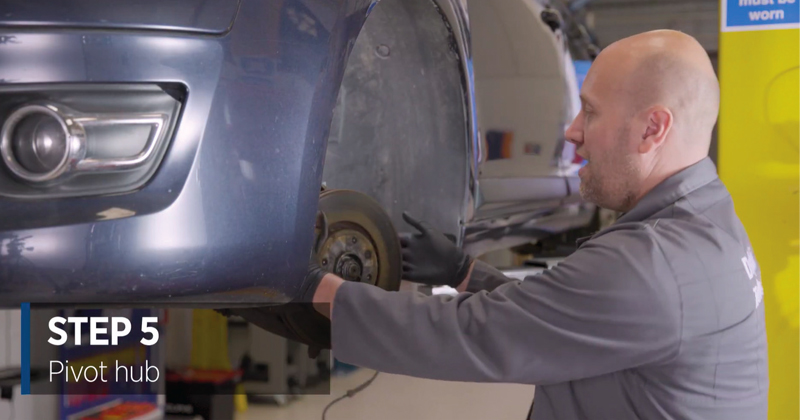
Step 5: Pivot the hub to gain access to the 10mm securing bolt on the head of the sensor.
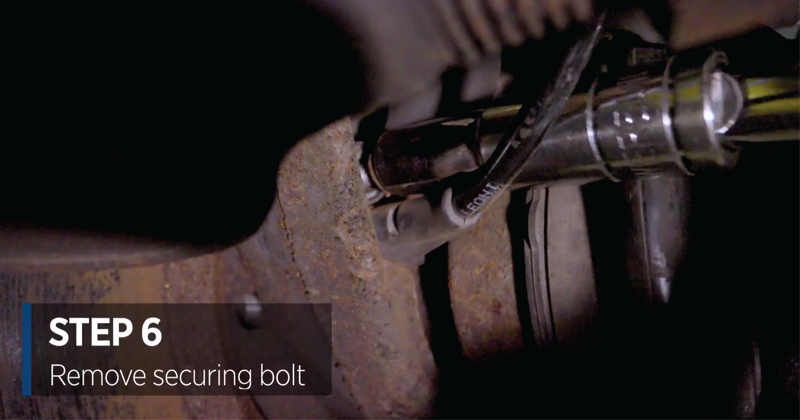
Step 6: Remove the securing bolt.
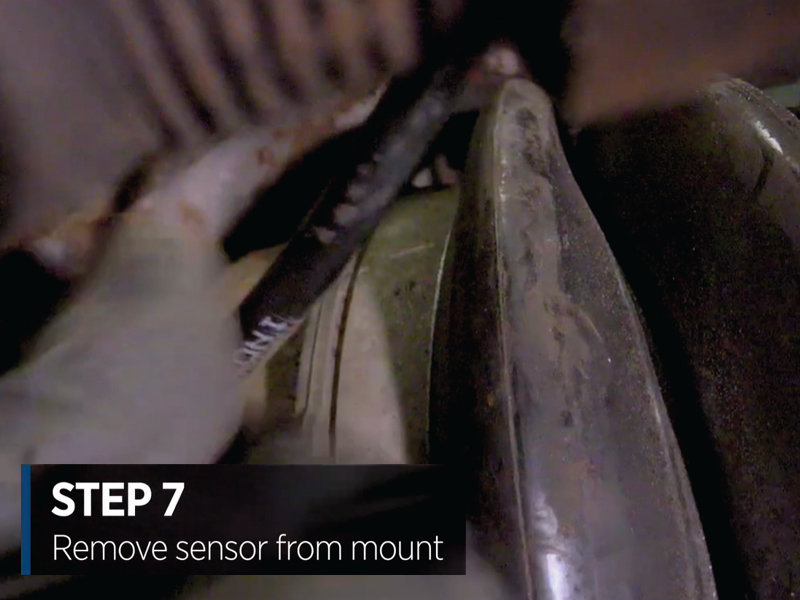
Step 7: Remove the sensor from the mount and retrieve from the vehicle.
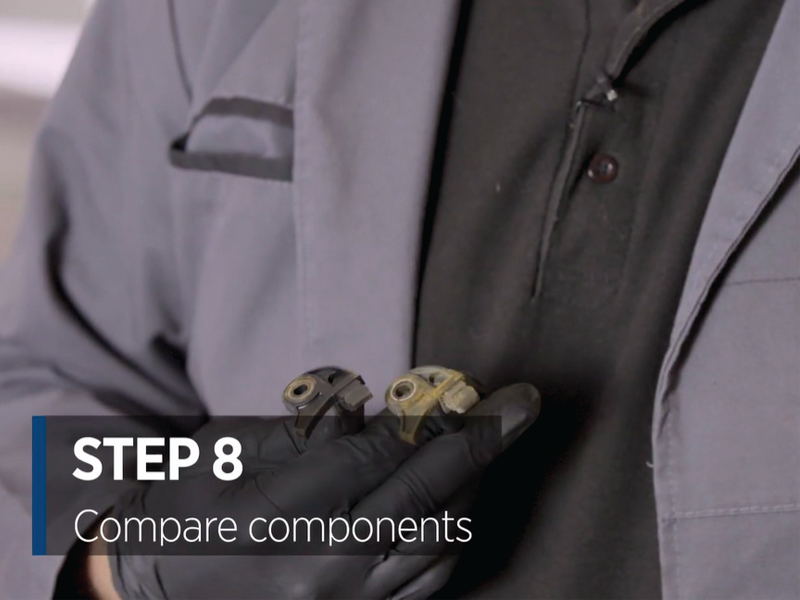
Step 8: Compare the old part with its replacement. Carefully inspect the sensor head and electrical connector, taking note of the number of pins and locating point. Only use parts with tested/proven performance.
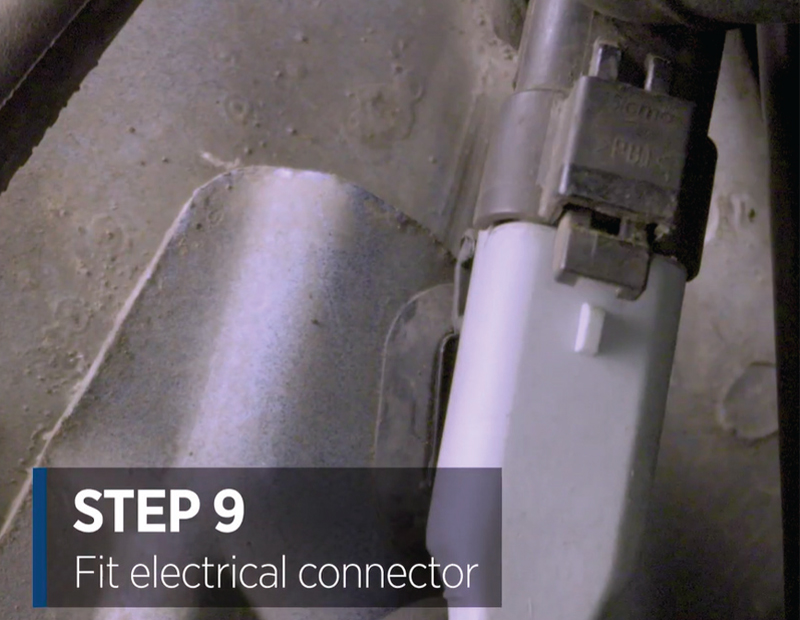
Step 9: Fit the electrical connector. Ensure it is properly secured to the chassis clip.
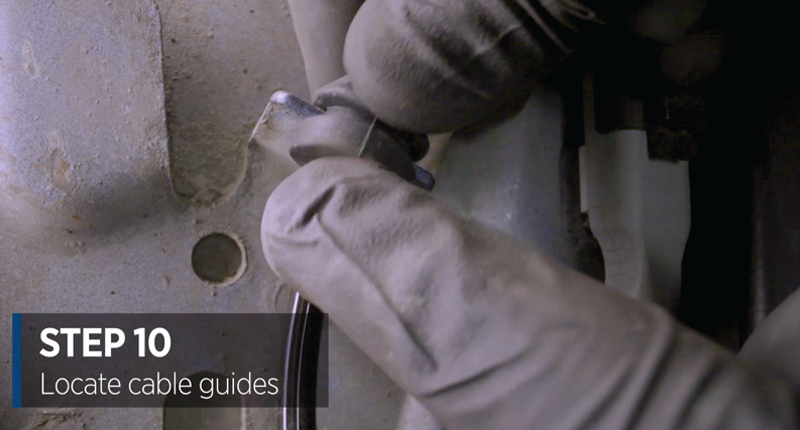
Step 10: Locate the cable guides into their mounting points.
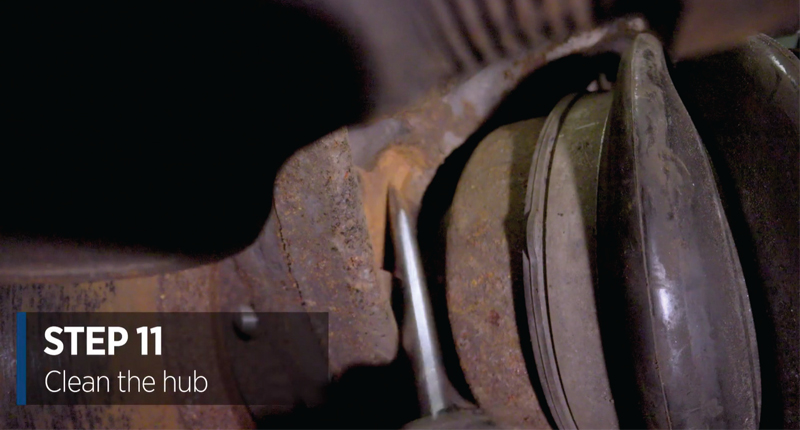
Step 11: Clean the hub.
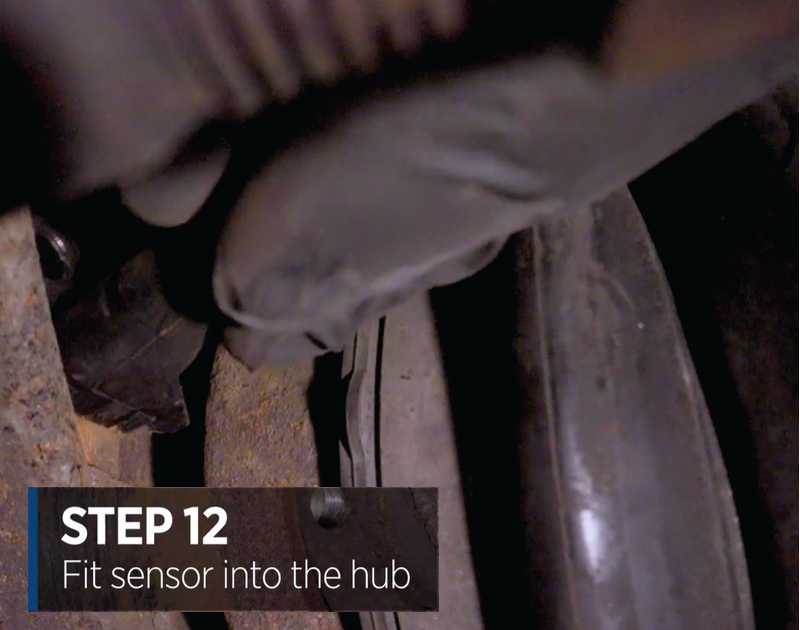
Step 12: Fit the sensor into the hub.
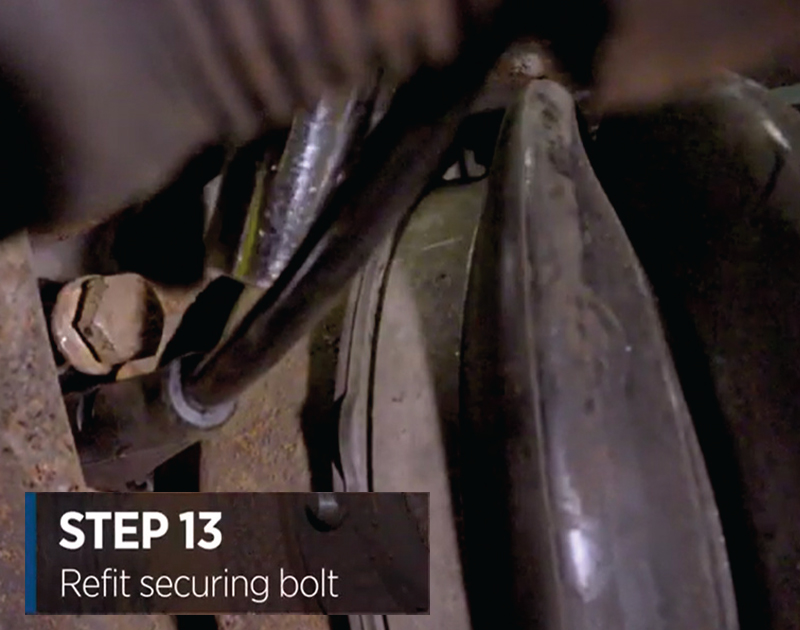
Step 13: Refit the 10mm bolt.
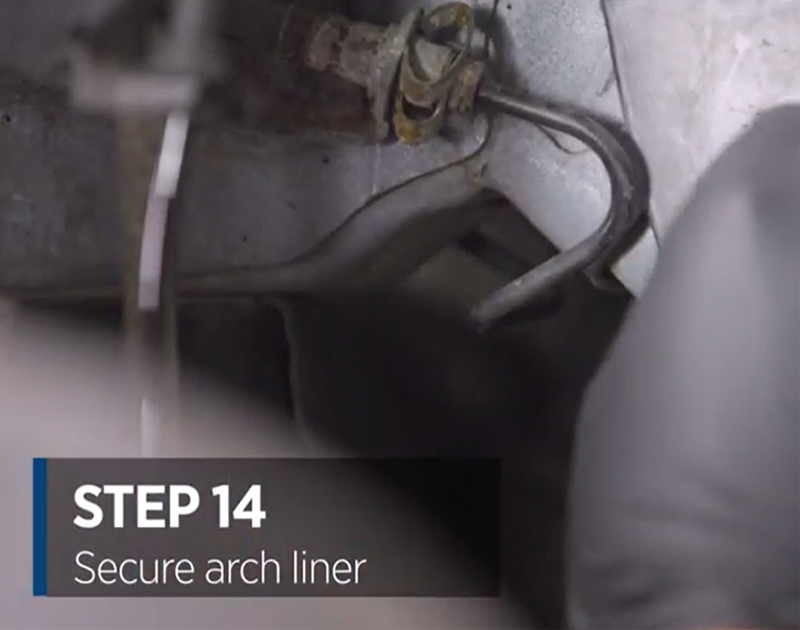
Step 14: Secure the arch liner.
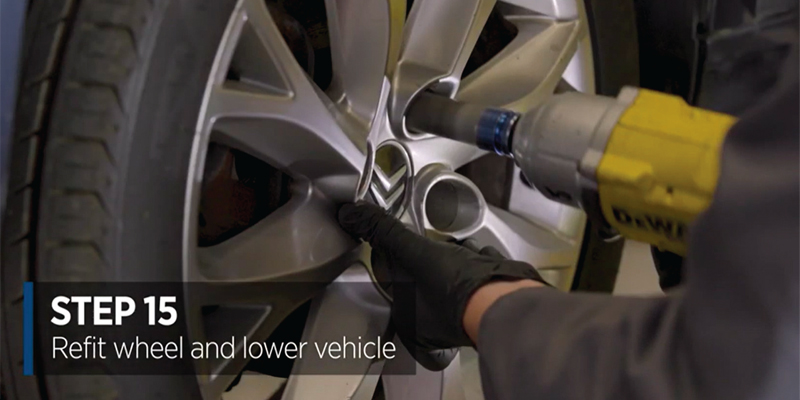
Step 15: Refit the wheel. Torque the wheel to the manufacturer’s specification.
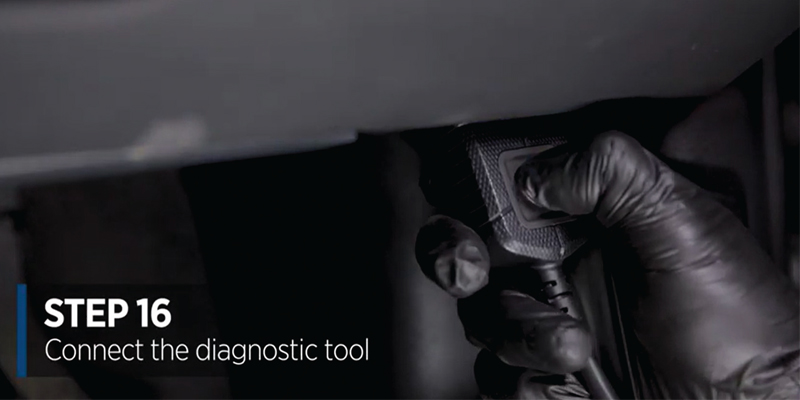
Step 16: Connect the diagnostic tool. Clear the fault codes and confirm wheel speed readings in live data. Ensure that the check engine light has been extinguished, then carry out a road test.
The above guide is one of around thirty ‘How To’ videos covering a range of workshop jobs including ADAS calibration, diesel injection, engine management and more.


