In this month’s Clutch Clinic, Charles Figgins, Technical Marketing Manager at Blue Print, takes readers step-by-step through a clutch replacement on a 2007 Citroën Berlingo 1.6 HDi.
The Citroën Berlingo and its near identical twin the Peugeot Partner have enjoyed global success as multifaceted vehicles. They have been available in many different chassis formats including van, car and pick-up and have been sold and manufactured in many different parts of the world for over two decades, making this vehicle one of the most common passenger carrying vans to visit workshops. Although, the Berlingo is a van-based vehicle, it shares many common components with other Citroën and Peugeot car models, making many repairs a familiar task.
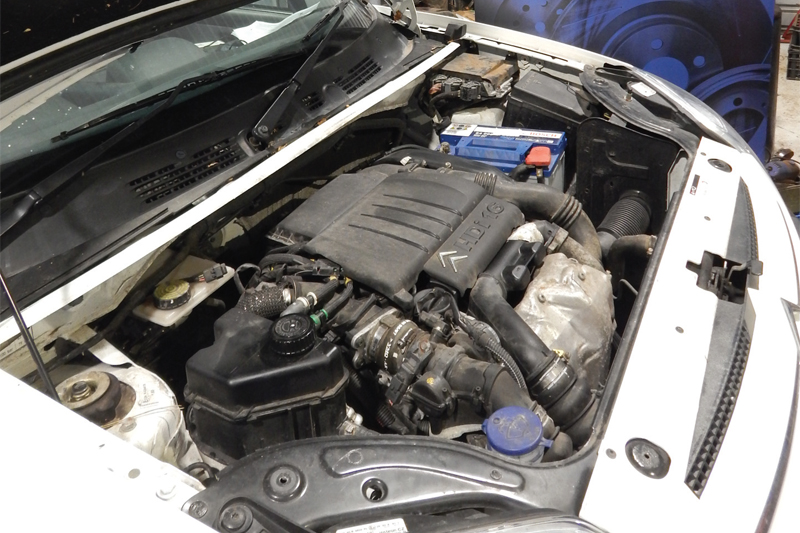
The focus of this article is a 2007 Citroën Berlingo, fitted with a 1.6 litre HDi engine. The clutch had been reported to slip and required replacement. The vehicle was brought into the workshop, and the ignition was switched off. Then we waited for fifteen minutes before disconnecting the battery. This is to ensure that any initialisations of the various ECUs are memorised, saving any potential electrical issues on reassembly.
Accessing the gearbox
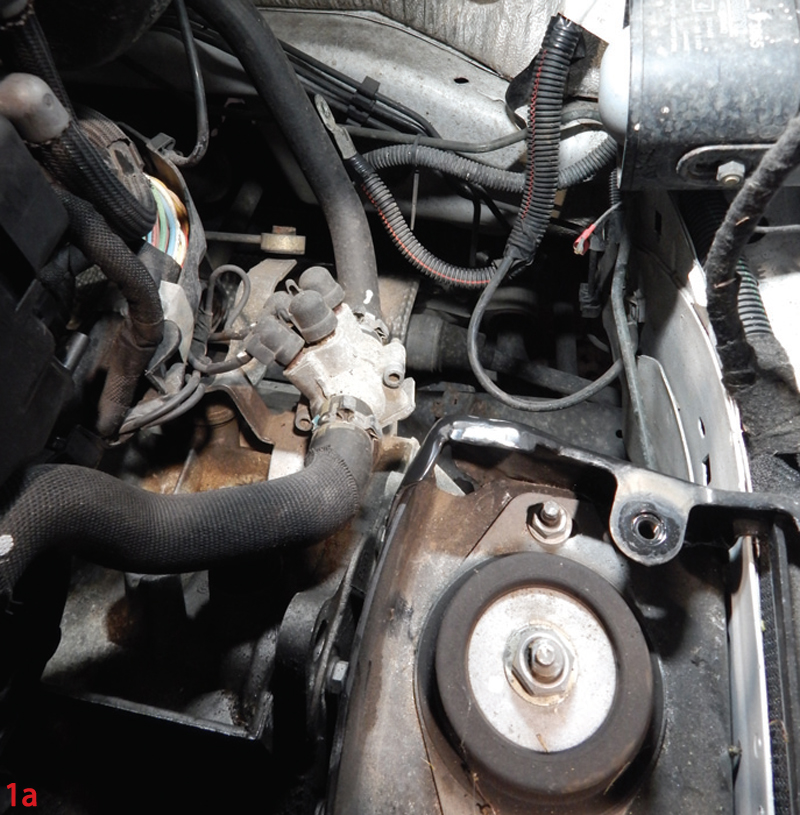
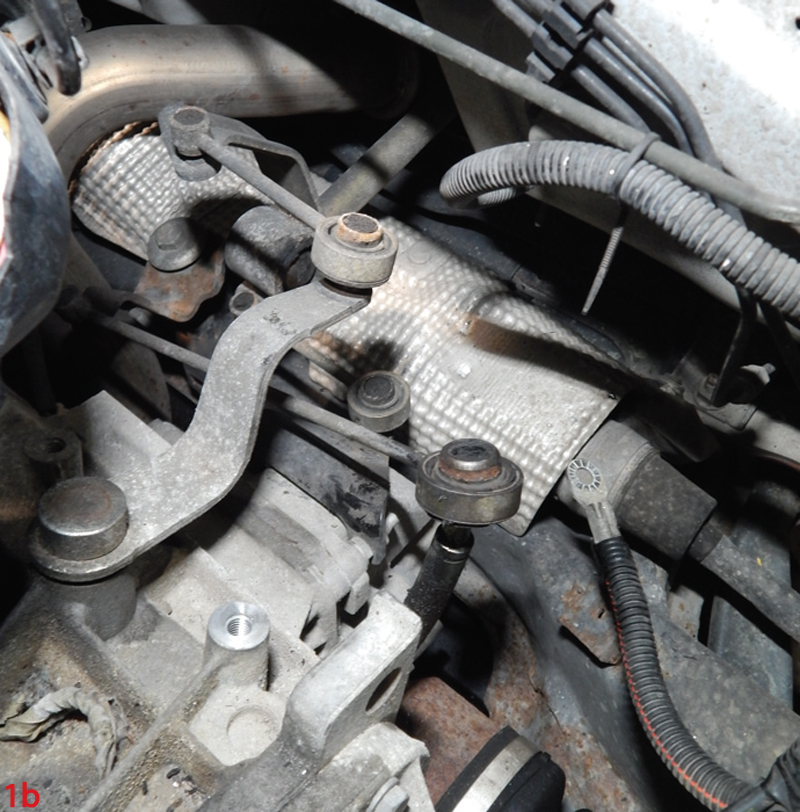
With the bonnet open, the engine cover and air inlet duct were removed along with disconnecting and removing the battery and battery tray. This allowed access to disconnect the reverse lamp switch and earth cable from the gearbox, along with unbolting the water heater. This was followed by releasing the gear selector rods from the selector mechanism. (Fig. 1a & b)
Next, the air cleaner assembly was removed, to gain access to two of the starter motor bolts, which required removal.
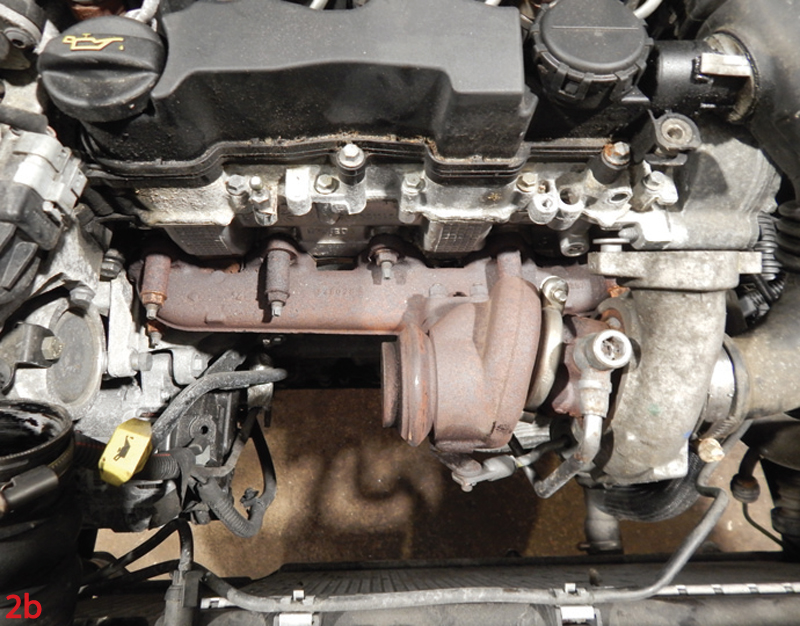
Attention was then focussed on locating all the bell-housing bolts, some of which are in difficult to find places. This includes one bolt and a stud that is impossible to remove without removing the catalytic converter, which has a very limited access for removal. First, a sheet of cardboard was placed between the radiator and the catalytic converter to protect the radiator from damage. Then all the heat shield bolts were removed, followed by the removal of the fixing clamps to the exhaust and the turbo. Then the catalyst and the heat shields were carefully removed, revealing the bolt and stud that required removal. (Fig. 2a & b)

Working from the top of the transmission, undo and remove all but one of the bell housing bolts and studs, along with the last starter motor bolt. Note: the starter motor is left in place, as it does not need to be removed completely for the removal of the transmission.
Raise the vehicle, remove the transmission oil drain plug and drain the oil. Lower the vehicle to an appropriate working height and remove both the front wheels, followed by the hub nut retaining ‘R’ clips and the nuts. Then undo both front lower ball joints and release them from the hubs. This will allow enough movement to release the driveshafts from the hubs.
Remove the lower section of the left hand wheel arch liner, unbolt the clutch slave cylinder from the transmission and move it out of the way. Make sure the hydraulic pipe is unclipped as necessary.
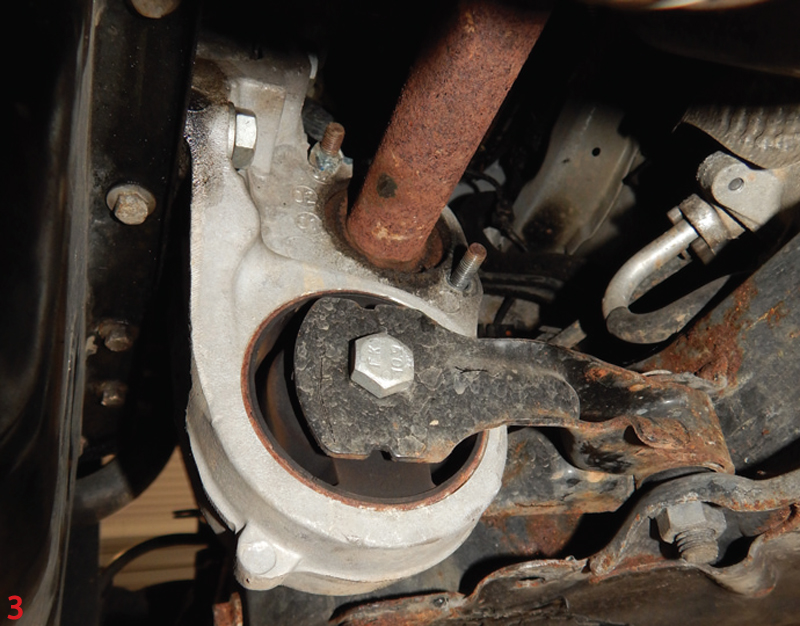
Remove the left drive shaft from the vehicle and unbolt and remove the torque reaction rod, attached to the rear lower engine mount. Unbolt the retaining bolts for the right driveshaft support bearing and remove the right driveshaft. (Fig. 3) Note: It is advisable to replace the driveshaft oil seals before refitting the transmission.
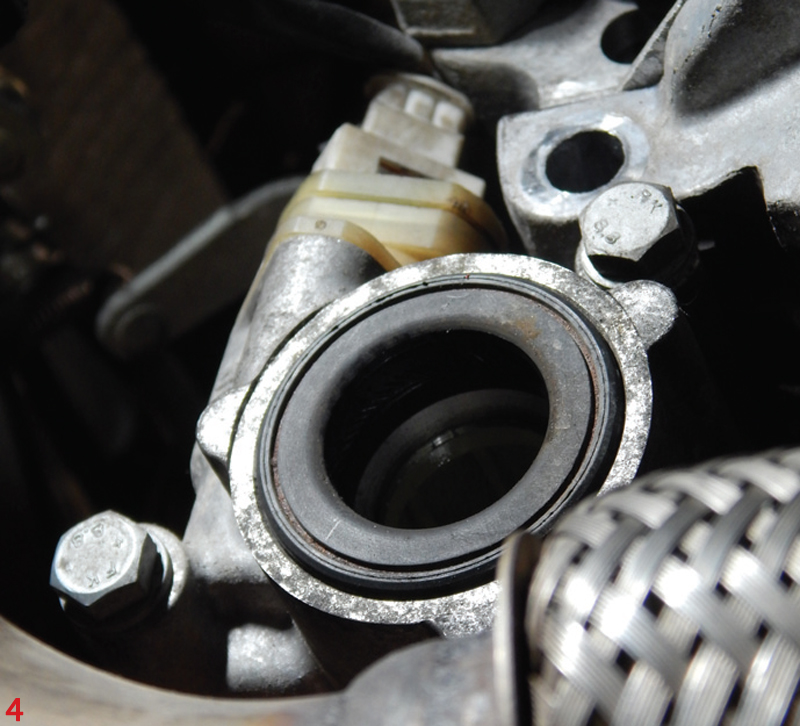
At this stage, the transmission looks ready to be removed. However, the road speed sensor on this vehicle is driven by the transmission and the wiring harness needs to be unclipped from the sensor before the transmission can be removed. In this case, it is impossible to do this because of the angle of the sensor, which is fitted against the engine. (Fig. 4) The speedo drive housing is required to be removed from the transmission, then the harness can be unclipped. This housing also retains the differential bearing outer ring, which can move upon removal of the speedo drive, so caution must be taken during this process.
With all parts removed, the engine was supported and the transmission top mounting was released. The transmission was then removed from the engine and lowered to the floor, for inspection.
The clutch pressure plate and friction disc were removed from the flywheel and inspected for any unusual wear issues. The flywheel was in good condition and only required cleaning before fitting the new clutch kit ADP153058.
Our attention then turned to the release mechanism; the bell housing was thoroughly cleaned to free all grease, dirt and old friction fibres from the previous clutch, then the release fork was removed and inspected for cracks or wear. This fork has a plastic pivot, which is prone to cracking, and was closely inspected and greased before refitting, along with the release bearing guide sleeve, which is also prone to wear over time. If both parts are required, these are available within the Blue Print range.
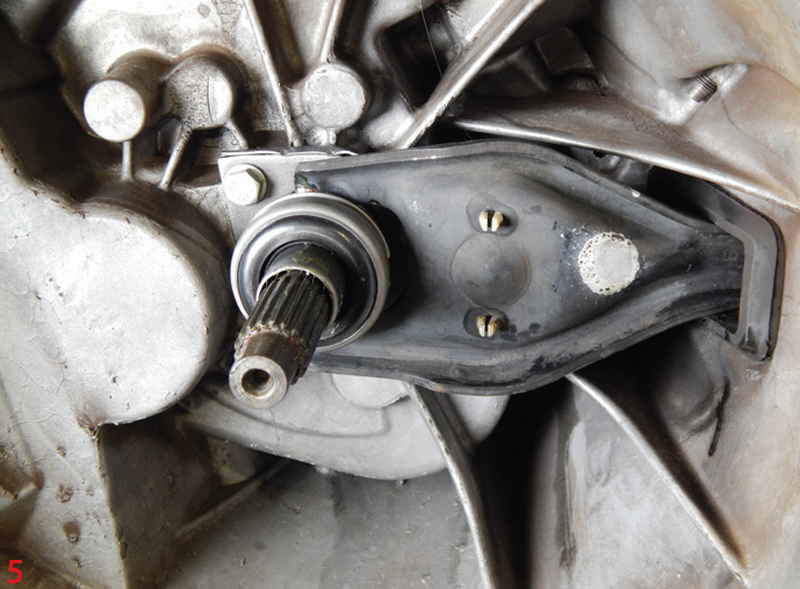
The release bearing was clipped into the fork and then operation of the release mechanism tested for smoothness, before lightly applying grease onto the input shaft. The transmission was now ready to be refitted to the engine. (Fig. 5)
The transmission was aligned to the engine and secured in place with a few of the bell housing bolts. This was followed by the refitting of all the parts to the transmission. Then all of the other parts that were removed in the process of the removal of the transmission were refitted and all the bolts and fixings were tightened accordingly. The transmission was filled with fresh oil through the filler plug at the top of the transmission and the level was checked by removing the level plug on the side.
Following this, a new clutch slave cylinder ADK83605 was fitted and the brake/clutch fluid reservoir was topped-up with fresh fluid, afterwards being bled of any excess air.
Finally, the battery and battery tray were refitted, followed by resetting the clock. Finally, a road test was carried out to check the clutch was operating smoothly and efficiently.


