
Removing a CV joint from a drive shaft can be an annoying task, especially when the shaft is not dismantled. With the new joint puller from SPIDAN the joint can be loosened without using a hammer, ensuring easy removal from the drive shaft. This also means the drive shaft can remain in the vehicle while replacing the joint.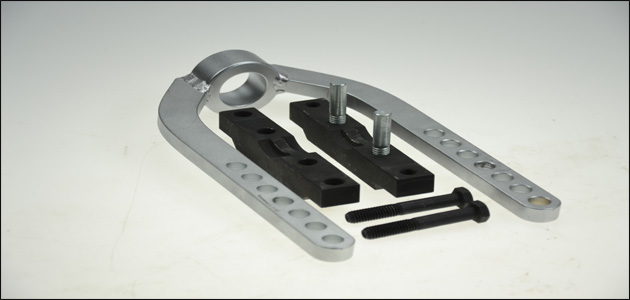
HINT! If possible, try to wedge the joint puller behind a bulge on the axle so that the device cannot be displaced.
How to use it
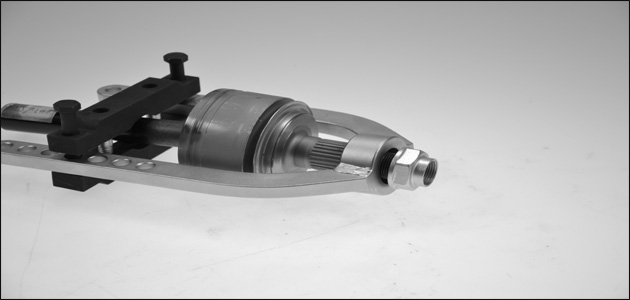
After removing the drive shaft from the steering knuckle, attach the joint puller to the drive shaft. Make sure a sufficiently large area is left free on the bolt threads so that the joint can be loosened from the safeguard and the nut does not stick to the keyway. Now tighten the mounting bolt.
Subsequently tighten the joint nut on the bolt thread – it is recommended to attach a suitable washer behind the nut. As soon as you have fastened a socket to the nut, move the nut with the impact driver. If you see that the CV drive joint moves on the drive shaft, the joint has loosened from the safeguard. Remove the nut and the washer(s) you might have used from the joint before detaching the joint puller and manually removing the joint from the drive shaft.
Benefits of the joint puller
- Handling is safe and simple.
- It saves work time.
- The joints and the surrounding components do not suffer any damage.
- The workshop gets a useful and efficient tool.


