Full step-by-step removal and refitting guide.
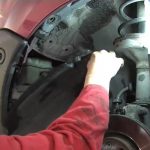
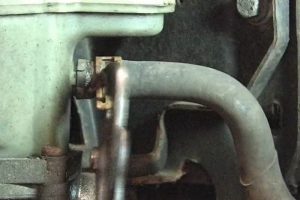
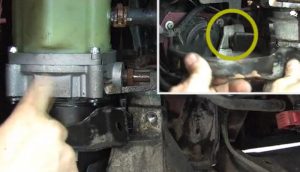
Before you start the procedure, it’s important to note that the pump is mounted in the front wheel arch. With the vehicle raised on a two-post lift, remove the appropriate wheel, followed by any wheel arch linings. This will expose the pump and its mounting (see Fig 1).
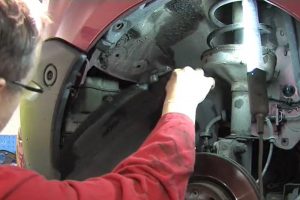
Before proceeding any further, compare the new received part with the one currently fitted to the vehicle. Make sure all connections, both electrical and mechanical, are OK and that the fixing points are identical (see Fig 2).
Vehicle harness
Firstly, disconnect the electrical connections to the pump and inspect the vehicle harness connector to ensure there are no signs of damage and corrosion due to water ingress. Also check that the connector of the new pump is identical with the one actually fitted in the car.
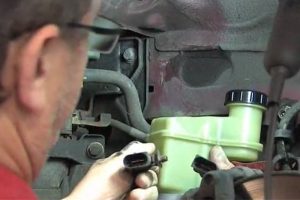
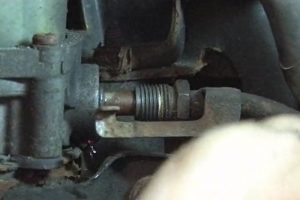
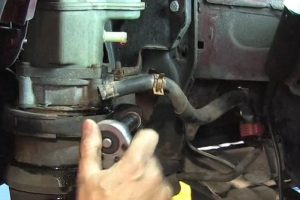
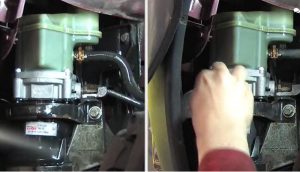
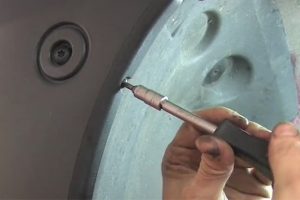
Now remove the fluid pipes – firstly the outlet pipe at the bottom of the pump unit (see Fig 3) followed by the top return pipe to the reservoir unit (see Fig 4).
Catch a quantity of escaping fluid on a white cloth or paper towel and check the fluid for dirt and/or metal shavings. If there is any sign or you are in any doubt, flush the complete steering system (see Fig 5).

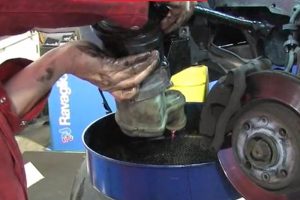
Next, remove the fixing bolts for the pump unit and carefully remove the pump (see Fig 6) before draining any fluid in the reservoir into a waste fluid disposal unit (see Fig 7).
Now you can offer the new pump into position, feeding the wiring harness into the appropriate place (see Fig 8).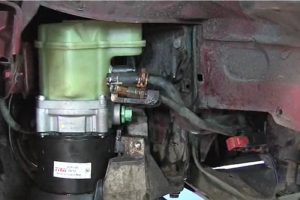
Before securing the pump rigidly in position, re-attach the hydraulic fluid pipes, starting with the high
pressure outlet on to the motor pump unit, ensuring the fixing screw is tightened with the correct torque (see Fig 9).
Secure the pump
Reattach the pipe unit to the reservoir and secure with the clip. Once this is in place, you can now reattach the mounting brackets and bolts and secure the pump rigidly in position. Reattach any mounting clips to the wiring harness. Reconnect the harness and attach to the mounting bracket to ensure a secure installation (see Fig 10).
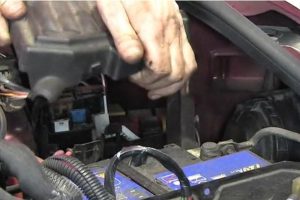
Inside the engine bay, remove the fuse box cover and the headlamp bulb covers to allow access to the filler cap on the reservoir (see Fig 11).
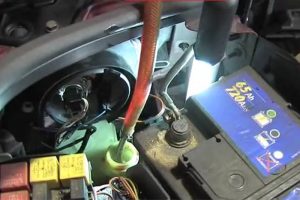
Fill the reservoir with new hydraulic fluid, making sure this is at the correct level. Once this is done, start the engine and bleed the steering system by following the instructions recommended by the VM (see Fig 12).
Clean the pump and mountings with brake cleaner to ensure no hydraulic fluid remains on the surfaces (it is highly corrosive) (see Fig 13).
Reattach the wheel arch linings and refit the road wheel, following normal best practice (see Fig 14).
Depending on the pump configuration being fitted, it may be necessary to activate the steering pump within the vehicle CAN Bus and/or select the correct software map, according to the vehicle specification. This must be carried out using a suitable diagnostic tool. Once this is done, read and clear any fault codes.


