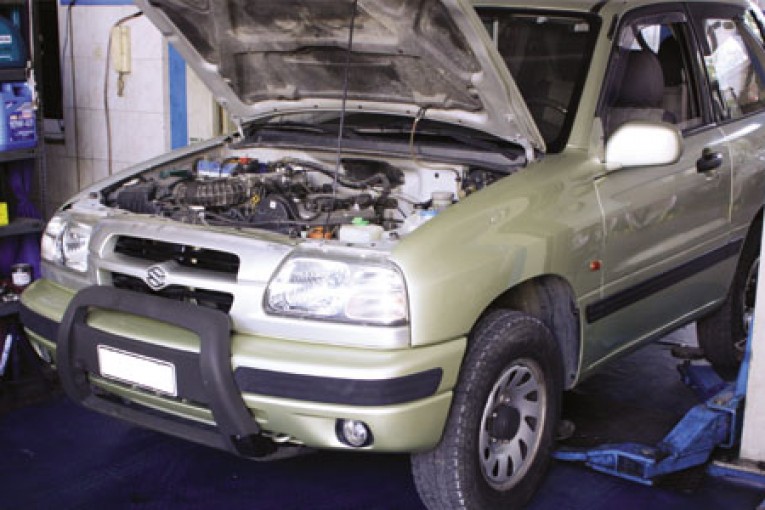
VEHICLE: Suzuki Grand Vitara 1.6 petrol model with G16B engine code
LABOUR TIME: 3 HOURS
LUK CLUTCH INSTALLED: 622303160
This particular Suzuki Grand Vitara has covered close to 130,000 miles, with quite harsh use through its life. Because of this it is important that particular attention is made to the whole transmission system for possible wear.
The vehicle is the original 4×4 with mechanical four wheel engagement and the engine and transmission is installed longitudinal with the transfer box installed directly onto the gearbox. The clutch change on this model is quite straightforward, with the only intervention under the bonnet to disconnect the battery terminal.
A two-post ramp, a couple of transmission jacks and a special alignment tool are required for the repair and a good attitude to health and safety – due to the weight of the transmission – is a must!
Disconnect the gear levers
Once the battery terminal has been disconnected the next stage is to disconnect the gear shift levers from the gearbox, which takes place from inside the vehicle. This should be done before the vehicle is lifted. Firstly, remove the handbrake console by removing the two bolts on the rear side, then remove the front section of the console held in place by two further bolts on the side. You should then remove the clips on the side of the console between the seats.
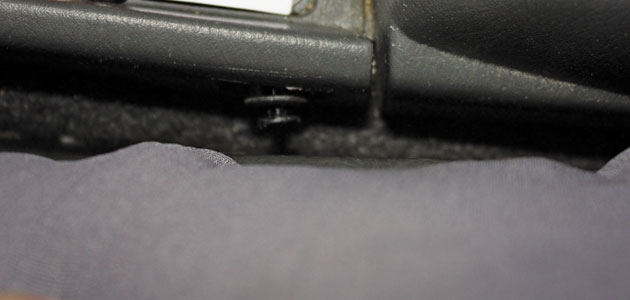
Access is now permitted for the 12mm bolts that retain the metal frame onto the main gear lever; this metal frame is to be removed to expose the gear selector.
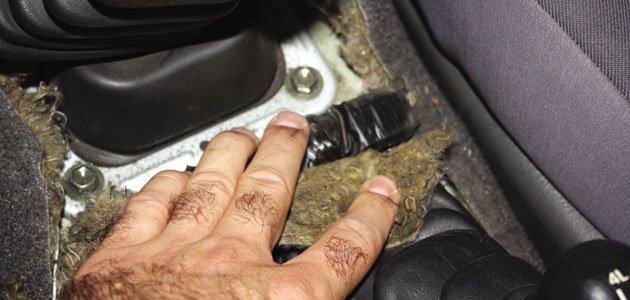
At that point the two side bolts should be removed and the selector disconnected completely. The same procedure is followed for the four wheel drive lever.
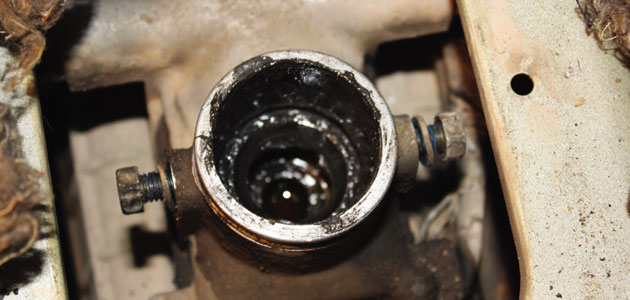
The vehicle can now safely be lifted to move to the next stage of disconnecting the reverse gear plug, four wheel drive selector sensor, the wiring harness that passes over the gearbox and finally the earth cable; make sure you stow all of these safely and securely. Remove the external slave cylinder held in place by two 12mm bolts and stow securely before finally removing two bolts from the starter motor.
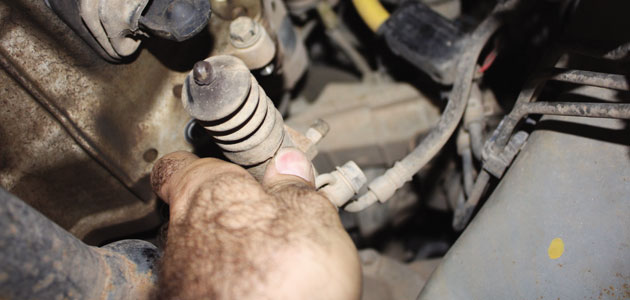
Mark the position of the propshaft before removing it, as you don’t want a balance issue afterwards, and then disconnect from the gearbox spline, taking extra care not to damage the oil seal.
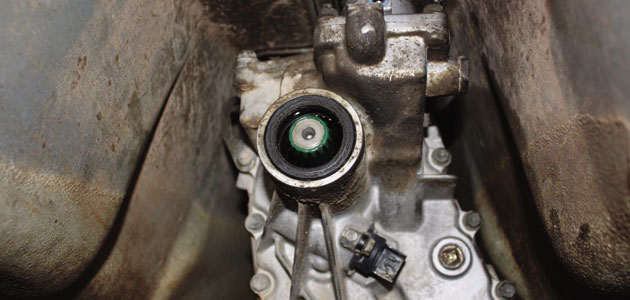
The front section of the propshaft should remain fixed to the gearbox to avoid transmission oil leaks. Support the gearbox with the transmission jacks and remove the cross member support for the gearbox. Loosen the anti-roll bar, allowing it to hang so that this gives a clear space when removing the gearbox.
Lower the gearbox
Now for the health and safety part: with the gearbox supported by the transmission jacks and three sets of hands(!), remove the four bell housing bolts and carefully lower the gearbox to the ground.
Remove the old clutch cover and clutch plate. Check the bell housing for any debris and oil contamination and rectify before refitting the gearbox. The release bearing should always be changed during a clutch replacement; the release arm should be checked for smooth operation and for wear on the ball pivot.
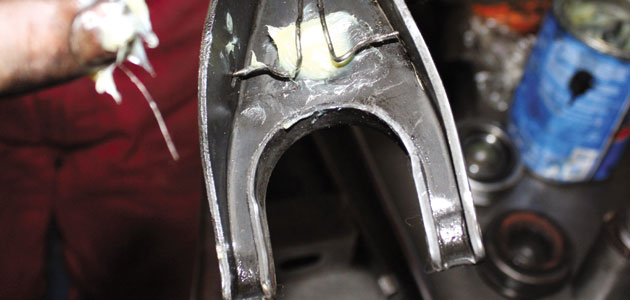
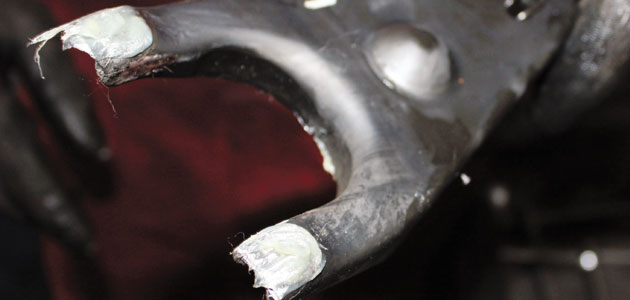
Apply a small amount of HMPG to the release fork and install with the new release bearing.
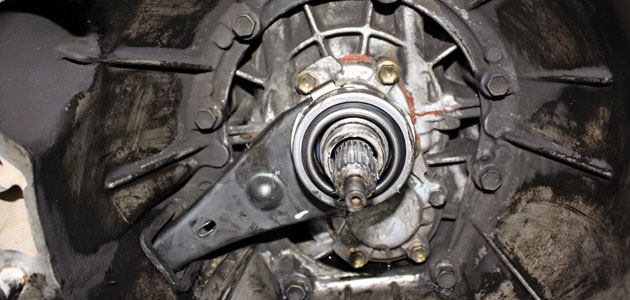
Check the flywheel for signs of heat stress, such as hair line fractures or cracks, and the surface of the flywheel should be checked to make sure it is within the manufacturer’s wear tolerance. If the surface of the flywheel is to be skimmed, make sure that the same amount is taken from the clutch bolting surface. Failure to check and rectify these areas may cause the clutch to operate incorrectly.
Before fitting the new clutch disc, make sure the input shaft is clean and free from any wear. In this case the spigot bearing was completely worn and noisy and was replaced. Smear a little high melting point grease on the input shaft splines then slide the new clutch plate up and down a couple of times, remove the plate and wipe any excess grease off.
Refitting the gearbox is the reversal of removal, remembering to refill the gearbox oil to the correct level when the gearbox is refitted.
For the latest in online support log on to www.repxpert.com.
MEET THEM AT MECHANEX
Schaeffler Automotive Aftermarket’s three quality brands – LuK, INA and FAG – will all be in attendance throughout 2015 at our MECHANEX trade shows.
Offering visitors the opportunity to talk to Schaeffler’s group of experienced experts who will be on hand to offer helpful demonstrations and workshop hints, attendees can also find out about the latest technologies that will soon be appearing in their workshop.
More details about our 2015 calendar of events can be found on the MECHANEX website.


